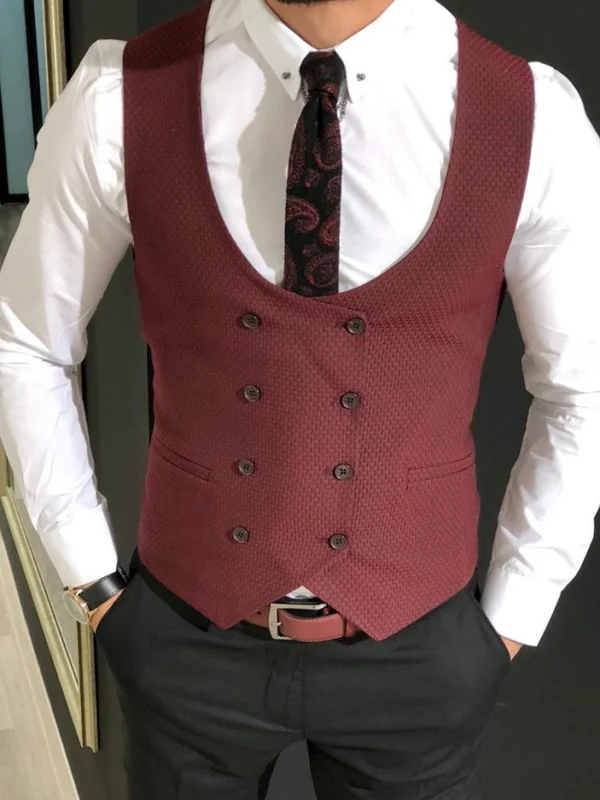
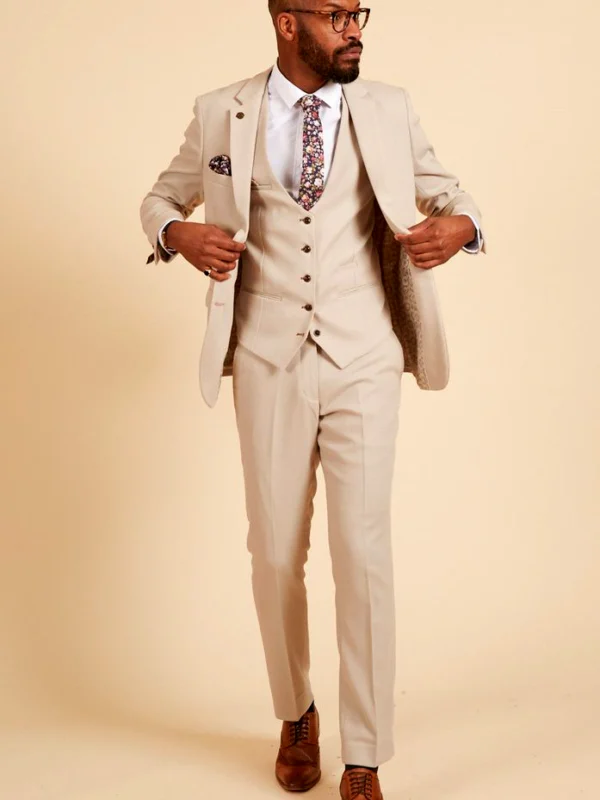
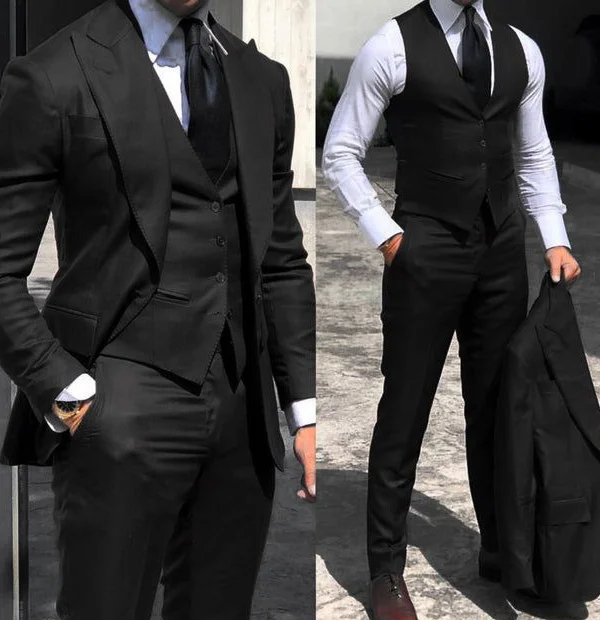
Suit pattern mixing starts by choosing which areas should actually carry pattern. A grid beside fine tie drawing looks different from pinstripes beside large curved motifs or a checked jacket above a plain black top. The four references show these differences at the torso. They establish no general obligation to wear the greatest possible number of patterns. Choose one leading area first and add another drawing deliberately afterwards. An interesting combination can then develop without every tie, square and small jewellery detail asking for attention simultaneously, keeping each piece’s contribution understandable within the outfit.
1. Begin suit pattern mixing with a leading area
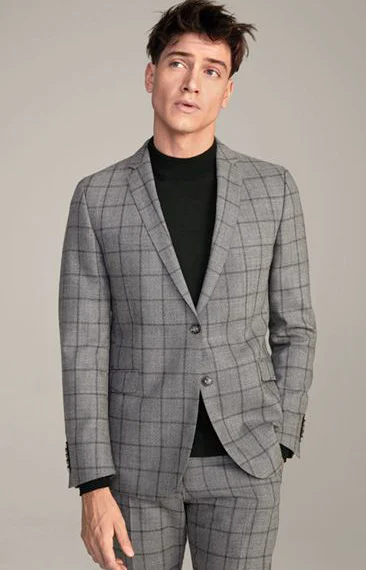
Inspect the jacket without new additions first. The seated dark blue reference carries a finer check grid, while the grey version has clearer larger lines. The dark blue double-breasted jacket instead shows narrow vertical stripes. Name the drawing you want as the starting point. Decide from an ordinary distance whether individual lines should remain recognisable or a quieter overall surface appeals. The pattern idea becomes attached to an actual garment rather than reduced to the general requirement that two different motifs somehow need to match.
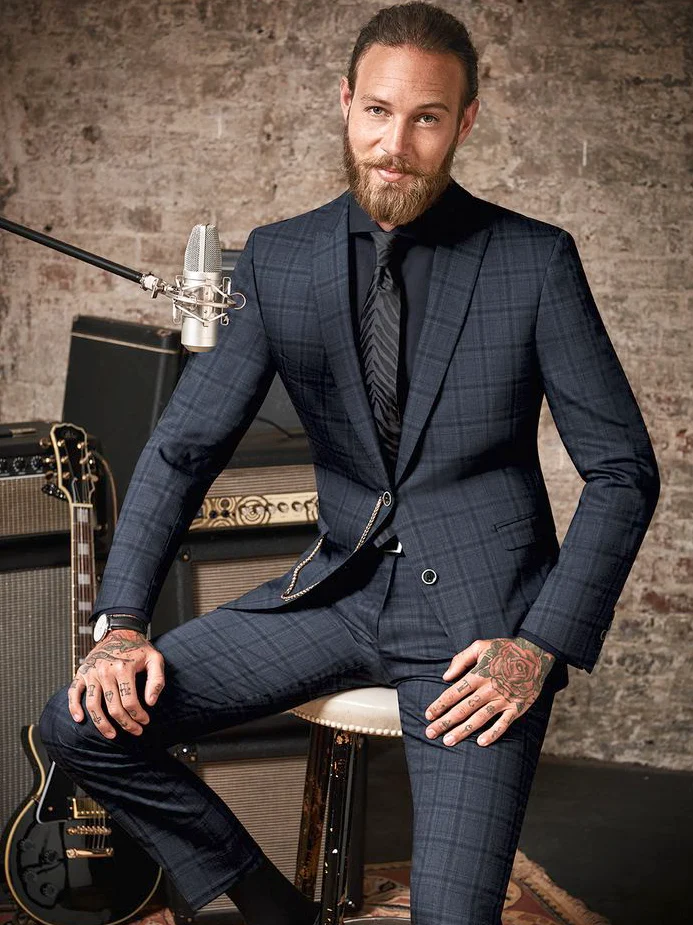
Add a shirt or top in a quiet colour initially. The grey reference shows how a plain black upper piece leaves space between face and checked jacket. It is a deliberate comparison with fuller pattern mixing rather than an incomplete outfit. Try the same pause on the actual suit before introducing a patterned shirt or tie. This reveals what the first drawing already contributes and which additional area you want changed. Record the base version for the later comparison so a new attractive accessory need not automatically replace every earlier decision.
2. Assess the scale of two drawings separately
The black tie in the seated blue look has subtly visible angular drawing beside the check grid. On the dark blue striped jacket, the multicoloured curved tie introduces much larger individual forms. Both supply a second patterned area centrally, but their scale differs. Compare smaller drawing with larger drawing on the actual shirt first. Keep colour and jacket reasonably consistent. A simultaneously introduced strong shade then cannot silently decide the motif-size question you meant to assess, leaving clear which change contributes the preferred effect.
You need no universal rule requiring every pattern to have a different size for this comparison. Ask which lines you can distinguish from conversational distance and which relationship appeals. Approach the details afterwards. Fine drawing may appear almost quiet from farther away and appeal for precisely that reason. A larger contrast can be deliberate too. Record the relationship you actually observe between tie area and jacket rather than prescribing an abstract number of pattern scales for every suit. That gives the next actual candidate a specific quality to be compared against.
3. Introduce shirt stripes as another direction deliberately
The pale multi-piece reference connects a fine check grid with visible shirt stripes, a pale collar and a broad magenta neck accent. The shirt is therefore more than a neutral underlying area. Its lines remain identifiable at the front middle and introduce another direction. Compare the same jacket with a quiet shirt first. Add stripes afterwards and inspect what changes between collar, waistcoat and lapel. Every area in the picture need not automatically become part of your own outfit, allowing the new drawing to be chosen for an identifiable task.
If retaining stripes, inspect their visible quantity with jacket open and closed where both states are intended. A waistcoat can leave another shirt area visible from an outfit without that layer. The checked suit guide helps name the base grid; the question here concerns additional adjoining drawings. Describe whether you want a small striped field or a larger exposed shirt area. The number of pieces worn alone cannot explain how much pattern actually appears across the complete torso, so inspect their real surfaces together rather than copying a count.
4. Select colour as connection or its own emphasis
The multicoloured curved tie on the striped jacket brings warmer and greenish areas beside dark blue. The pale multi-piece look places a large magenta point in the middle and adds a pale dotted square with a coloured edge. Choose which accent should lead initially. Suit pattern mixing can connect through a shared shade without repeating every tie colour in shirt and square. Compare actual pieces together and then worn so the colour area’s size remains apparent. A small sample cannot yet explain how much space the piece occupies at neck or chest.
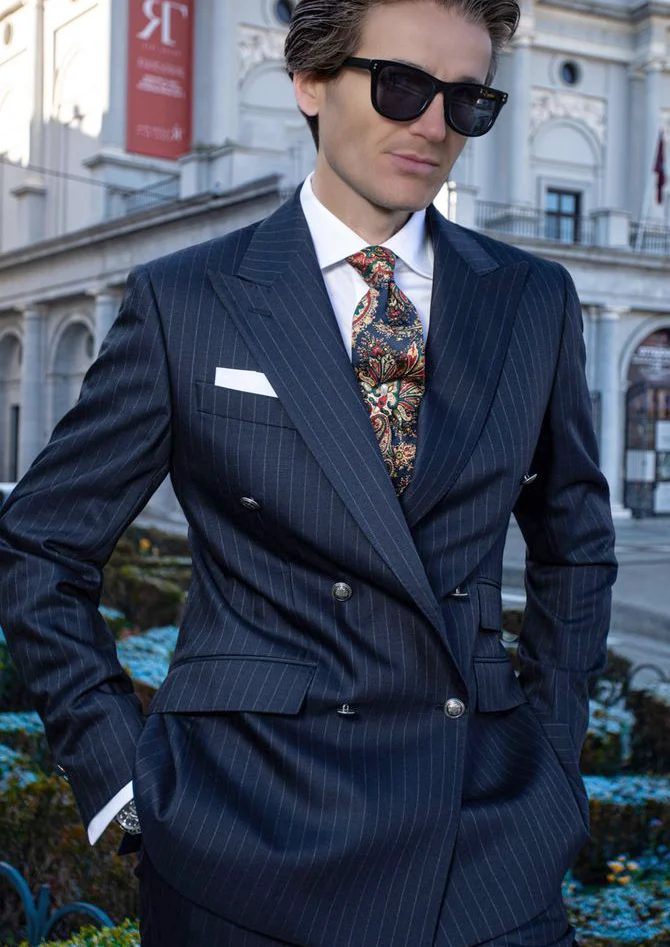
Try a quieter pocket square beside the chosen neck accent, then a patterned alternative. Keep the shirt consistent. Perhaps the strong middle is enough; perhaps you deliberately want a smaller second connection at the chest. The striped reference’s white rectangular square provides a noticeably quieter comparison with the dotted example. Decide through the complete front instead of automatically adding every individually appealing accessory. One piece can connect colour while another gives the eye a pause. Both tasks may make sense within the same arrangement without representing every small shade separately.
5. Include lapels and smaller details as visible boundaries
The double-breasted striped jacket has a larger overlapping front where narrow lines change direction. The tie sits as its own patterned area centrally. Inspect how much lapel remains beside it and which boundary catches attention first. Our suit lapel guide adds this shape comparison. Another suit need not be purchased simply to accommodate more pattern. Another tie drawing or quieter chest area might make the selected jacket line clearer again within the complete outfit, identifying a smaller useful change before the whole arrangement is replaced.
The seated reference shows a chain at the middle jacket area; the pale multi-piece view also adds a chain and further held objects. Assess those details as individual additional lines. Ask after each piece whether it supports the selected emphasis. Try removing one small accent first and introduce it again. Its contribution becomes visible. A photographed setting with microphone or hat establishes neither a professional role nor a particular historical style. What matters to your selection is the distribution you actually want, rather than treating every pictured object as compulsory for your own use.
6. Complete the pattern combination on the worn torso
Inspect the finished outfit from an ordinary distance with intended shoes and the actual bag. View front and side, then sit. The seated photographic pose and closer crops supply no complete neutral length fitting. Add full views of your real outfit where trouser finish or jacket proportion remains unresolved. Suit pattern mixing is deliberate when you can name the leading area, second drawing and a quieter zone. There is no obligation to pattern every available position, letting the real trial confirm how the selected distribution continues across different worn states.
Read composition and care information for the actual pieces separately. The GINETEX care-symbol explanation supports interpretation; checks, stripes and curved motifs establish neither fibre nor shared treatment. Record the confirmed front and which additions you deliberately left out. Another tie can be compared around that same base later. You begin with an understandable relationship between areas and drawings instead of changing the entire outfit simultaneously whenever another attractive detail appears. Returning to the real comparison clarifies which feature should stay and which new idea needs another specific assessment.
Suit pattern mixing starts with a leading area. Add another drawing with other pieces reasonably consistent, then inspect a deliberately quieter zone from conversational distance.
Frequently asked questions
Must two patterns always differ in scale?
No universal requirement is needed. Compare actual drawings from an ordinary distance and choose the relationship you enjoy.
Is a plain black top with a checked jacket incomplete?
No. It forms a deliberately quiet middle and helps assess the jacket grid without additional neck patterns.
Must the pocket square repeat the tie?
No. Try quiet and patterned squares with shirt and neck accent unchanged before choosing another emphasis.
Do a hat or microphone establish a historical or professional style?
No. These objects belong to the picture without establishing a period, professional role or universal event suitability.