A three-piece suit is chosen as a relationship between jacket, waistcoat and trousers. Its appearance depends on more than each piece separately: how much waistcoat remains between the lapels, how a pattern continues downwards and what changes when the jacket comes off. The references show brown and grey checks alongside a quiet pale outfit. Another view examines waistcoat and trousers without the jacket. Use them to describe the connection you want, then test it on the actual three garments. A convincing photograph does not guarantee that separately selected candidates will create the same relationship.
Three-piece suit: establish the shared area first
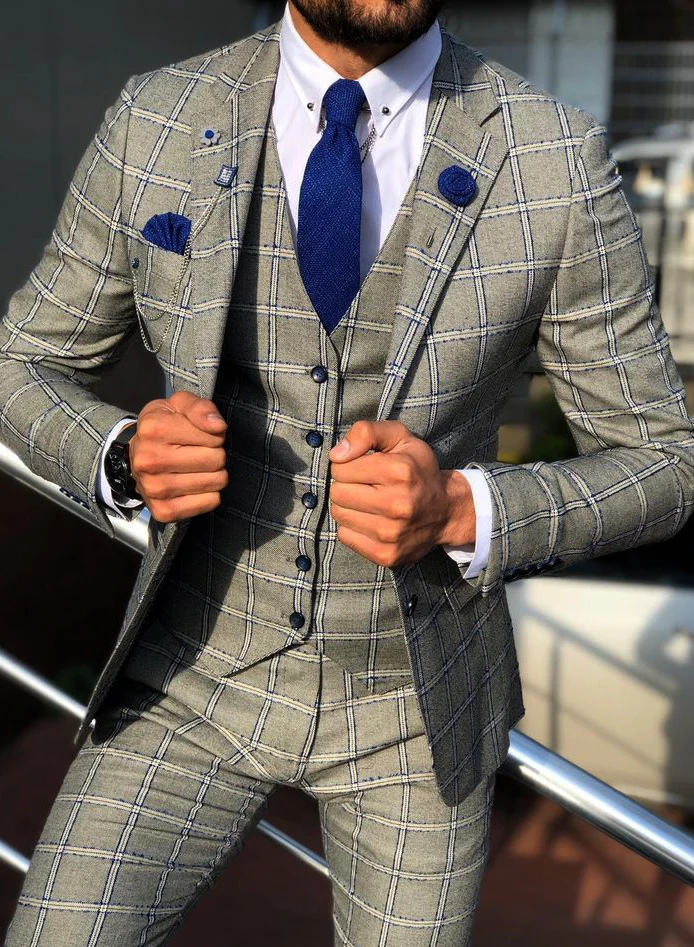
Begin with your preferred overall effect. The brown checked reference repeats darker lines across jacket, waistcoat and visible trousers. The lighter grey example adds a stronger grid and blue accents. The pale combination leaves the large clothing areas quieter, moving more of the drawing into tie and pocket square. Decide whether you want the three pieces to read as one continuous field or whether one area should deliberately stand out. Establish that preference before choosing small decorative details, so later additions have a clear starting point.
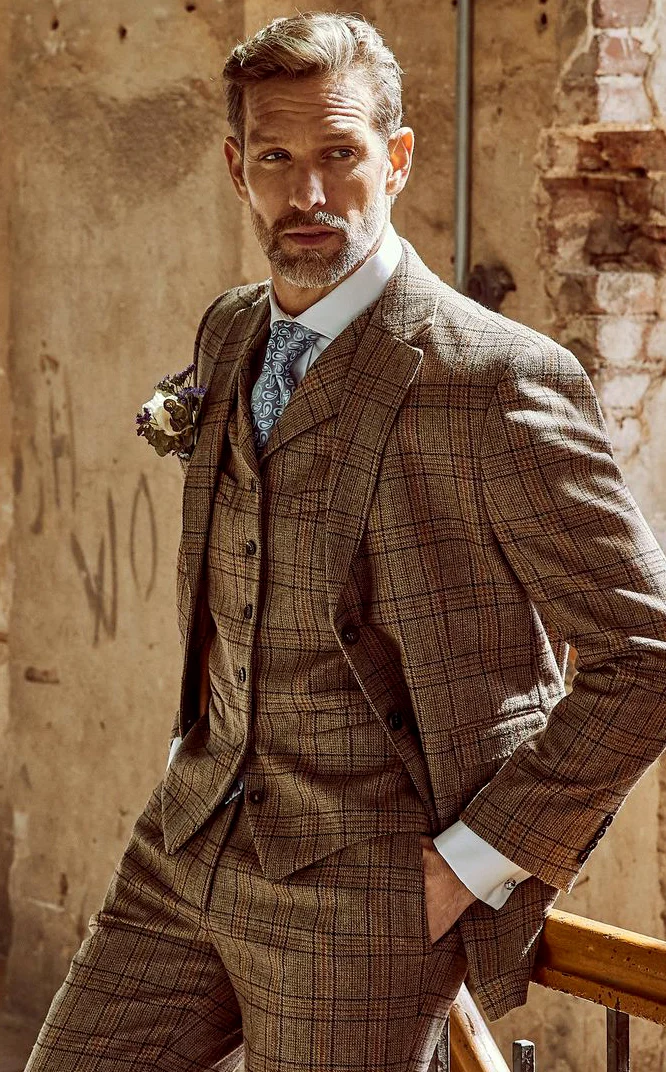
Ask to see exactly which garments an offer includes. Similar photographic colour guarantees neither the same fabric nor a shared set. For your visual comparison, lay the actual pieces together and then wear them. Assess them in the same light. If a small difference appears, decide deliberately whether it belongs in your intended outfit. The question is not whether every surface must always match, but whether the visible connection answers your own preference. Keep that distinction when adding or replacing a piece later.
Compare the waistcoat area between the lapels
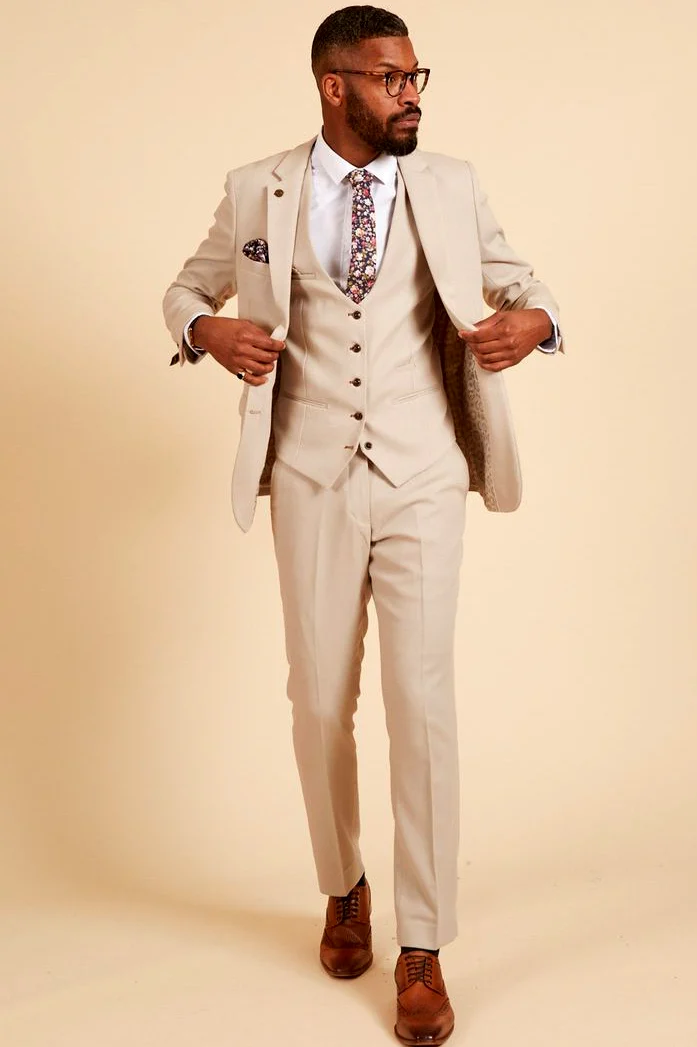
The brown reference has a relatively enclosed centre with patterned waistcoat and tie. The pale combination opens the jacket sideways, revealing a larger waistcoat area. That distribution changes which piece registers first. Try the jacket in its intended fastened position and then open. Keep your arms relaxed at your sides for the first view. Pulling the front edges apart for a photograph creates a different arrangement from ordinary standing, so include the position you will actually use rather than judging the posed view alone.
Compare two waistcoat openings if you are still choosing. A higher opening leaves less shirt visible, while a lower one brings more shirt and tie forward. Assess the real shapes with the same shirt. Our Two-piece suit guide supports thinking about the jacket-and-trouser base, while Suit pattern mixing adds questions about several patterns together. Borrow the relevant comparisons without adding every accessory shown elsewhere. Your centre should retain its intended visual weight rather than becoming a place to collect all appealing details.
Treat the waistcoat-to-trouser transition separately
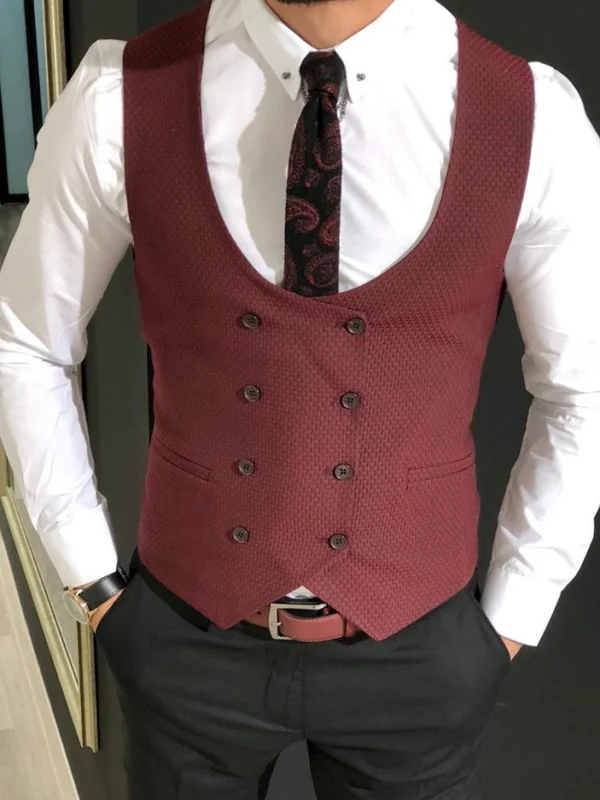
The jacket-free image joins a brown patterned waistcoat to similar-looking trousers. Two points form the lower waistcoat edge, with the middle sitting above the waistband. This relationship helps determine whether the outfit remains connected without its outer layer. Try it standing and sitting. Notice which shirt area appears and whether you keep wanting to pull the waistcoat down. Describe an unwanted gap specifically instead of making a general request for a tighter fit that may not address garment length or waistband height.
A different trouser rise can alter the relationship. Try the intended trousers before buying a waistcoat alone or discussing changes. Remove your hands from pockets and view the front in a neutral stance, then add ordinary movements. A photograph with tension from a sideways pose cannot explain every edge. If a change is proposed, ask to see its effect at this particular connection and repeat the trial with the same shirt. Note waistband position, waistcoat points and visible shirt as separate observations.
Give pattern and small accents different weights
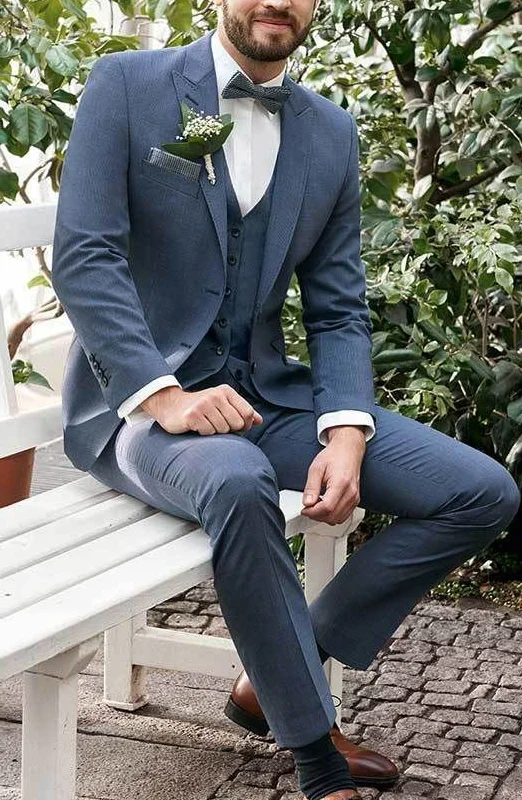
The grey checked example repeats blue through tie, pocket square and a small lapel detail. The base itself already has a clear drawing. You may enjoy that repetition or prefer only one blue point. Start with the tie and add the pocket square afterwards. This sequence reveals whether another accent supports the large grid or pulls attention away from the shared shape. You need not wear every available accessory simultaneously, and an attractive individual object does not automatically deliver the distribution you want.
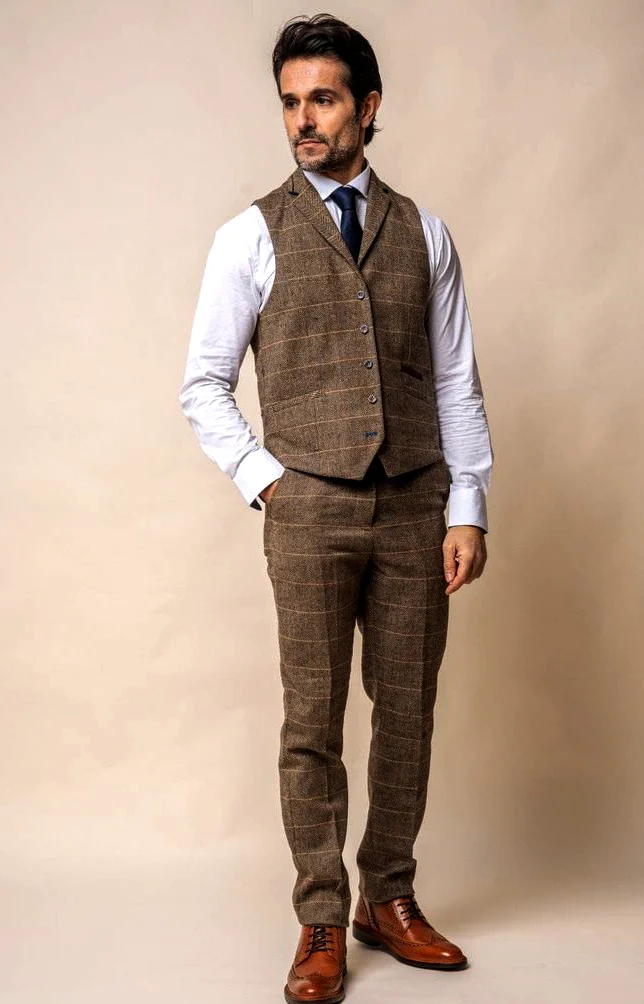
In the quiet pale outfit, a patterned tie can become more prominent. Compare its visible length with the waistcoat edge and look at the neck area together with the shirt collar. Brown shoes form another lower area in the complete view. Try them with the actual trouser hem. A more decorated upper area need not be matched by an equally patterned shoe. Decide through the distribution across the whole outfit, rather than through compatible colour names in isolation. Keep the shoes unchanged while comparing two ties.
Plan the moment when the jacket comes off
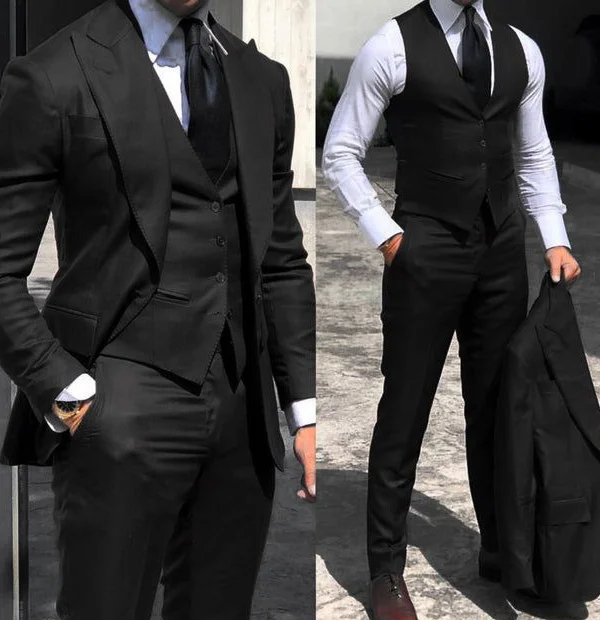
Consider whether you expect to eat, dance or work without the jacket. The waistcoat back, shirt sleeves and complete waistband transition will then become visible. Request a rear view of the actual waistcoat during selection; the front cannot show every area. Decide whether you enjoy both arrangements. A three-piece look need not remain visually identical throughout an occasion, but its planned second state should also be chosen consciously rather than discovered only after the outer layer is removed.
Test removing the jacket with the objects you expect to carry in your pockets. Hold it briefly over your arm, sit, then put it on again. Check how the shoulders and front settle. For a particular event, direct this trial towards its actual sequence. A mostly seated occasion makes the waistband relationship relevant; frequent standing also raises the question of how the pieces return to position. Record what you observe instead of expecting a general comfort promise to answer those different practical situations.
Confirm the actual three pieces together
Compare the final candidates in the same order: complete front, fastened outer layer, open outer layer and waistcoat with trousers alone. Add side and rear views and wear the intended shoes. You are then choosing between several real states of the same outfit. Discuss alterations and product information on the specific garments. Visible checks or a quiet pale area cannot establish composition or manufacturing route. Keeping appearance separate from verified product information helps you assess both more clearly.
Read the care label on each included piece. The GINETEX explanation of care symbols supports interpreting those labels. Keep confirmed information and the agreed alteration scope together. Your finished choice should show the connection you enjoy and cover the states in which you actually expect to wear it. A clear relationship between the three pieces is a more useful foundation than the largest possible collection of additional details, including when a tie or pair of shoes changes later.
Assess jacket, waistcoat and trousers as one shape, then without the jacket. Confirm which actual pieces are included rather than inferring a set from pictures.
Frequently asked questions
Must the three pieces have the same pattern?
A continuous pattern is one option. If you deliberately combine different pieces, assess the whole outfit without assuming they belong to one original set.
How can I assess the waistcoat under the jacket?
Wear the intended shirt, compare the jacket open and fastened, then remove it and look at the same middle area again.
Does a similar surface prove a matching set?
No. Confirm the included pieces and their product information; photographs cannot establish the actual contents of an offer.