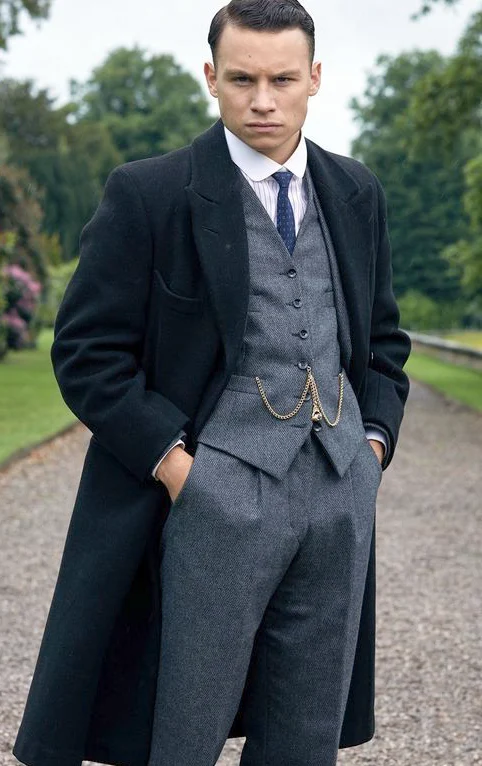
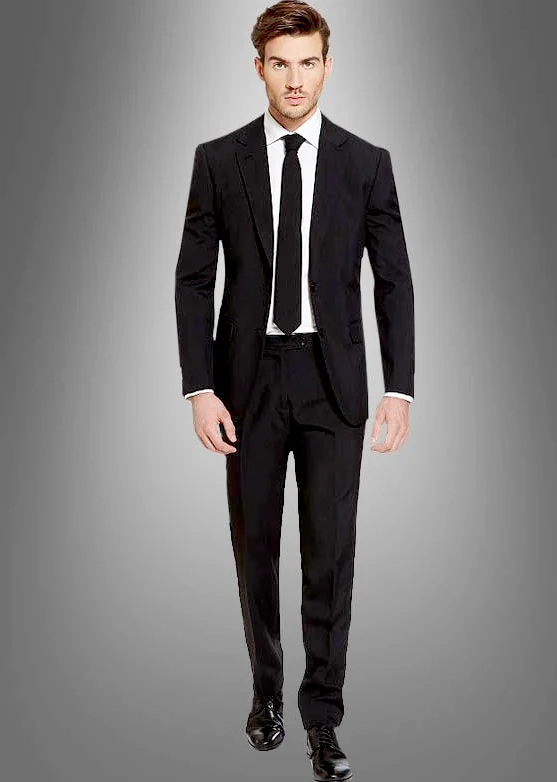
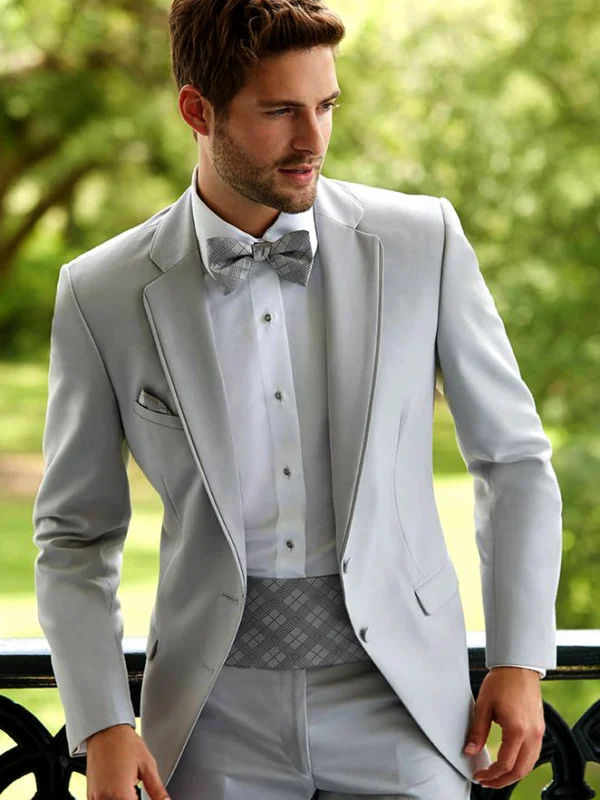
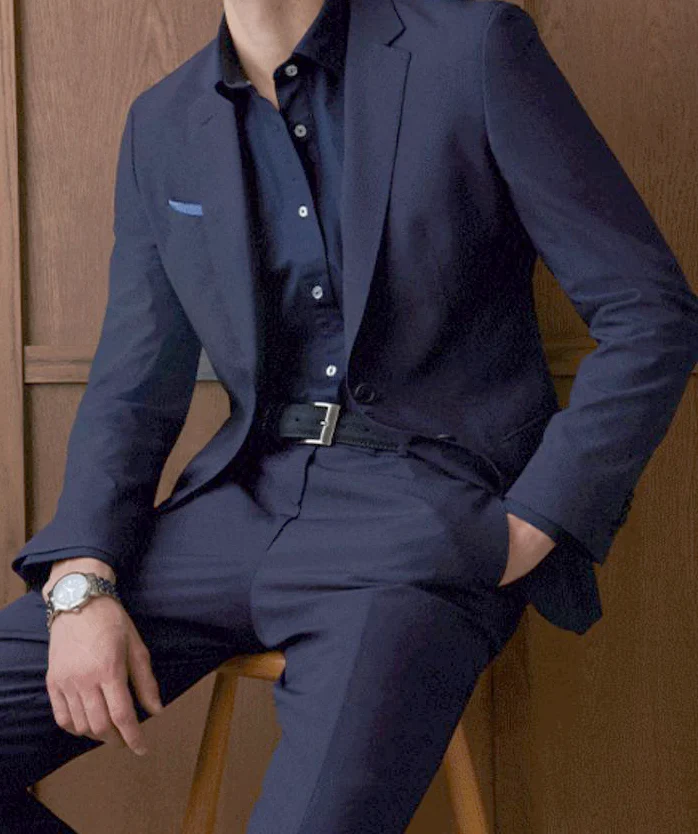
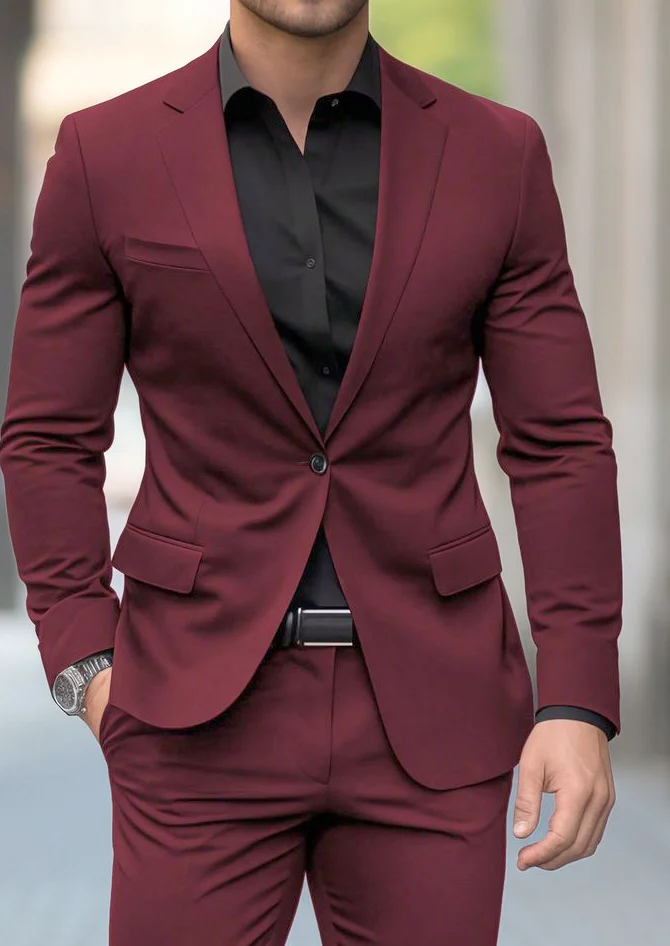
A suit without a tie needs a deliberate choice for its visible middle. Removing the neck accessory from a finished look does not yet explain which shirt, collar or upper area you want left behind. Two references show open dark shirts: blue beneath a similarly dark jacket and black beneath burgundy. Two others have white shirts, ties and waistcoats. Use their differences to identify the neckline you actually want. These pictures establish no general permission for a workplace or invitation; the real expectation belongs to the outfit decision.
1. Begin a suit without a tie with a clear setting
Start with the actual brief. Are you expected to follow an expressly stated dress code, or can you choose freely? Ask about an unclear invitation before deriving a rule from a relaxed photographic stance. For a private meeting with a free clothing choice, describe your own aim more precisely: an open shirt front, less exposed skin or a continuous dark inner area. These preferences give the shirt a task more specific than simply making a suit casual, without prescribing the same solution for every other occasion.
Prepare an existing combination as the starting point. Record which pieces should actually stay: the grey jacket, blue trousers or a particular shirt. A completely new suit is not automatically required. Our wedding guest suit guide helps with invitation and role if that setting applies. Concentrate next on the neckline. Once its task is clear, changing further colours or accessories becomes more useful than replacing several already workable pieces because one appealing picture appears to demand a whole new wardrobe.
2. Choose the shirt opening on the real collar
The seated dark blue reference leaves the upper shirt open with a visible button row beneath. The burgundy example connects an open black collar with a darker central area. Compare two openings on the same actual shirt first. Would you prefer a small open transition or a more clearly drawn V-shaped area? No universal number of open buttons answers every neckline and invitation. The position comes from the worn shirt, your desired exposure and the setting already established, rather than a measurement copied from someone else’s photographed garment.
Inspect the collar with your head normally positioned, then looking sideways. Do its points lie where you want them, or disappear partly beneath the lapel? Choose the line you prefer instead of rearranging it only for a photograph. Wear any intended undershirt during this comparison. If its edge shows, decide deliberately whether that boundary should belong to the outfit. An unintended pale strip can change the middle of a dark shirt more than a small new watch, making actual underlying pieces worth checking before introducing another accessory.
3. Select a dark middle or pale contrast separately
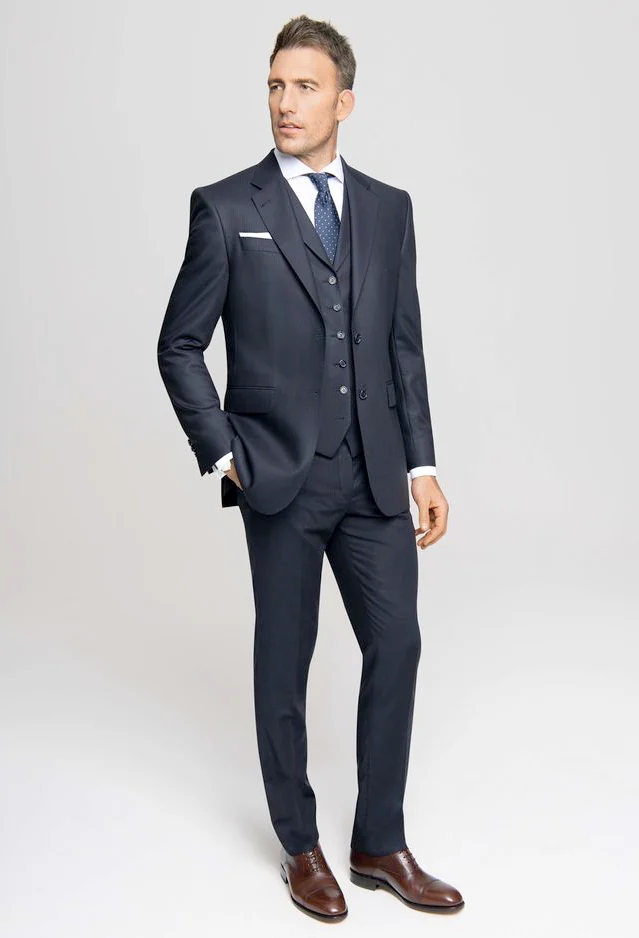
Dark blue shirt and jacket form a closer colour relationship in the seated view. Black beneath burgundy instead defines a noticeably darker inner area. Compare these possibilities on your real jacket. An open neckline need not be pale; conversely, a white shirt without a tie can be its own choice. The white-shirt references do include ties, however. Their complete effect cannot simply be transferred unchanged to an arrangement where that central piece is removed. Enjoying the shirt colour and wanting no tie are separate preferences to test together.
Wear a pale and dark shirt beneath the same jacket in turn. Keep trousers and background reasonably consistent. Choose how distinctly the inner area should stand apart from the jacket first, adding a pocket square afterwards. The small blue accent in the open navy example performs another task from the narrow white chest area in the tied navy look. Not every accessory is needed, but an entirely empty chest is not compulsory either. Choose the small connection whose actual contribution you can identify across the complete upper body.
4. Assess the waistcoat through its own visible area
Both tied references carry waistcoats beneath their jackets, leaving a smaller shirt area between neck and central front. If retaining that layer with a suit without a tie, test it expressly with the open shirt arrangement. You might enjoy the waistcoat as an additional surface. It is neither a necessary replacement for a tie nor automatically too formal for your own freely chosen combination. What matters is the actual boundary between shirt, waistcoat and jacket, giving the layer an identifiable task beyond simply counting how many pieces remain.
Remove the jacket during the trial. Inspect waistcoat and shirt together, holding any intended bag alongside. Do you enjoy this intermediate version too? If removing the waistcoat instead, assess the larger visible shirt area and belt transition again. One less layer changes more than an idea about temperature. Our suit with a turtleneck guide adds another closed neckline if the open shirt front itself does not appeal. Consider that alternative with the same outer pieces so the changed quality stays clear.
5. Inspect the middle beyond a photographic pose
The open dark blue image shows a seated person with one hand in a pocket; the burgundy crop ends before complete legs and footwear. These views help assess shirt and jacket without explaining an entire neutral silhouette. Stand normally in your actual outfit. Let both arms relax, sit and rise again. Inspect collar, button row and trouser transition afterwards. The intended open neckline should remain understandable without one fixed hand position, connecting the preferred photographed line with how your own pieces actually look following ordinary movement.
If a shirt adjustment is wanted, indicate the specific place and discuss another fitting. Ask about the offered collar and existing fastenings rather than deriving unseen construction from the picture. Change only one companion afterwards. New trousers, another opening and a strong square simultaneously make it difficult to identify which decision meets the original aim. A clear sequence does not remove clothing possibilities. It helps choose one for an understandable reason, then test another deliberately later, particularly when a small change to existing pieces might already fulfil the intended task.
6. Record the finished suit without a tie as an outfit
Finally add planned footwear, an outer layer and the real bag. Ask whether the chosen opening suits your setting on arrival, seated and without the jacket. If a tie is intended for part of the sequence, try both states with the same shirt. It need not remain an untested emergency option in a bag. Perhaps one shirt gives you the preferred line in both arrangements; perhaps you want a different deliberate solution for the second. Seeing both on real pieces clarifies what is ready and what needs another comparison.
Save an ordinary complete view of the confirmed outfit and name the reason for choosing it: closer dark surfaces, a pale middle or a deliberately retained waistcoat. Read composition and care information for the actual pieces separately. The GINETEX care-symbol explanation helps interpret the label; photographic colour does not prescribe treatment. A suit without a tie then becomes a specific selected neckline within your outfit, ready to compare with other shirts without beginning again from a general promise of casualness.
A suit without a tie starts with your desired shirt opening. Compare pale and dark middles, choose the waistcoat separately and establish the actual clothing brief.
Frequently asked questions
How many shirt buttons should stay open?
There is no number suitable for every setting. Compare the opening on the actual worn shirt with desired coverage and the established clothing brief.
Does a shirt worn without a tie have to be light-coloured?
No. The references show open dark shirts. Compare light and dark shirts beneath the same jacket before changing further pieces.
Does a waistcoat automatically replace a tie?
No. A waistcoat is its own visible layer. Test its boundary with the open shirt and inspect it without the jacket too.
Can I wear a suit without a tie at work?
Check the workplace or meeting’s clothing expectations and ask if they are unclear. A styling photograph alone does not decide suitability.