A groom suit should give you your own presence within the celebration you are planning together. That takes more than finding the most noticeable suit or dressing every companion alike. Begin with the other person getting married: agree on the overall impression, the formality of your celebration and the details that matter personally to you. These five photographs are different styling references. They establish neither an actual wedding nor the wearers’ roles, but help you compare colour, waistcoats, ties and lapel accents in concrete terms.
Place the groom suit within your shared brief
Describe the desired impression through a few practical choices. Do you both want quiet large areas of colour, a strong contrast or a small recurring accent? Go beyond naming a colour. Dark blue with a white shirt creates a different pale frame from blue-grey checks with a black tie. If a close colour relationship matters, compare real garments or samples together. Two phone photographs taken under different lighting cannot serve as a precise shared colour card for the final decision.
Next, record what can remain individual. You may want separate necklines or different kinds of jewellery while repeating a small colour in flowers or a pocket square. Neither person needs to copy the other. This is particularly helpful when several people offer advice: they can support the agreed direction instead of each suggesting an entirely different suit. Keep two complete candidates and write down which wish each fulfils and what remains unresolved. A clear brief makes later comparisons more consistent than simply choosing the latest picture you have seen.
Distinguish your role without an accessories competition
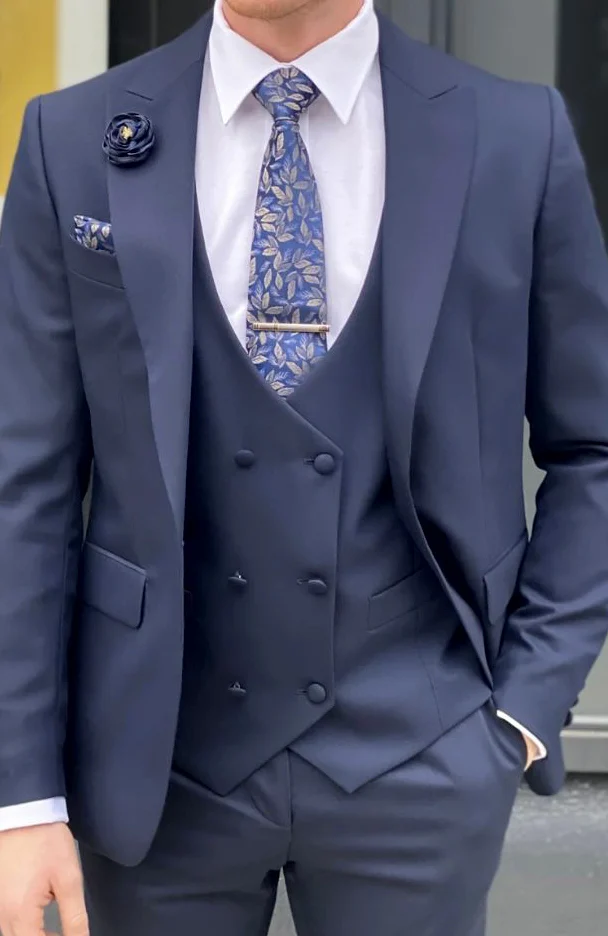
The navy upper-body reference includes a patterned tie, a related pocket square, a tie bar and a dark lapel flower. Four small details share a limited space. You do not have to adopt them all. Decide which one will be your personal marker first. If the flower matters, try it in its intended position on the real lapel with the tie. Remove the pocket square for a second photograph and compare the quieter version from several steps away, where details begin to merge.
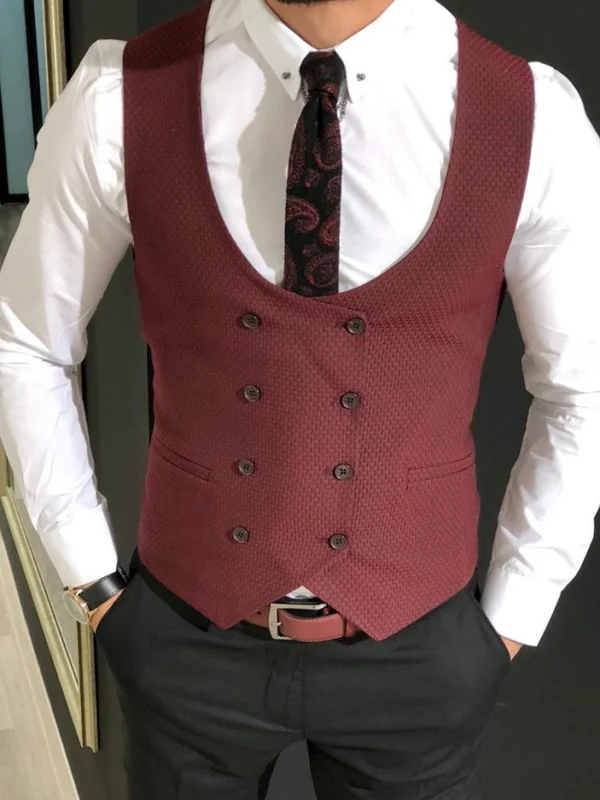
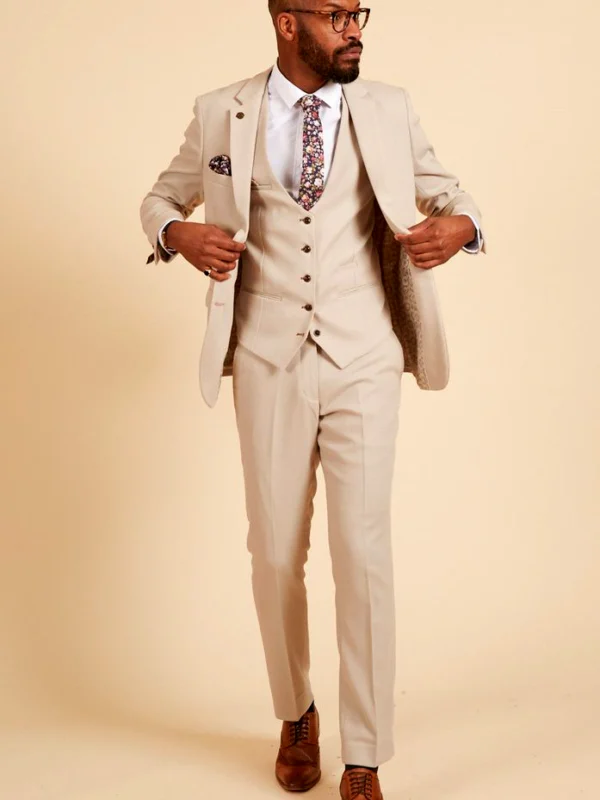
A groom suit can also gain its individual character through a waistcoat or colour. The burgundy reference already differs clearly from the pale beige outfit through its large colour area. Discuss whether companions should share only a general palette or one particular detail. Avoid creating an unspoken hierarchy in which more accessories automatically suggest a more important role. The contrast waistcoat guide helps specifically when the inner area is the personal focus you want to develop. It is one route within your shared plan, rather than a requirement for identifying the groom.
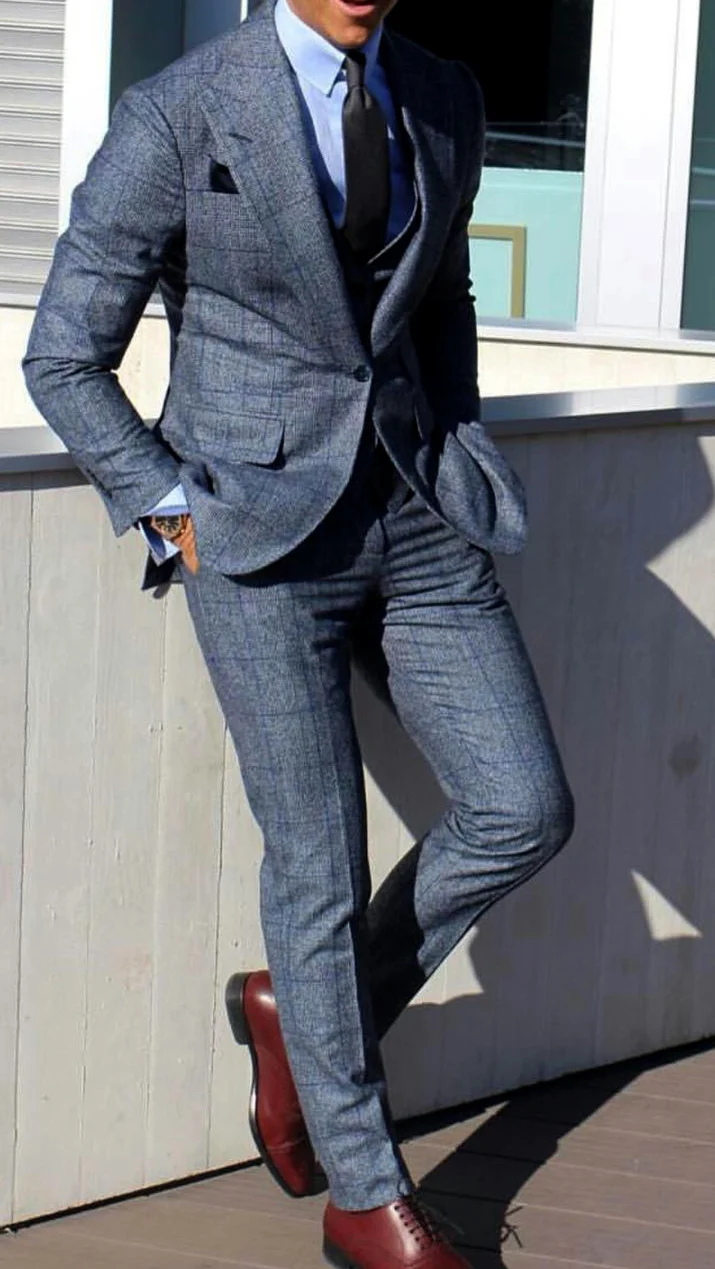
Compare colour through two complete central areas
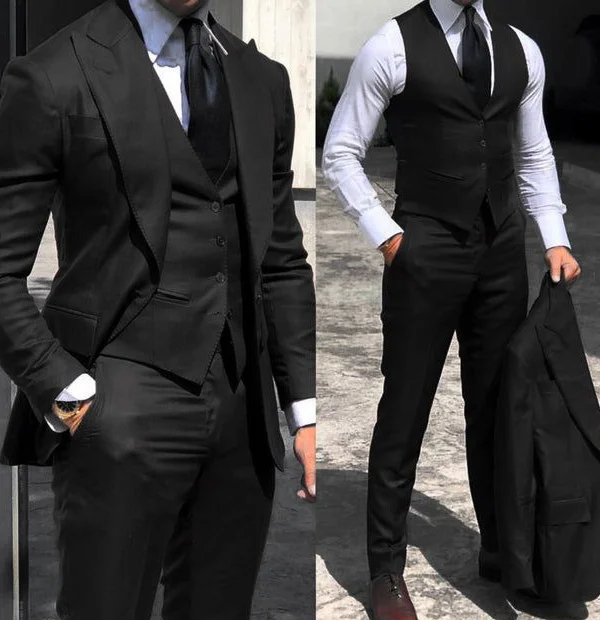
Start with pale beige, a white shirt and a brown patterned tie against burgundy, white and a dark tie. Both preserve a pale shirt frame, yet the surrounding colour changes the overall impression. Then consider blue-grey checks with a pale blue shirt and black tie. Small lines join the larger surface there. Decide whether you want the main colour to register first or whether a pattern noticed at closer range should have a significant part in your outfit’s character.
If you both wish, view your favourite full length beside the other person’s intended combination. Two chest crops cannot show the whole relationship. A wide skirt, long train or different trouser outfit changes the shared silhouette. Deliberate coordination can mean remaining clearly different. If you must fit alone, bring a small sample or an agreed description. Avoid promising a precise match from memory. Record what you can actually compare, then arrange the missing joint view before treating the overall decision as complete.
Decide how the waistcoat and jacket will be worn
The blue example has a double-breasted waistcoat with its own overlapping front, making a prominent centre. In the burgundy picture, a single button column continues beneath the jacket. Do not compare these routes only with a closed jacket. Try the actual candidate open, closed and without the jacket if you expect to remove it later. You can then see the shirt, waistcoat and waistband together, and decide whether the more relaxed phase still looks like a complete outfit you want to wear.
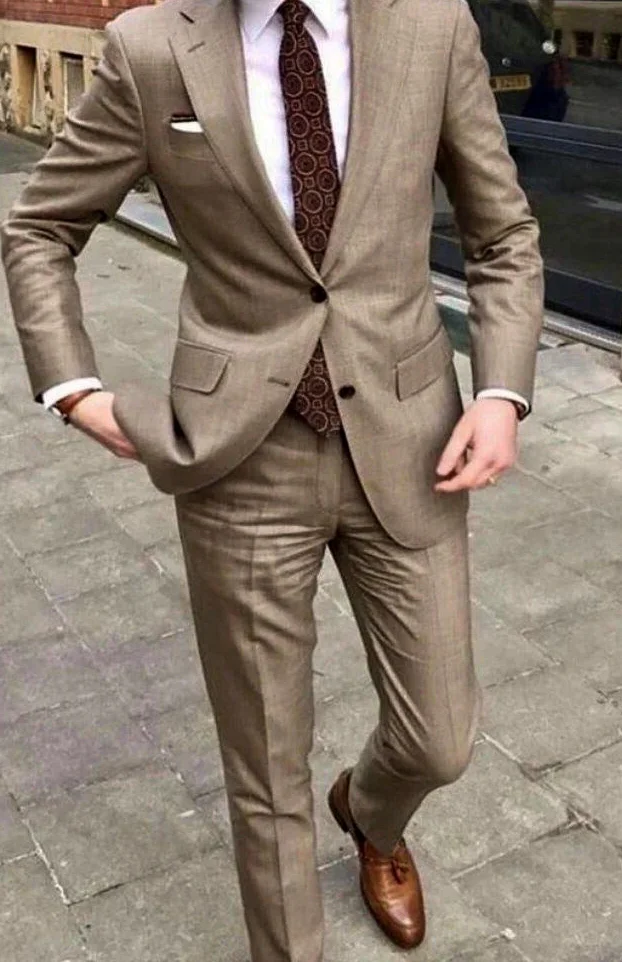
A waistcoat is not a necessary sign of your role. You can plan a deliberately two-piece groom suit and place personal emphasis elsewhere. The two-piece suit guide supports that basic choice. Check the real available version and its waistband, rather than imagining a matching back. The navy upper-body picture has no lower legs at all. Ordering or alteration decisions therefore need your own full-length view with the intended footwear, even if the upper crop already seems to express exactly the right idea.
Rehearse your real ceremony tasks during the fitting
Write down what you will actually do: stand, sign something, hold an object, embrace someone or give a short speech. These are possibilities, rather than mandatory parts of every wedding. Rehearse only your own sequence. Sit at a comparable table, bend your arm and reach for the object. A suit tested only with both hands in the pockets has not yet been assessed through these movements. If something bothers you, note the exact moment rather than describing the whole suit vaguely as tight or loose.
The brown double-breasted reference with a briefcase raises a useful contrasting question: what will occupy each hand later? The bag belongs to this photograph and need not enter your celebration outfit. If you plan to carry something, test the real object without constantly pulling the jacket or lapel detail back into place. Photograph a relaxed standing and seated position afterwards. You can then discuss alterations specifically, such as a troublesome upper-arm area or a front that pulls upward uncomfortably when you sign, instead of changing unrelated details.
Record the groom suit as a finished set
After choosing, assemble the shirt, tie, pocket square, shoes and waistcoat if included. Label a photograph with the pieces actually selected and list outstanding alterations. Different footwear or a revised trouser hem needs another joint check because that decision affects more than an accessory. Plan who will keep a small object or the jacket after you take it off. A straightforward practical arrangement may help more than adding another decoration whose place during the day has not been considered.
Finish with a preferred combination and, if useful, a reduced version. Your groom suit then remains a complete personal appearance within the shared plan. Resolve care on the real garment before treatment; GINETEX explains care symbols, and the label is decisive. Request information for separately purchased pieces too. Photographs establish neither fibres nor a cleaning outcome. After the celebration, you can consider which combinations you want to wear again without assuming every ceremonial detail must remain in every later outfit.
Start a groom suit with your agreed overall brief. Choose a personal colour or detail, then test the complete set through your real tasks with and without the jacket.
Frequently asked questions
Does a groom need to wear a waistcoat?
No. Decide from your complete brief and try a deliberate two-piece option if useful. A waistcoat is not a necessary marker of the role.
Must both people getting married wear the same colour?
A shared decision may include different main colours with a small connecting accent. Compare real pieces or samples together.
Which movements belong in the fitting?
Rehearse your actual tasks, such as sitting, signing, embracing or holding an object. Record the specific troublesome area and movement for alterations.