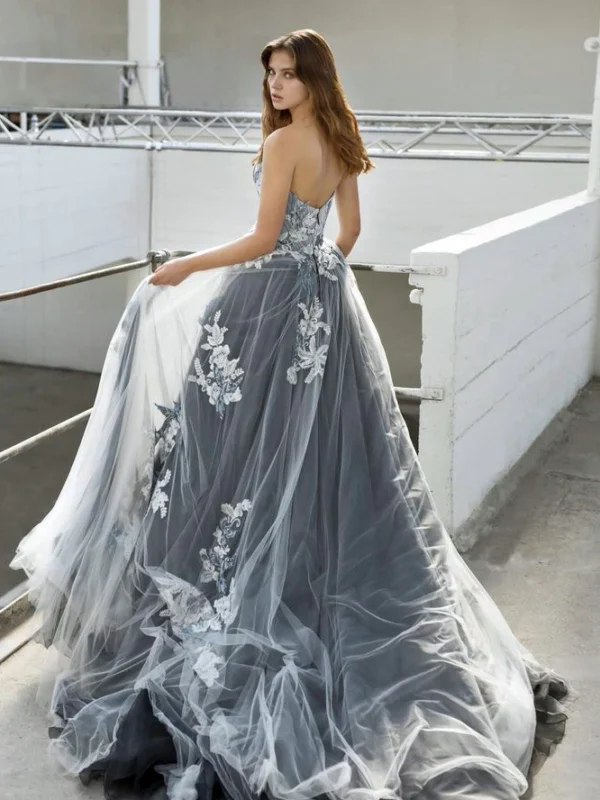
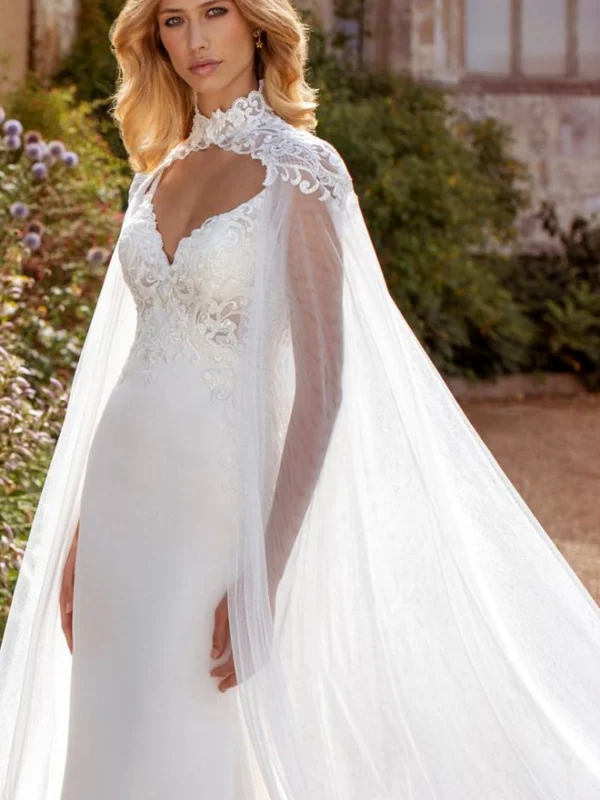
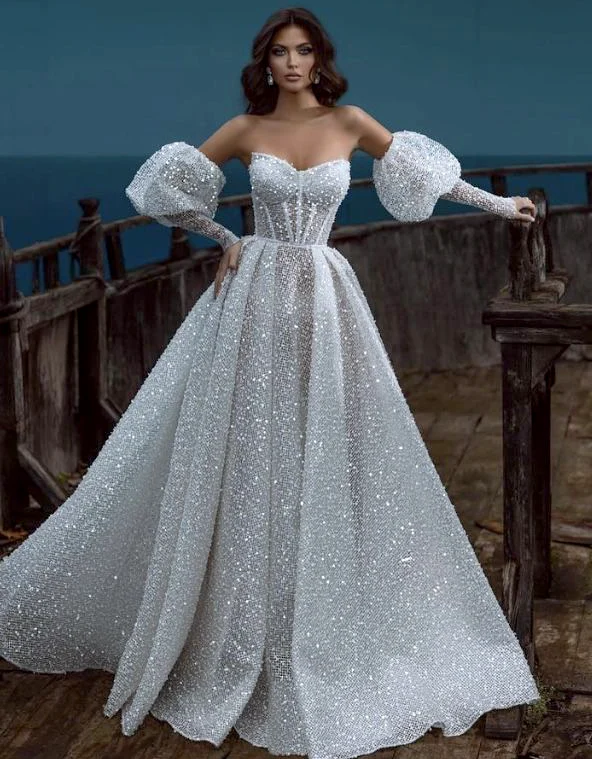
A U-back wedding dress opens the rear area through a rounded line. That line may look narrow and deep or broader and shorter. The references show several low rounded backs, an angular alternative and a front view without its back visible. The largest exposed area need not be your goal. Choose the curve and border decoration you actually want to wear. Begin at the rear neckline before adopting the photograph’s longer narrow skirt, hairstyle or deliberately arranged train. Each is another property that can be selected separately.
The Adore by Justin Alexander description of Laila names a rounded scoop back and cap sleeves as separate features. That distinction helps you ask about the back curve and side coverage individually. It identifies none of our archive photographs and transfers no material, support or comfort claims to them. Establish construction on each real candidate separately.
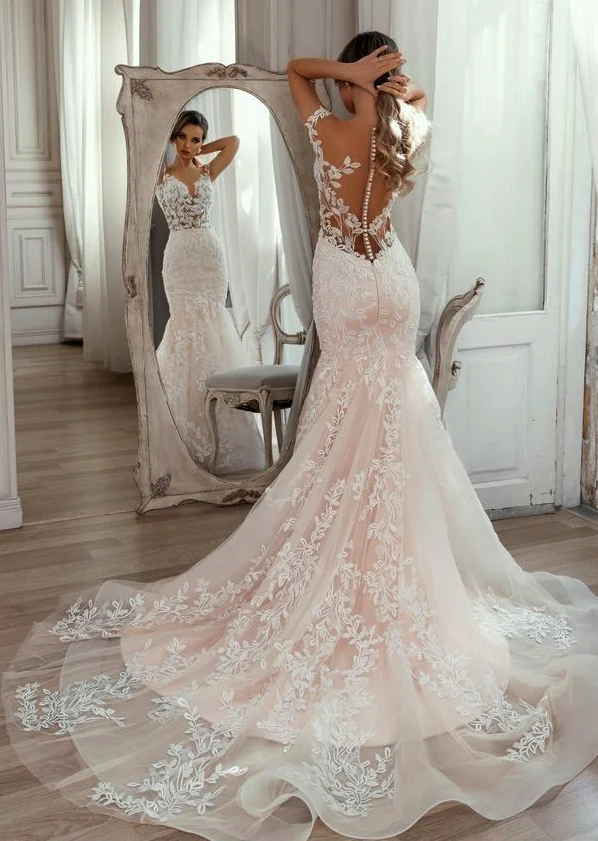
Look closely at the curve of a U-back wedding dress
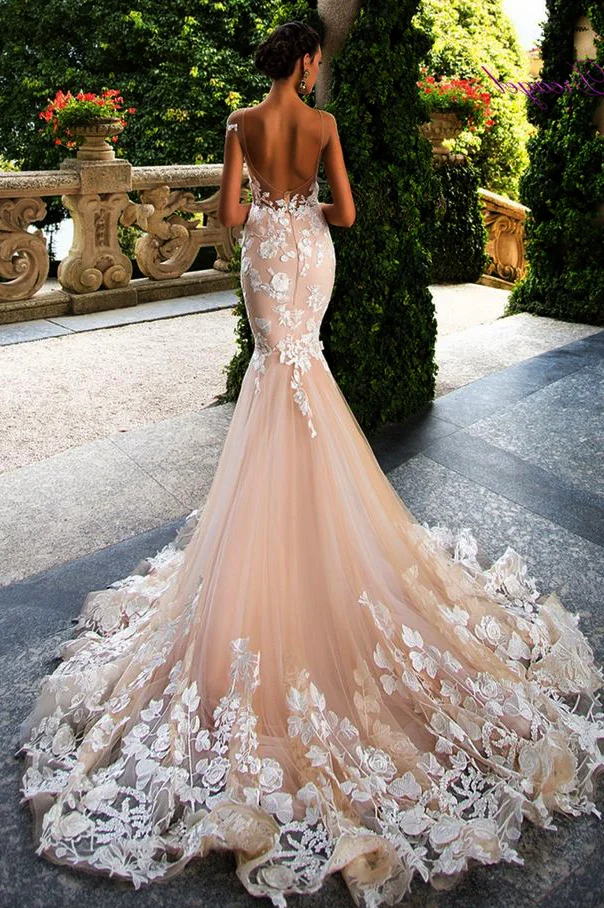
The image with short patterned shoulder areas shows a longer open back with a rounded lower finish. The side-facing photograph with a raised arm also carries the opening into a deeper curve. The reference with long patterned sleeves instead introduces a more angular, V-like boundary. Describe this difference first: do you want a soft curve or a definite lower point? The broad term backless does not answer that question. Similar depth can meet different lower finishes, and a longer opening need not be the one you prefer.
Follow the visible outside edge rather than every motif within the area. A floral extension can suggest a corner without establishing where the entire opening ends. Request an unobstructed straight rear view on the actual candidate. If a sheer-looking area is present, ask where fabric lies and where the surface is open. This makes the desired curve easier to describe. You do not have to select greater depth merely because a particularly long photographed opening first caught your attention. Keep your preference attached to the actual boundary.
Describe width and depth as separate preferences
A narrower deep back leaves more decorated surface at the sides. A form opening farther apart above creates another distribution between middle and shoulder areas. Consider these properties in turn. Establish the preferred upper width first, then assess the lower ending point. Two real dresses with comparable width but different depths make this task easier than entirely different complete outfits. Keep hair clear of the back and arms relaxed initially. An unchanged viewing distance also makes differences in the amount of open area easier to judge.
Look from normal conversation distance and closer afterwards. Perhaps the soft curve matters while exact depth is secondary; perhaps the longer open middle is your main wish. Record the priority without looking for one ideal measurement for every body. The backless wedding dress guide adds broader hairstyle and veil questions. Use it after choosing the shape rather than requiring every companion to be settled before comparing two rounded edges. Hair can then deliberately reveal or partly conceal the line you selected.
Separate the decorated border from the open middle
In the rear view with fine shoulder lines, larger floral forms sit beside the open centre and continue over the lower dress. The closer side photograph instead shows many smaller curling patterns. Both can accompany a rounded opening. Choose whether you want distinct individual shapes along the edge or a more densely decorated border. Do not automatically choose that property with depth. A related curve can look different beside a quieter or more decorated surface, even when its basic direction stays similar.
Request a close view of the same area at the fitting while retaining the complete rear view as your reference. Some motifs may extend past an outside fabric edge; their position alone should not decide your intended coverage. Clarify the actual construction on the dress. Floral motifs establish neither a fibre nor a manufacturing method. Visible scale and distribution are enough for the initial styling choice. If an edge is to be altered, ask which motifs would disappear or finish differently as part of that specific change.
Obtain front and side views of the same model
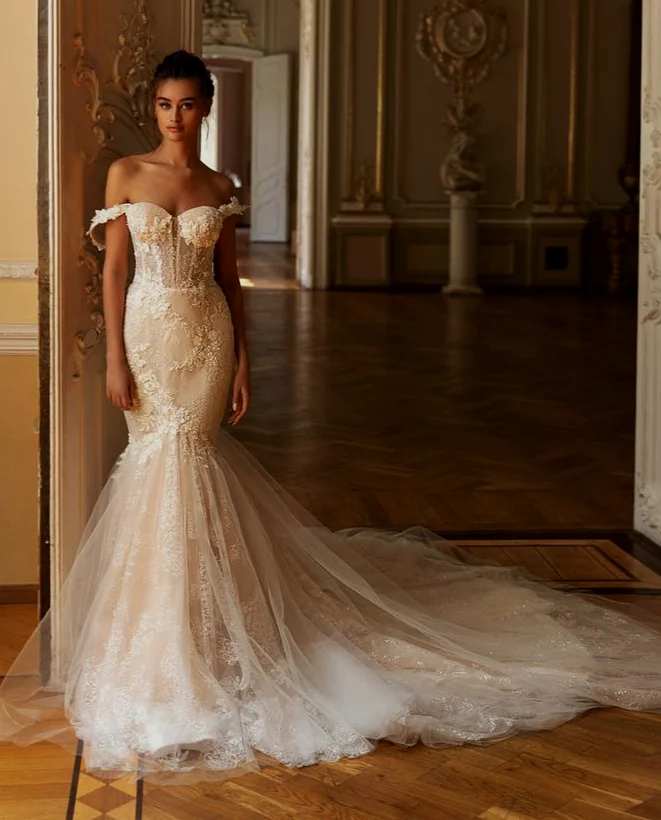
The sequence’s complete front view shows a narrower long silhouette with short side shoulder bands, but does not explain its matching back. You can like that upper idea while wanting a different rear line. Avoid mentally attaching its front to another photograph. Request matching front, side and back views of the offered model. A reflection within one picture cannot replace unobstructed complete views of every relevant edge either. The relationships need assessment together on a real garment rather than through an imagined combination of separate examples.
Check at the side where the rear border meets shoulder area and front. This connection may matter more than another increment of depth. An open area behind does not automatically establish the same exposure beside the arm. Keep the intended upper-body arrangement similar during comparison. The V-neck wedding dress guide explores the front if that decision remains open. Do not choose both sides through the same label, however: a V front and U back are independent preferences that need a genuinely matching candidate.
Read the back shape beside the lower silhouette
The photographs mostly connect their back lines to narrower long dresses that widen lower down. One places a broad patterned area across steps; another spreads its rear edge over an even surface. That can change the overall picture substantially. Concentrate on the upper body for the first neckline comparison, then assess the lower shape you want beside it. Your preferred curve does not require the same amount of skirt or a similarly spread train. The whole photograph can be attractive without making every part a requirement.
Compare two candidates with a similar rear opening when you subsequently decide about lower fullness. Keep hands away from the hips initially, even where the reference adopts that posture. View the side and ordinary skirt fall. You can then identify whether your preference concerns the back line or mainly the lower form. Both may appeal, but describe them separately. A later train alteration needs its own discussion; it does not follow automatically from wanting a rounded back. Retain the confirmed rear preference while that other question is explored.
Once the edge is settled, the bridal accessories guide adds headpiece, earrings and veil comparisons. Try those pieces individually after the unobstructed rear view so you can identify which sections of the selected curve remain visible. Include the final hairstyle in that assessment.
Confirm the curve in your ordinary posture
Move hair aside initially and let arms hang normally. View the chosen edge, turn slightly and bring your hands forwards once. Avoid arranging the border with your fingers before every view. Observe whether the curve remains as you selected it. A raised-arm pose like the side reference is another state rather than a neutral fit view. Ask about a specific solution on the actual garment if an area sits differently from your preference during ordinary movement. Describe the place and action instead of requesting an undefined tighter fit.
Add the intended hairstyle and any veil afterwards. Choose how much of the selected curve should remain visible. Read the garment label; the GINETEX care symbols support interpreting its instructions. A sheer-looking border cannot determine treatment. Finally record upper width, desired lower curve and motif edge in three short notes. These let you assess another fitting precisely rather than reproduce an entire photographed back with its skirt and pose. The confirmed relationship belongs to your own complete dress.
Choose the rounded back line independently of skirt and front. Compare width, depth and border decoration on the same garment instead of combining unrelated photographs.
Frequently asked questions
Is every deep rear opening a U back?
No. An opening may finish in a point, angle or V shape. Follow its actual outside edge and distinguish that from individual motifs.
Can I add the front from a different photograph?
It may express another preference but cannot establish the front of the same garment. Request matching views of the actual model.
Does a decorated border establish a particular support arrangement?
No. Border decoration and actual internal construction are separate information. Ask about the specific construction and try the offered dress.