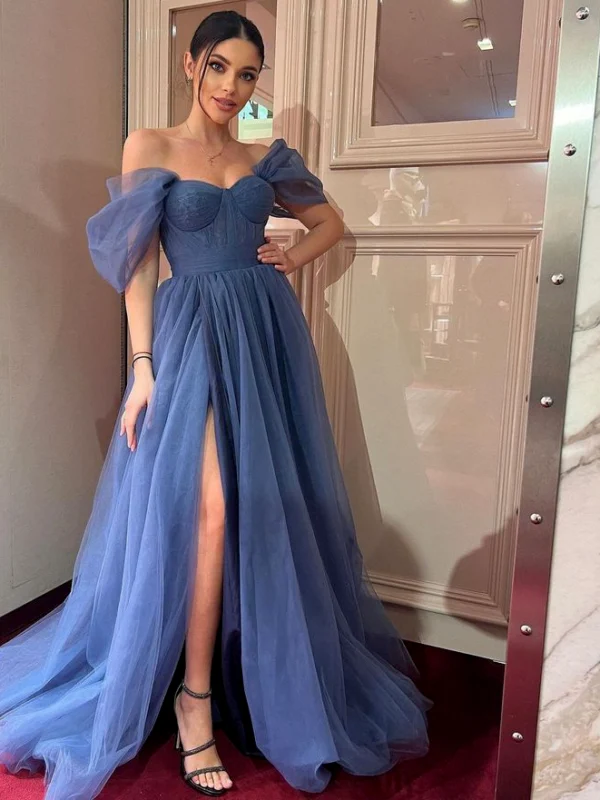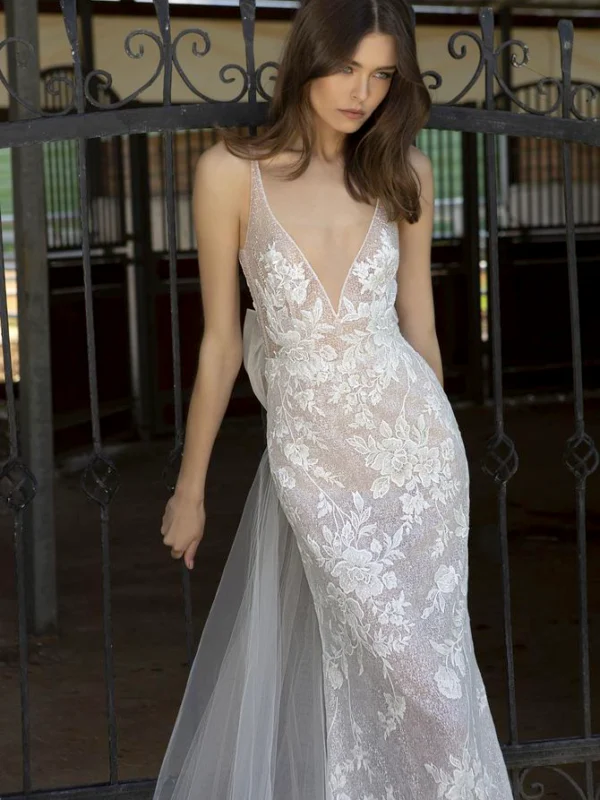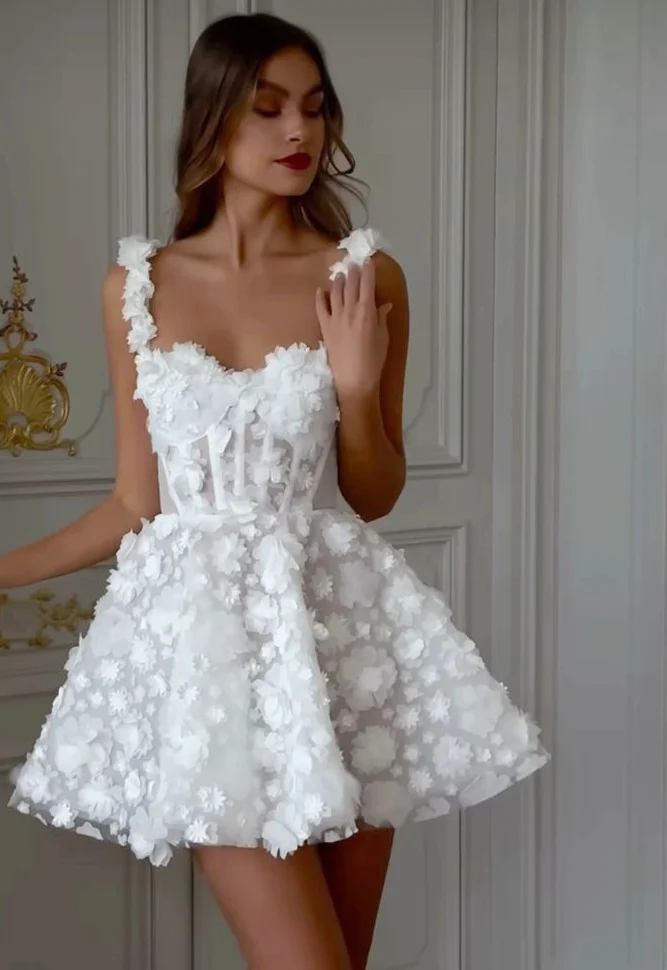
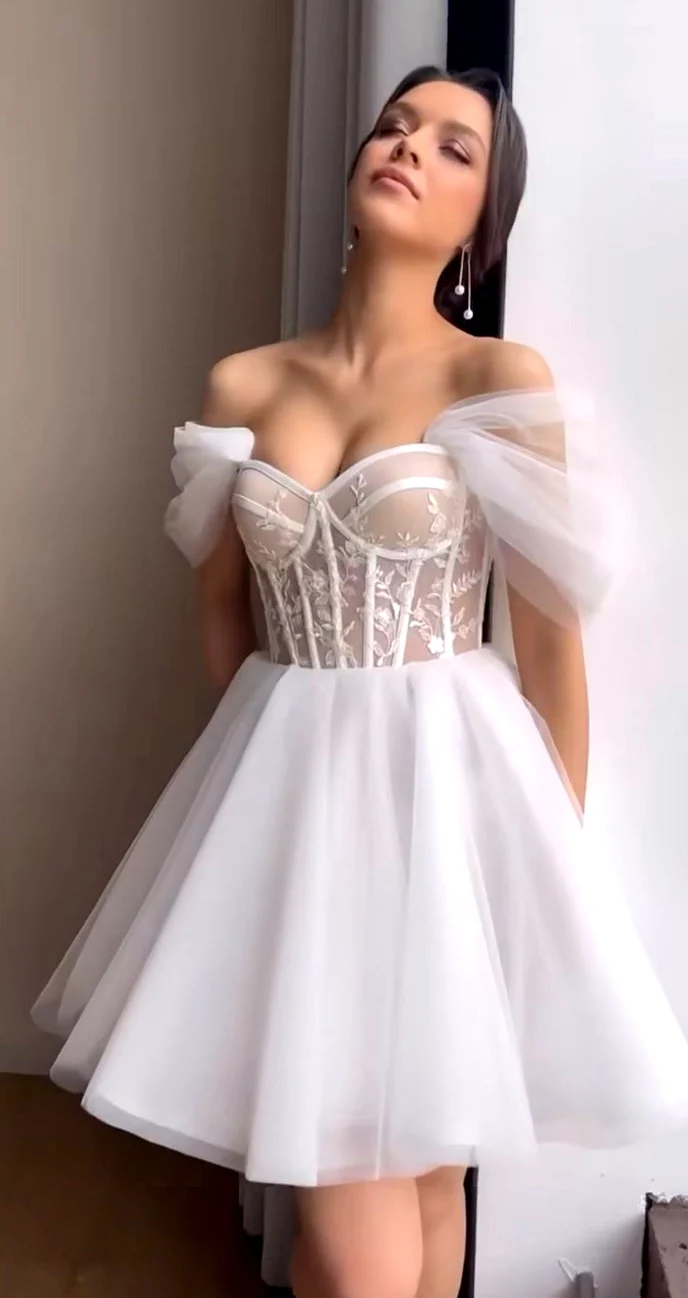
A short wedding dress may have an evenly short skirt edge, a longer below-knee shape or a short inner area beside a longer outer line. Those differences determine how much leg and shoe remain visible and how the outfit changes from front, side and rear. The six references offer floral shapes, quieter skirt surfaces and sides of different lengths. Do not choose by the word short alone. Describe the visible hem and the area continuing behind or beside it, then assess both on the actual garment. This identifies which property of an attractive photograph you genuinely want to borrow.
Choose a short wedding dress through the actual hem
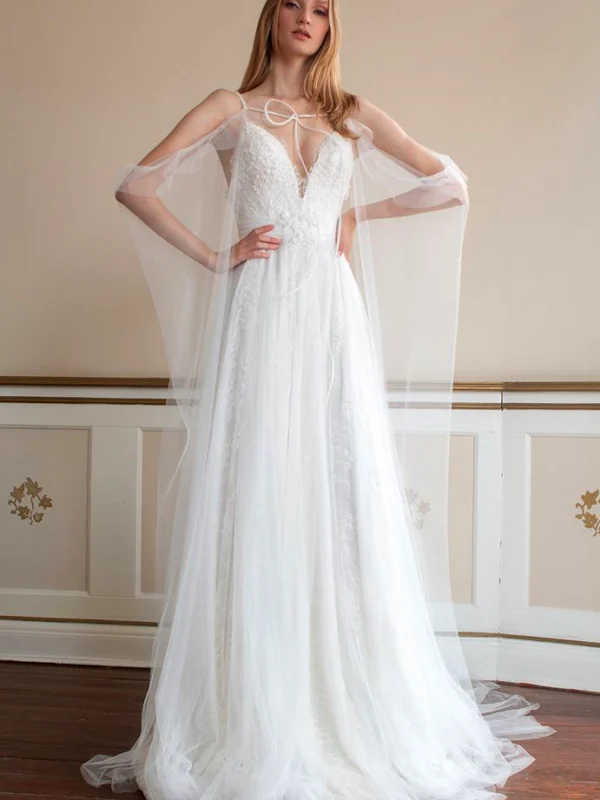
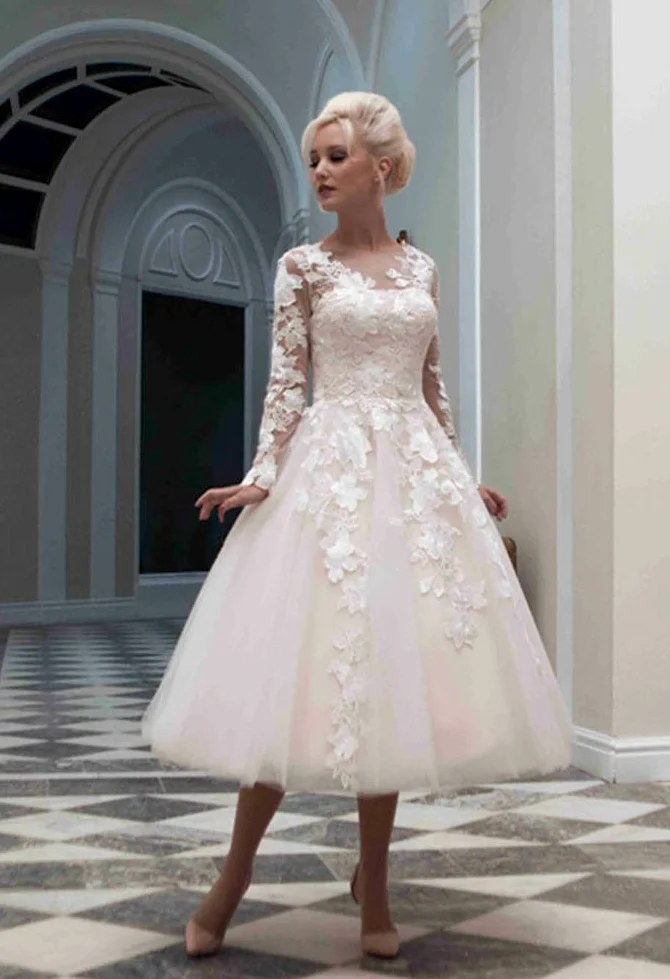
The short white references finish clearly above the knee, while the pale option with long patterned sleeves extends farther down. That version covers more leg but still provides a shorter solution than a floor-length dress. Establish the visible length you want on your own body. A product label cannot show where its hem will fall on you. Request a relaxed front view at the fitting and use the intended shoe height from the beginning. A later change of heel can require another look at this relationship.
Compare two lengths with as similar an upper shape as possible when deciding mainly about the hem. A different neckline or large jewellery may otherwise obscure the effect. Stand with feet normally together, walk and sit. Choose which visible area you enjoy in each state. There is no universal correct boundary. The concrete relationship between hem, shoe and your intended appearance is more useful than assuming that a short category must look identical on everyone. Base the decision on the actual length you see and wear.
Separate the short inner area from longer outer lines
One reference joins a narrow short inner dress to a long sheer-looking outer area at the sides and rear. Another has a shorter front and longer back skirt line. Both can look very short from the front while still carrying fabric near the ground. Request matching front, side and back views for that reason. Assess the complete outside edge of the actual model rather than only its shortest point. The second view belongs to the length decision, not to a minor extra discovered afterwards.
Visible layers establish neither detachability nor separate delivery. Ask to see how the real outer area connects and which states are intended. If a provider confirms a detachable arrangement, test both states on the product. Without that information, the photograph remains a shape reference. Bridal accessories adds questions about companions, while Two-piece bridal outfit supports thinking about genuinely separate pieces. Borrow the relevant question without automatically declaring a visible layer a purchasable two-piece outfit. Separating product information from the styling idea makes both parts of the choice clearer.
Choose skirt width independently of the upper section
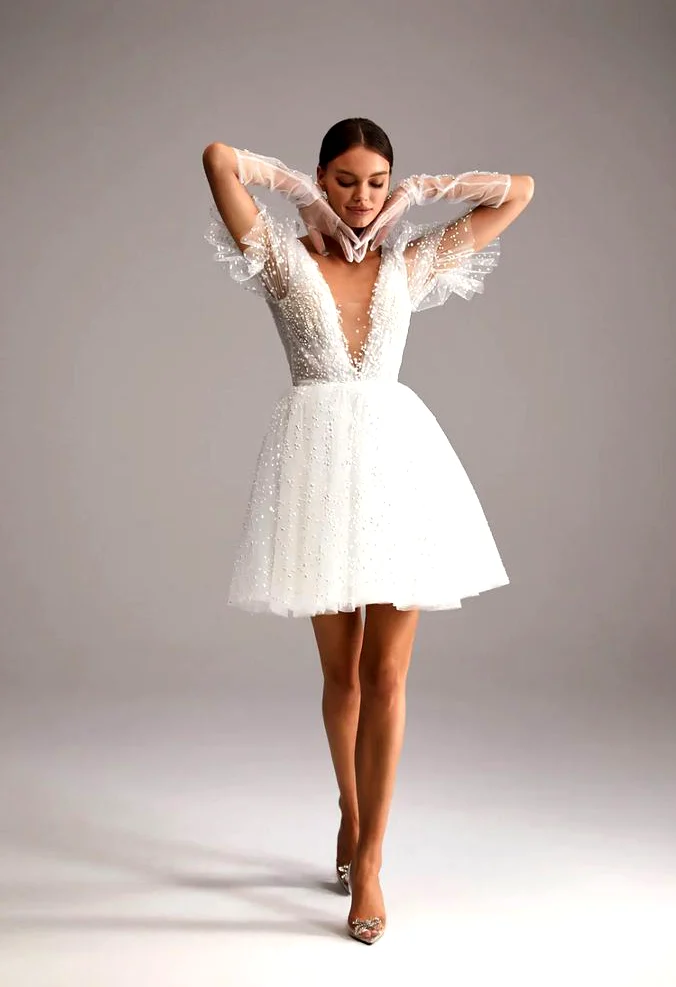
The short floral model with broader shoulder lines has a clearly outward-opening lower shape. The short-inner-area reference stays narrower inside, while longer outer sides supply more width. The pale long-sleeve option instead provides a larger continuous skirt area. Decide whether volume should sit directly around the legs or mainly in the longer side lines. You may enjoy a short length while wanting a different distribution of lower fullness. One category word does not require selecting every shape detail together.
Look at the upper section afterwards. A sheer-looking middle with drawn vertical lines, a deep V direction or a higher motif edge offers different frames. None of those upper wishes is necessarily tied to the same short skirt. Find two real candidates that test the relationship you want. Assess the whole shape with relaxed arms and a neutral side view. This helps distinguish basic skirt width from a pose in which outer fabric is deliberately held away. You can enjoy that movement while still understanding its difference from ordinary standing.
Treat shoes as continuously visible pieces
With short forms, shoes are more than occasional accents beneath a long hem. They may remain visible throughout the day. Compare two specific shoe ideas with the same dress instead of choosing a general colour first. A quieter shape can leave the hem and upper section in charge; a more visibly decorated version may become its own lower focus. Decide whether you want that added weight. Using the short dress idea does not require repeating the pictured pair, and your own purpose may lead to another convincing combination.
Take ordinary steps in both options and look from front and side. Sit at a height similar to what you expect for the occasion. Observe the relationship between shoe, hem and any longer outer area. Different shoe heights change the comparison too. Separate the shoe-shape question from a possible length alteration. A decision on the actual garment is more concrete than an appealing screen picture without a known size relationship. Keeping the trial sequence consistent also helps identify which change you genuinely prefer.
Introduce sleeves, gloves and small upper accents individually
The references distribute decoration differently. One short white dress shows large side fabric shapes near the shoulder; another combines a deep upper opening with short decorated sleeves and long gloves. The longer pale shape continues floral lines over arms and skirt. Choose which area should lead. A clearly short hem does not automatically require a quieter upper section. Decide the amount of drawing across the complete outfit rather than substituting a general balancing rule for your own preference.
Try gloves and jewellery individually with the intended hairstyle. View your hands beside the skirt and while holding a small object. A long glove is another line rather than a compulsory feature of a short bridal outfit. Large shoulder details may also create a different outside outline with a veil. Check that relationship together. Before deriving a decorative technique or material from floral forms, read genuine product information. For the initial styling comparison, visible size and position already provide useful evidence to transfer to your own actual pieces.
Confirm the complete length through the planned sequence
Wear the important pieces together and test movements relevant to the occasion: arriving, sitting, standing and taking several free steps. Check the normal position of every longer outer area. Do not hold it continuously in your hands during the comparison. Decide which view you want to retain in standing and movement. If a change is proposed, reassess the short hem, shoe and any longer rear line together afterwards. Adjusting one area can change another view, so return to the same complete arrangement.
Read the real dress’s care label and that of each additional piece. The GINETEX explanation of care symbols supports interpreting labels; a pale or sheer appearance cannot determine treatment. Record confirmed construction and delivered pieces. Your result may be evenly short, longer below the knee or designed with a broader outer line. What matters is that you selected that actual length and have seen it yourself with the intended shoes and companions. You can then describe a concrete outfit rather than only the word short.
Compare the genuinely short dress area with every longer outer line. Visible layers do not establish detachable pieces or separate sale contents.
Frequently asked questions
Is a dress that is short in front short everywhere?
Not necessarily. These ideas also show longer rear or outer lines. Inspect front, side and back of the same real model.
Can I remove the long outer layer?
The photograph cannot establish that. Ask about the actual connection and included pieces in the specific offer.
Should I choose shoes before deciding length?
Use at least the intended shoe height at a fitting. A short hem makes the shoe a more prominent part of the complete picture.