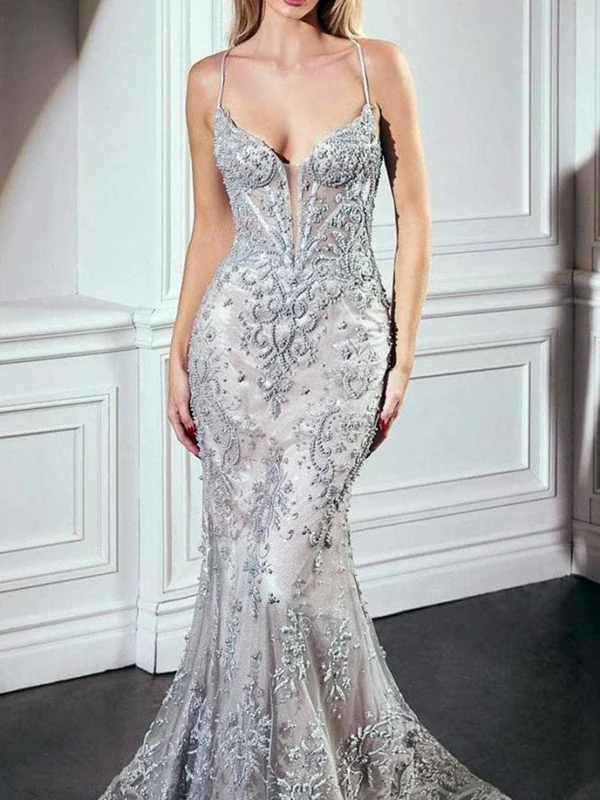
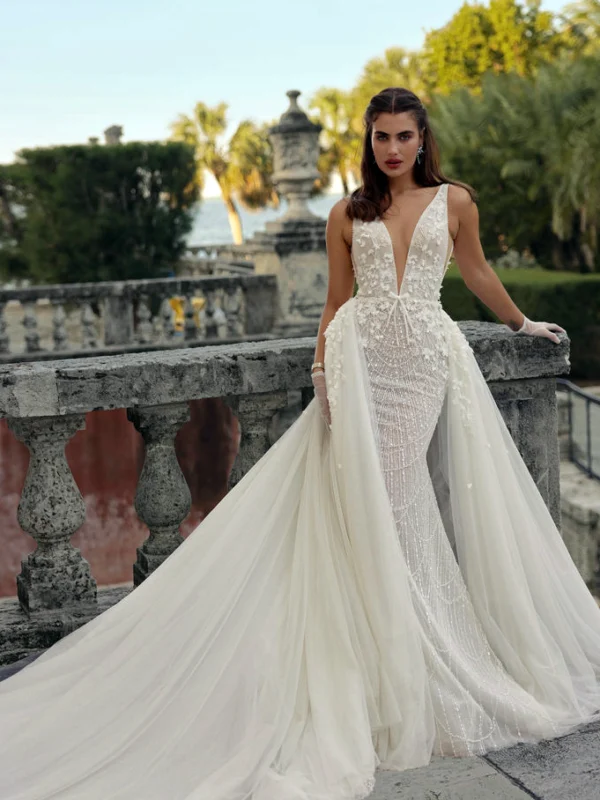
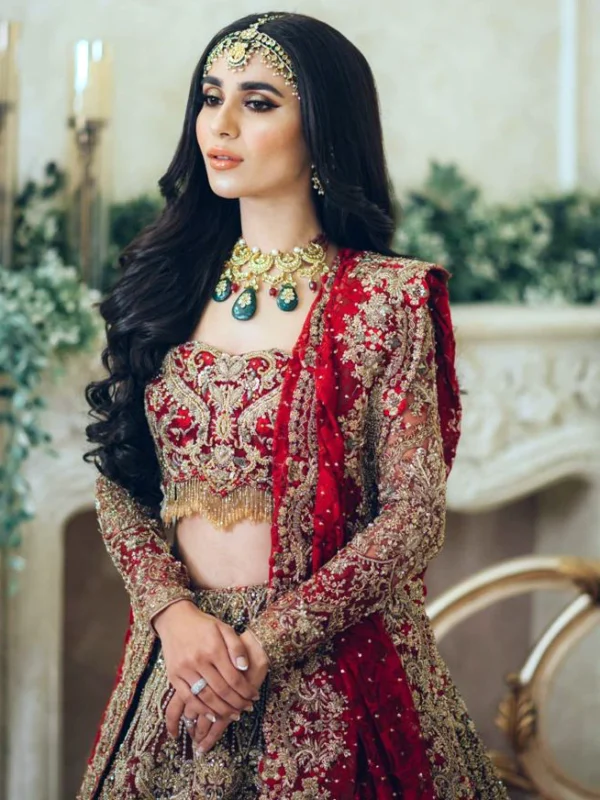
An off-shoulder wedding dress moves the upper frame from the shoulder top to the outside of the arm. Decide not only whether you like bare shoulders, but where sleeves begin, how the neckline curve relates to them and what happens at the wrists. The pale example with long floral-looking sleeves shows this combination clearly. Three other dresses with shoulder straps provide comparisons. This comparison helps describe the visible neckline and sleeve arrangement for your fitting.
Distinguish an off-shoulder wedding dress from shoulder straps
In the long-sleeved reference, the shoulder tops remain bare while floral-looking sleeves begin below them around the arms. The bodice has a rounded, clearly outlined upper edge. That creates a different frame from the three strapped examples, where the cloth line continues over the shoulder. Decide which route you want in the first comparison. Bare shoulders with long sleeves are a particular combination; simply choosing between more and less cloth does not describe that relationship fully enough for a useful fitting brief.
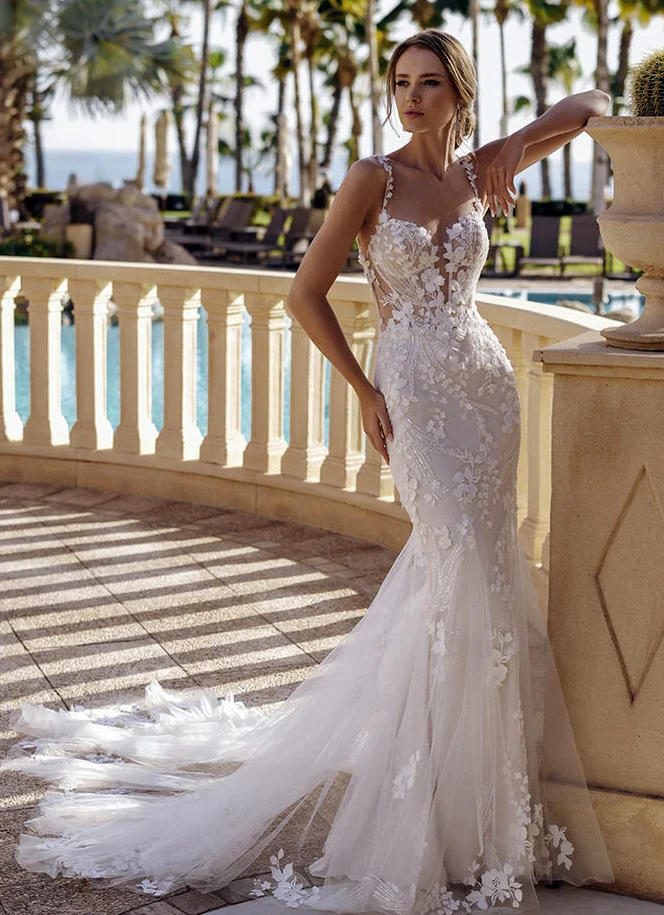
The broader floral-strap reference carries pale details along the shoulder. The fine-strap V example leaves more free space beside the neck but retains a connection over the shoulder top. The third comparison also has decorated fine straps beside clearly framed upper sections. Compare these routes only as far as the chest at first. You can name whether you prefer an upward continuous line or a deliberately interrupted shoulder frame without reselecting the entire skirt simultaneously. Record that single difference before moving into the rest of the outfit.
Check the sleeve start together with the neckline curve
Assess which sleeve-start height feels suitable on the actual candidate. You do not need to alter anything to begin: ask to see the existing line and look with your arms relaxed. Check where the upper neckline edge sits in relation to it. A rounded centre with lower side sleeves can draw a broad opening across the upper area. Decide from the real view on you instead of copying a desired centimetre measurement from another person’s photograph. A slight side angle makes the relationship easier to assess alongside the front.
An off-shoulder wedding dress particularly needs that side view. From the front, a sleeve may look like an independent pale area around the arm; a slight turn reveals how it enters the upper line. Photograph the same real dress from front and side. Ask what changes its actual construction permits rather than assuming removable sleeves or freely movable starting points. The floral open-looking effect establishes neither internal support nor the function of a particular seam. Those remain specific product questions, separate from liking the visible outline or wanting a similar shape.
Test arm use instead of recreating the photograph’s pose
In the long-sleeved picture, the hands rest quietly in front of the body. This shows sleeves and wrists well but no complete movement sequence. During your fitting, raise the arms slightly sideways, reach forward and let them relax again. Observe two things separately: how the sleeve start moves and whether you want to readjust the upper edge afterwards. Describe a troublesome point precisely so an alteration addresses the real task. A specific movement and location are more useful than calling the whole dress generally tight or comfortable.
Rehearse only the actions you plan for your celebration. You might hold flowers, embrace someone or sit at a table; not every wedding has the same sequence. Use a relevant object or comparable arm position in the fitting. The broader-strap comparison has one arm raised against a column, which is also a posed reference rather than proof of comfortable movement. Judge your candidate by actual use, not by whether you can hold that one position long enough for a photograph. Check how the dress remains after you release the pose too.
Select the wrist area as its own small space
The long sleeves in the off-shoulder reference reach the wrist area, where pale floral lines sit immediately beside the hands. If you are considering a watch, bracelet or hand jewellery, put on only that one item first. Check its visible distance from the sleeve edge with relaxed hands and a bent arm. The sleeve may already make a clearly drawn hand frame; extra jewellery is therefore a separate choice rather than an automatic completion of the look. Add the position of holding your actual planned object to the comparison as well.
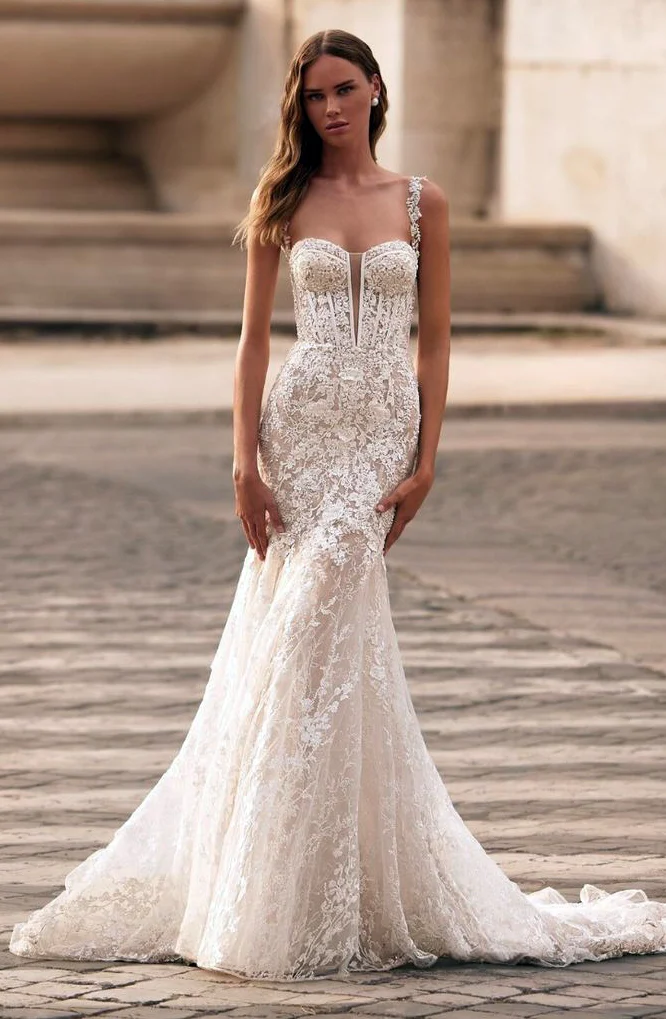
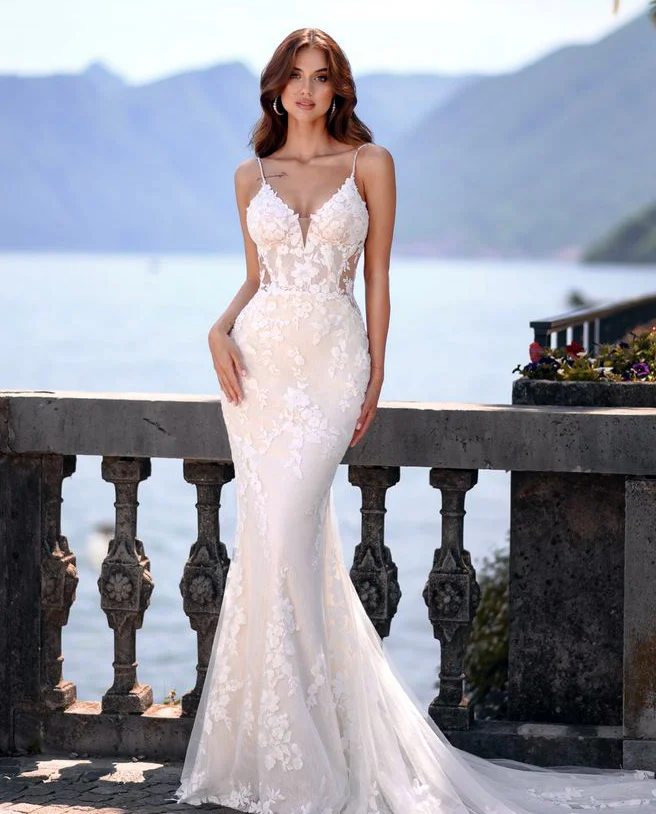
Compare the hand area with one of the sleeveless strapped references next. Forearms and wrists remain a larger free space there, giving a small jewellery item a different distribution. You do not need to copy the same necklace or ring. Record whether you prefer a quiet transition to the hand or an extra small marker on the real candidate. The bridal accessories guide adds help with several jewellery positions. Decide neck and hands separately before putting everything on together, so you can identify which individual addition changes the result.
Consider bare shoulders and a neck accent together
The off-shoulder example has a small necklace within its open upper area. Use it to prompt two versions of your own: the dress alone, then with your intended necklace or small neck accent. Look at the complete neckline curve rather than only the centre. If the free frame already feels sufficient, nothing needs to fill it. If you want an accent, test its position on the actual garment rather than predicting the effect from an isolated product photograph. Repeat the comparison with head and arms in their normal relaxed positions.
For a planned veil or outer layer, check next how much of the shoulder frame remains visible. Wear the real pieces and turn slightly. A missing rear view here cannot be completed from another dress. If you want more covered space at bodice or arm, the sheer wedding dress guide helps name the intended visible areas. Alternative coverage needs to be checked on the actual product; this photograph establishes no interchangeable inner layer. Describe the desired result first, then ask how the real candidate could provide it.
Complete the upper decision with the whole dress
The off-shoulder reference has a wide skirt and visible front slit. The three strapped comparisons instead have closer upper skirts that widen lower down. This difference changes the overall impression but is a second decision beside the shoulder line. Photograph your favourite full length in the intended shoes. Decide whether the upper frame works first, then check the whole outline walking and seated. Avoid treating different dresses as interchangeable components of a single model; combining one upper idea with another skirt would need its own confirmation on the real product.
Finish with a concrete brief: perhaps an off-shoulder wedding dress with a rounded upper line, long floral-looking sleeves and a simple finish at the wrists. Add open construction questions and possible alterations. Before cleaning or pressing, use the actual garment information; GINETEX explains care symbols. Neither pale colour nor a floral appearance establishes a fibre or treatment. Front, side and hand views let you assess the desired combination more precisely than a general request for long sleeves alone. Save the chosen version with the actual pieces list for consistent later comparisons.
Choose an off-shoulder wedding dress through the relationship between sleeve start, neckline curve and wrists. Then compare jewellery, side views and your real arm movements.
Frequently asked questions
How do you compare off-shoulder sleeves and shoulder straps?
Look only as far as the chest first. Choose between bare shoulder tops and a connection continuing over the shoulders.
When should you fit a bracelet?
Assess the sleeve edge beside relaxed hands first. Add one jewellery item afterwards and check with a bent arm too.
Which movement helps assess the sleeve start?
Reach for an object from your actual sequence, then let the arms relax. Observe the sleeve start and upper neckline edge separately.