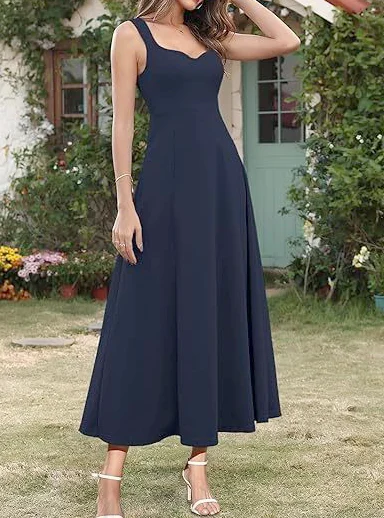
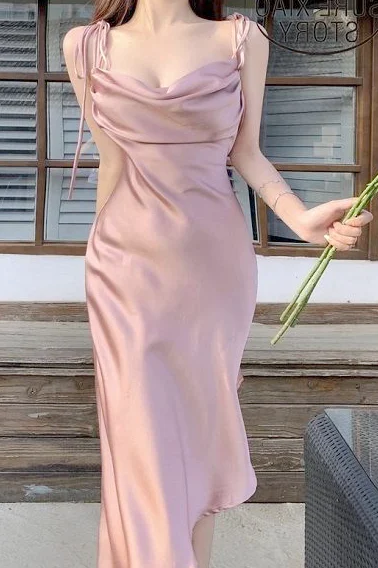
Build a midi dress outfit from the visible area between hem and shoe. It connects garment length to the complete look and is more specific than a general promise of occasion elegance. The green and navy references show different lower widths with visible shoes. Pink provides another comparison for straps and neckline, but not a complete hem view. The blue two-piece is explicitly floor-length and serves as a countercomparison when deciding which length you want; it is not labelled a midi dress.
Start a midi dress outfit with the visible shoe area
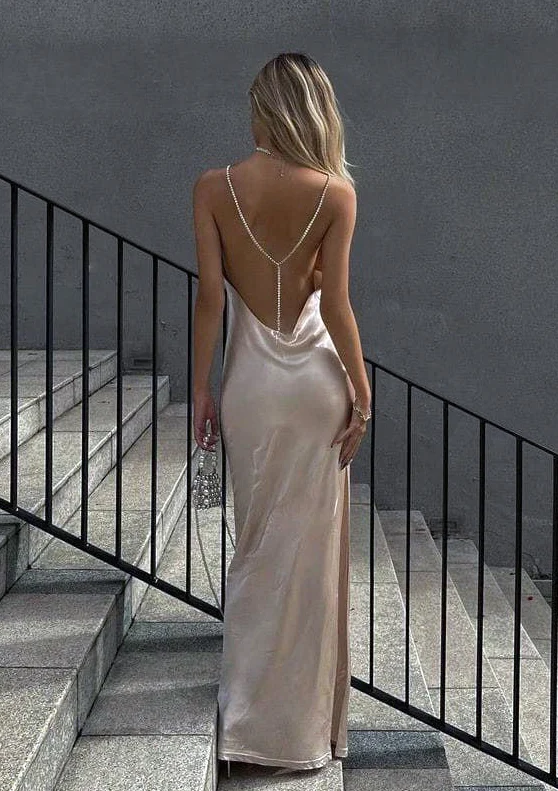
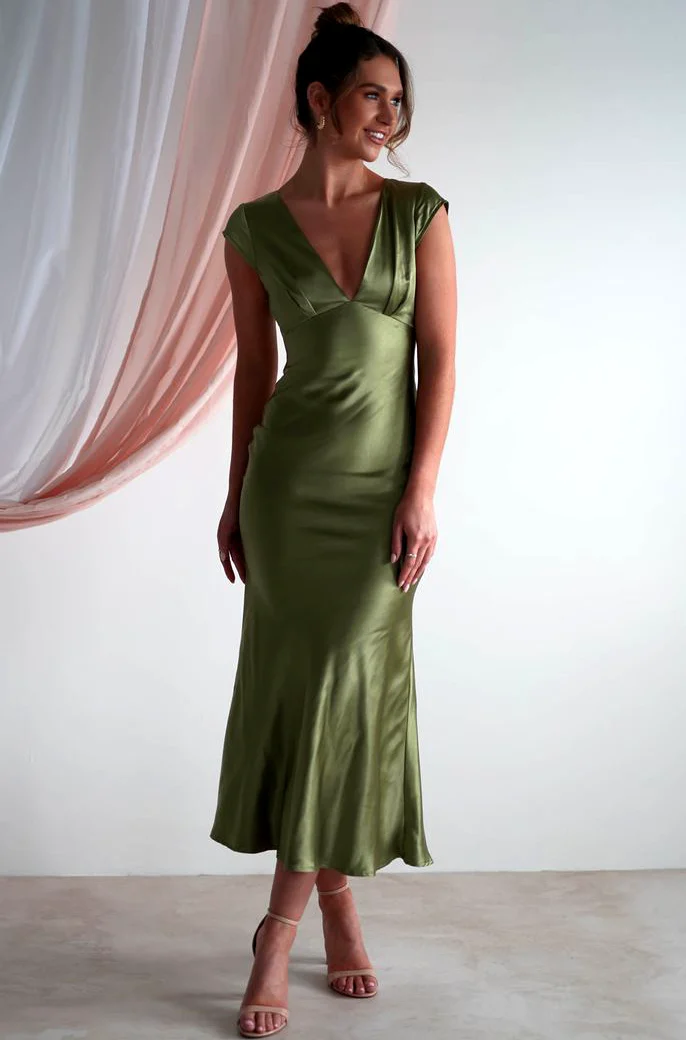
View the actual dress with a complete pair of shoes before selecting jewellery. The navy picture leaves a clearly visible area above pale strappy shoes. The green garment follows a closer lower line before widening slightly. Compare more than a length measurement in an offer. What matters for your outfit is where the real hem ends on you with your specific shoes and how much of the lower combination you want to remain visible.
Assemble two possibilities, such as the same hem with an open and a more enclosed shoe. Keep the other pieces unchanged initially. Photograph both standing naturally at a similar distance and describe one difference: more visible shoe surface, a quieter interruption or a stronger colour point. You need not turn that into a general rule for a particular height. The fitting shows a concrete relationship between your dress, your shoe and your preferred visible leg area.
Connect lower width to shoe shape
The navy garment opens into a broader lower line, while the green form follows the body more closely. The same shoe may show differently beneath each one. Choose between complete lower outlines rather than colours alone. A broader skirt edge can show a different movement from a narrower route. Decide whether you want that larger surface first, then identify the pair you actually intend to use. The photograph offers a relationship to consider, not a demand to find identical shoes.
Walk a few steps, turn and sit on a chair in each actual combination. Inspect the position after standing without immediately arranging the hem for the picture. If considering an alteration, have it assessed on the specific garment with your selected shoes. An existing seam or a reflective surface does not explain how shortening would affect the remaining line. The target height belongs to a complete outfit rather than an isolated number on a note, including any second shoe pair you hope to use later.
Choose upper edge and shoe area as separate decisions
The green dress has a deep V area and short shoulder sections; navy frames the centre with broader straps and a shaped upper edge. The pink close view adds a softly falling neck line and tied straps. These distinctions are useful after selecting the lower combination. You may like the green hem effect while wanting a different neck area. An idea at the bodice does not require adopting the entire garment shape in that photograph.
Plan actual inner layers with this upper decision for your midi dress outfit. Check your desired coverage from the front, side and a slight forward lean. Compare jewellery with hair moved away from the neck initially. A necklace may lie within a soft neck fold, while earrings leave the middle clearer. Decide through the real addition rather than deriving a universal requirement for a certain necklace or underwear from the neckline. Your own fitting supplies information the reference cannot establish alone.
Test jacket length and open front on the complete look
Wear your intended outer layer with the dress rather than merely carrying it over an arm. Compare the open and closed front. A shorter jacket leaves a different uninterrupted dress area from a longer one. Check where its lower edge ends relative to the dress and whether the selected shoe area still looks as you want. An existing jacket is a useful starting point before searching for a new addition solely because it suits the reference image.
Inspect the state without the jacket afterwards if you will remove it at the venue. Shoes and bag usually remain part of the outfit, so they need to work with that second view too. Prepare both completely if planning different daytime and evening states. You do not need to change the whole dress to alter an accent. Compare the same base with quieter outerwear and later with your preferred earrings, avoiding a simultaneous swap of every accessory so each change stays understandable.
Add the bag through carrying position as well as colour
Bag position matters in a midi dress outfit. A cross-body option can divide the middle, while a handheld bag leaves the front clearer but occupies a hand. Test your actual contents and intended carrying method. Notice whether the bag sits where you want an uninterrupted garment area. The references do not prescribe a particular bag. Add your own solution to the real combination rather than imagining it, so you can assess both visible position and the things it actually needs to hold.
Compare that colour point with your shoes next. Pale strappy shoes beneath navy create a visible lower contrast in the picture. You can retain that relationship or use a quieter pair instead. The bag does not need to repeat the shoe colour exactly. Test two concrete options with the other pieces unchanged and name the accent you want to keep. Accessories then become an understandable decision rather than a collection of individually appealing objects that pull the complete outfit in different directions.
Compare midi deliberately with a floor-length alternative
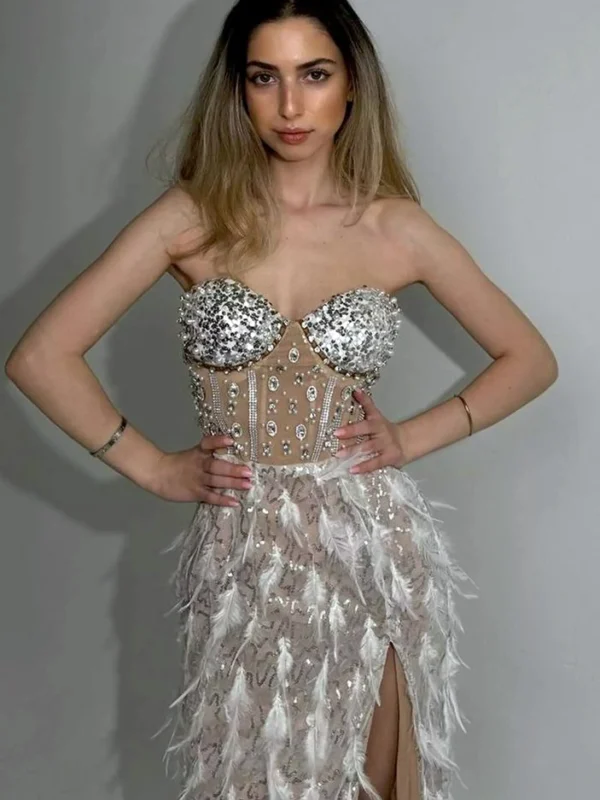
The blue two-piece reference combines a patterned short top with a very broad floor-length lower piece. It is not a midi dress. Its value is the length comparison: do you want a large continuous area reaching the floor or the visible shoe zone in the shorter examples? Separate that question from blue colour and the exposed waist area. Otherwise several differences enter the comparison at once and it becomes difficult to explain which one influenced the result.
If the two-piece idea appeals, check the actual transition between top and waistband sitting and standing. Then decide whether you want that division for your occasion at all. The pink photograph can only add its upper line because the lower finish is not fully visible. A concrete midi decision there needs another full view or an actual fitting. Use each picture for the information it supplies rather than mentally completing the missing length, keeping its particular contribution clear within the comparison.
Select two complete midi outfits for your plans
Limit the final comparison to two clear possibilities, such as broader navy with a pale shoe and a narrower green line with your second pair. Test both with bag and outerwear in the same sequence for your midi dress outfit. High-low party dresses show other lower finishes; our evening dress with straps guide helps compare different upper solutions. These alternatives do not all need to converge in one look, since each can answer a separate design question.
Read the actual care label before treatment. The GINETEX guide distinguishes washing, bleaching, drying, ironing and professional textile care; a smooth reflective surface supplies no separate instruction. Record dress, specific shoe pair, bag and outerwear in a short list. Choose the combination whose hem-to-shoe relationship you have actually seen and whose upper line you like as well. That creates a decision suited to your plans without treating an incomplete photograph as a length measurement, and leaves a clear record for the next fitting.
Choose the visible shoe area for your midi dress outfit first. Then coordinate upper line, bag and jacket across two complete options.
Frequently asked questions
Is the blue two-piece a midi dress?
No. Its broad lower piece reaches the floor and provides a length comparison with the visible shoe area of the shorter outfits.
Does the pink photograph establish a suitable midi length?
No. The lower finish is not fully visible. Use it for straps and neck line, then assess length through a complete view or fitting.
Must the bag repeat the shoe colour?
No. Compare two real bags with the other pieces unchanged and decide which colour point and front area you want.
When should I decide on shortening?
Have it assessed on the actual dress with the intended shoes. Include another pair too if you hope to use it.