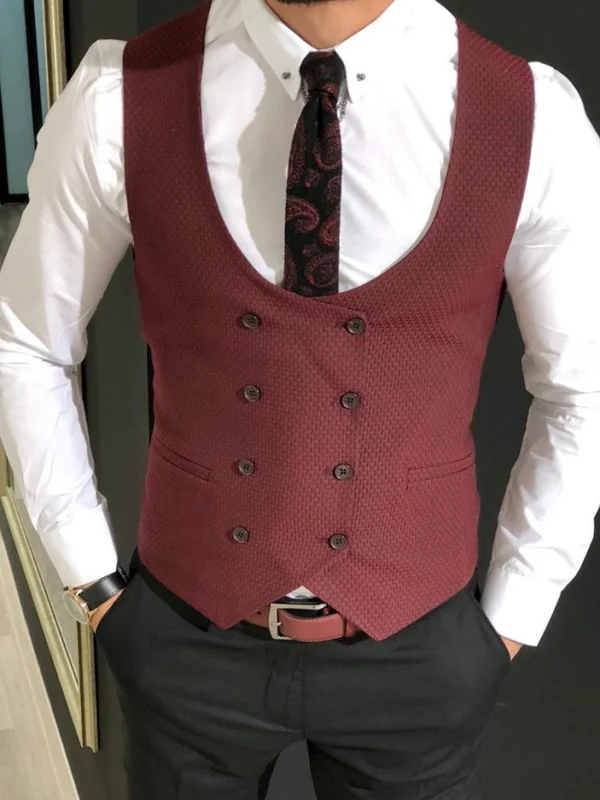
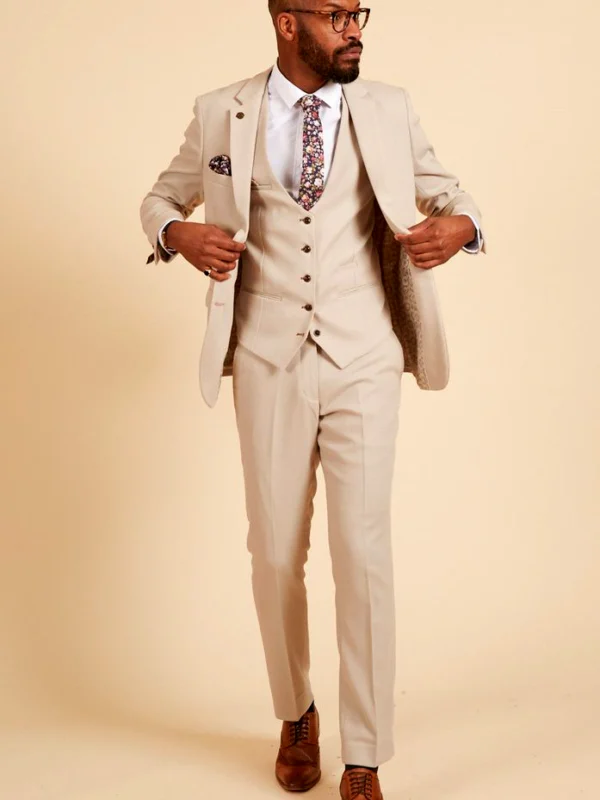
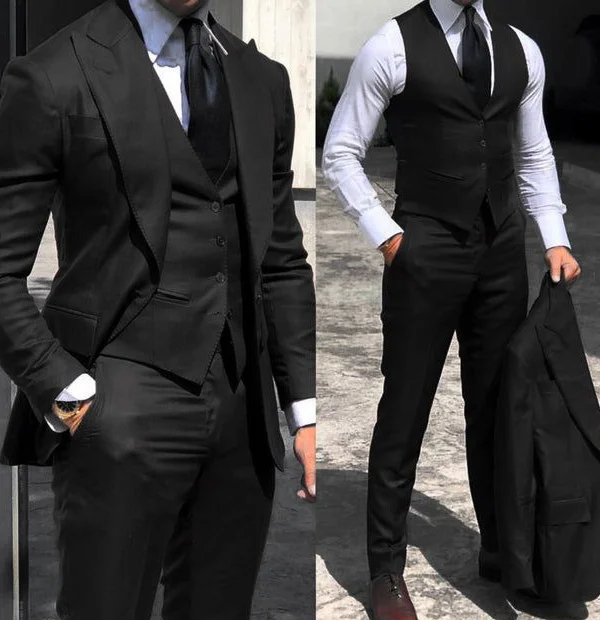
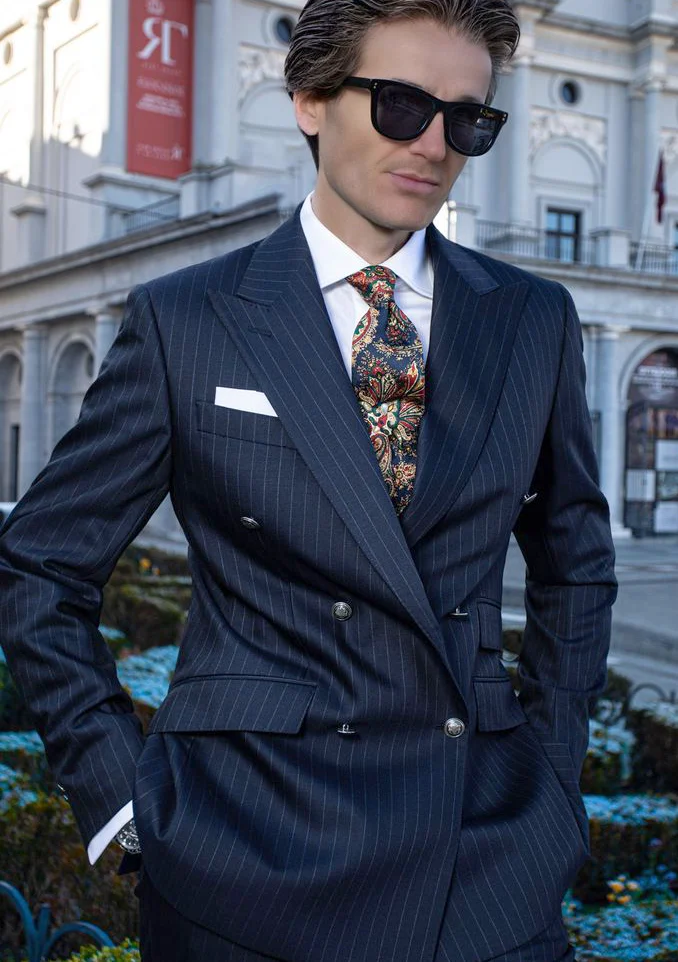
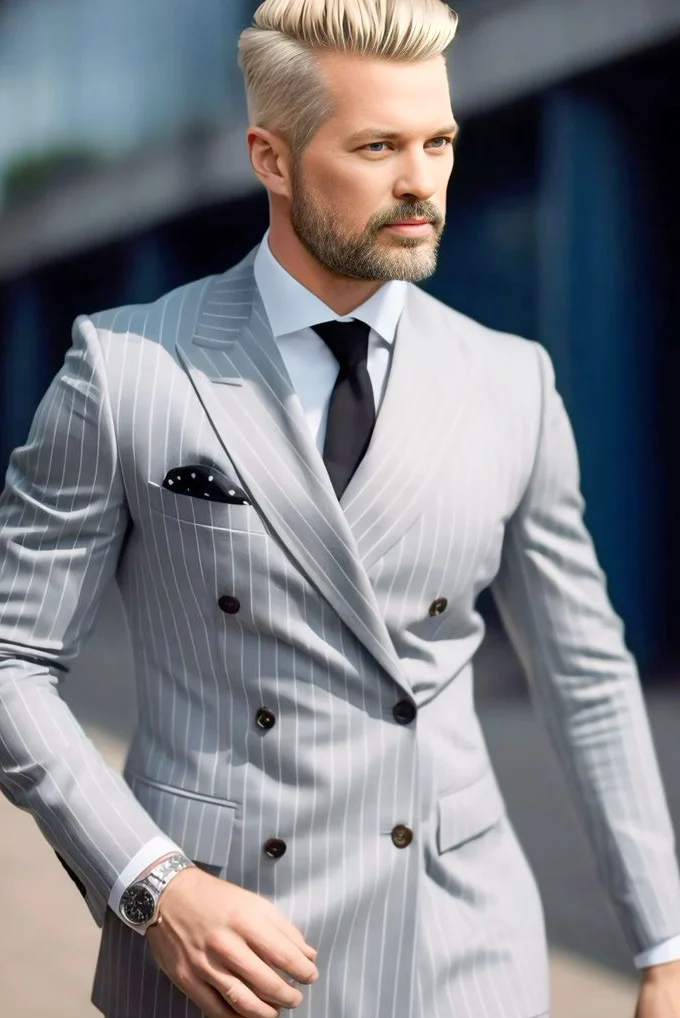
A double-breasted jacket is useful to compare through the actual overlap across its front. The two striped references arrange that area differently: dark with a patterned tie and pale pocket accent, pale with a dark tie and dotted addition. Two more pictures supply other front and neckline solutions. Choose the relationship you want between lapels, shirt and accessories. One appealing photograph need not establish a new cut or the correct outfit for every occasion in order to offer a useful visual comparison.
Choose the front of a double-breasted jacket first
Inspect the jacket without a bag across the body and with arms resting naturally. The striped examples have clearly overlapping front areas, with visible buttons in several positions beside them. Have the intended fastening demonstrated on the real garment. A decorative-looking button need not perform the same job as another. Describe how much closed surface and how broad a lapel frame you want in your own combination before deciding which individual accessory to add to it.
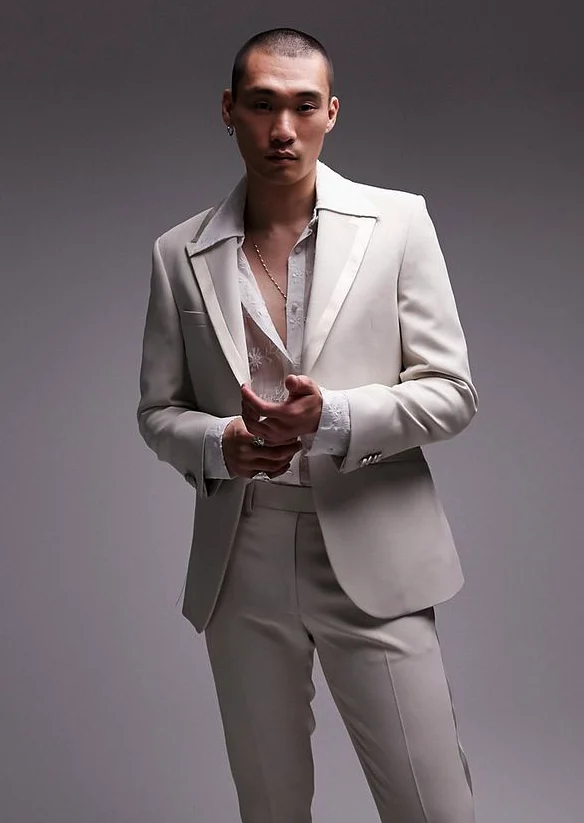
Compare the overlapping front with a differently arranged jacket afterwards. The pale open shirt and rust-coloured turtleneck appear beside quieter, single-breasted-looking fronts here. Use them as a deliberate alternative: do you enjoy the additional front frame or prefer another open centre? This helps make a shape decision without adopting the complete outfit in any picture. Keep your chosen shirt or neck solution reasonably consistent during the first comparison so the difference in front arrangement remains understandable.
Treat striped pattern and colour as separate questions
Navy shows narrow paler vertical lines, while the light grey example has more pronounced pale stripes across a larger light area. Look at pattern without tie or pocket accent first. Do you want the lines noticeable only nearby or from ordinary conversation distance? Compare actual surfaces under similar light. A bright photograph can intensify contrast without establishing fibre or appearance under every light source. Colour and pattern therefore need separate descriptions rather than one general label such as formal.
Compare a quieter shirt area and a patterned one with your chosen jacket initially. Add a single tie afterwards. If the stripes already provide enough structure for you, you may prefer a quieter neck area. You can also combine several patterns, but compare their scale and visible areas deliberately. The dark reference places a larger colourful tie pattern beside fine stripes. It is one specific option rather than a rule requiring the same combination with every striped double-breasted jacket.
Choose shirt collar and tie inside the lapel frame
White shirt creates a pale area between face and jacket in both striped pictures. The colourful tie in the dark view fills a substantial part of it, while black creates a continuous darker middle in the pale example. Try your real shirts below the selected lapels. Inspect how much collar remains visible and where your preferred tie sits. Choose through that relationship rather than deriving a universal width rule from a photograph of someone else’s upper outfit.
The third reference instead has a more open shirt area with pale pattern and a visible chain. It answers another neckline question. You can test that open idea on the actual jacket without equating its front with the photographed pale single-breasted version. Sit, stand and inspect the collar again. Clarify the occasion independently of the picture setting. A photograph establishes neither the requested dress code nor your role at a particular event, even when you like its visible styling.
Add pocket accent and smaller accessories individually
The dark striped reference has a pale angular area at the upper pocket. The paler jacket shows a dark piece with small pale dots in the corresponding place. Compare their jobs: a quiet light accent or another patterned surface. Hold your actual pocket square alongside first, then insert it as you intend to wear it. Choose size and visible edge on the jacket itself rather than judging only the attractive colour of a separate accessory outside the outfit.
Add a watch or other preferred details afterwards. Sunglasses and jewellery in the references are possibilities rather than essential parts of a double-breasted jacket outfit. Assess the combination without glasses too if you will remove them indoors. Check whether the remaining outfit retains your intended centre. A small accent can repeat existing pattern or provide a separate contrast. You need not coordinate tie, square and every jewellery piece simultaneously; compare the single change you are actually deciding about first.
Complete the front arrangement with trousers and shoes
Neither striped crop includes a complete leg and shoe view. It cannot settle trouser width, hem height or heel choice. Add a full view for the actual offer and clarify included pieces. The dark complete look with a turtleneck instead shows shorter-ending trousers, a visible ankle area and dark shoes. It supplies a lower comparison without proving that the same trouser arrangement belongs with every overlapping jacket front or has the same material composition as the photographed upper area.
Try the chosen trousers with actual shoes while standing and walking. Sit with arms held naturally and have the intended handling of the jacket explained. Discuss front questions instead of inventing a universal fastening rule from the number of visible buttons. The complete outfit matters as much as an interesting upper half. If planning an alteration, have the new line assessed on the real garment and inspect it again with shirt and shoes afterwards, retaining the original preference as a clear reference.
Choose two understandable combinations for your occasion
Finally compare two described options, such as dark stripes with colourful neck pattern and a paler surface with a quieter dark tie. Our modern men’s suits guide broadens the comparison between front arrangements. A separate suit with a turtleneck offers another neckline solution without making that layer compulsory here. Take one clearly named wardrobe decision from each comparison rather than attempting to combine every visible feature of all four references in one outfit.
Read the label for each piece before cleaning or pressing. The GINETEX symbol explanation separates treatment groups; a visible stripe is not a care instruction. Record jacket, shirt, neckwear and chosen pocket accent together. You can then choose a double-breasted jacket outfit by connecting the overlapping front with specific pieces of your own. The final decision follows visible relationships and a real fitting instead of an unconfirmed innovation claim or a complete reconstruction of a reference photograph.
Choose a double-breasted jacket through front and neckwear first. Add square, trousers and shoes individually, then test the actual garment arrangement.
Frequently asked questions
Does every visible button have the same job?
No. Have the intended connections shown on the actual jacket rather than deriving a universal rule from the picture.
Must I combine several patterns?
No. Compare a quiet neck area with a larger pattern beside the same stripes and choose your preferred distribution.
Do the striped crops settle the trouser hem?
No. Complete legs and shoes are missing. Test your trousers with the real shoes on the full outfit.
Must a pocket square repeat the tie exactly?
No. Compare a quiet accent with another patterned area and choose its visible edge on the actual jacket.