Pearl trim on a wedding dress begins with a specific question: what are the small visible components actually made from? Pale rounded elements, reflective dots and floral pattern can appear together in a photograph. That establishes neither genuine pearl identity nor their attachment method. If you want this effect, inspect the actual offer at straps, arms and areas touching jewellery or other surfaces. These images help locate useful questions instead of replacing unknown product information with an assumption based on appearance.
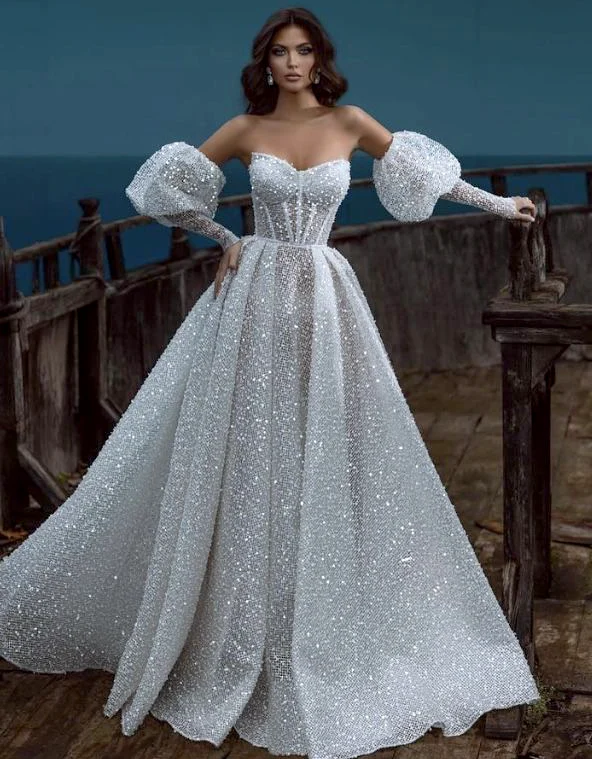
With decorated sleeves, their upper-arm position is a separate question too. The off-shoulder wedding dress with sleeves examples help compare sleeve placement and hand position. Return to inspecting the components at those actual contact points on your dress afterwards.
Pearl trim on a wedding dress: name the component
Ask the supplier what the word pearl means in the particular description. The GIA terminology explanation distinguishes cultured pearls from imitations made of other materials. That distinction explains the vocabulary without determining the components on the pictured dresses. Request information matching the actual product. A familiar name for an appearance and a confirmed material statement are two different things.
Record the statement for the precise version being considered. A similar pattern on another garment or a general collection description does not settle this question. If component identity matters to your purchase, ask what information establishes it. Do not perform your own scratching or other material experiments on the garment. The useful purpose of this fitting is to examine the actual offer and its visible use.
Treat straps and arms as contact areas
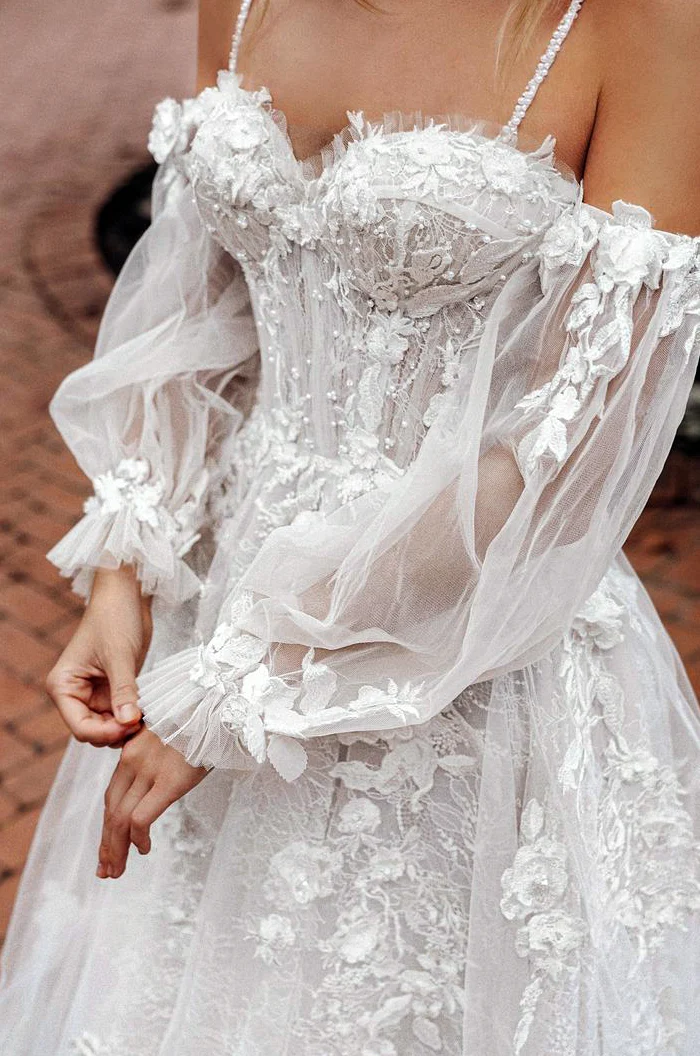
The close floral photograph shows fine straps formed from a row of small pale rounded elements. Further dots appear between flowers and across translucent-looking sleeves. Consider these areas separately. A narrow shoulder row reads differently from a broad decorated sleeve surface. Decide where you actually want the rounded details before comparing its quantity over the entire garment. That gives the consultation a location rather than simply a request for more decoration.
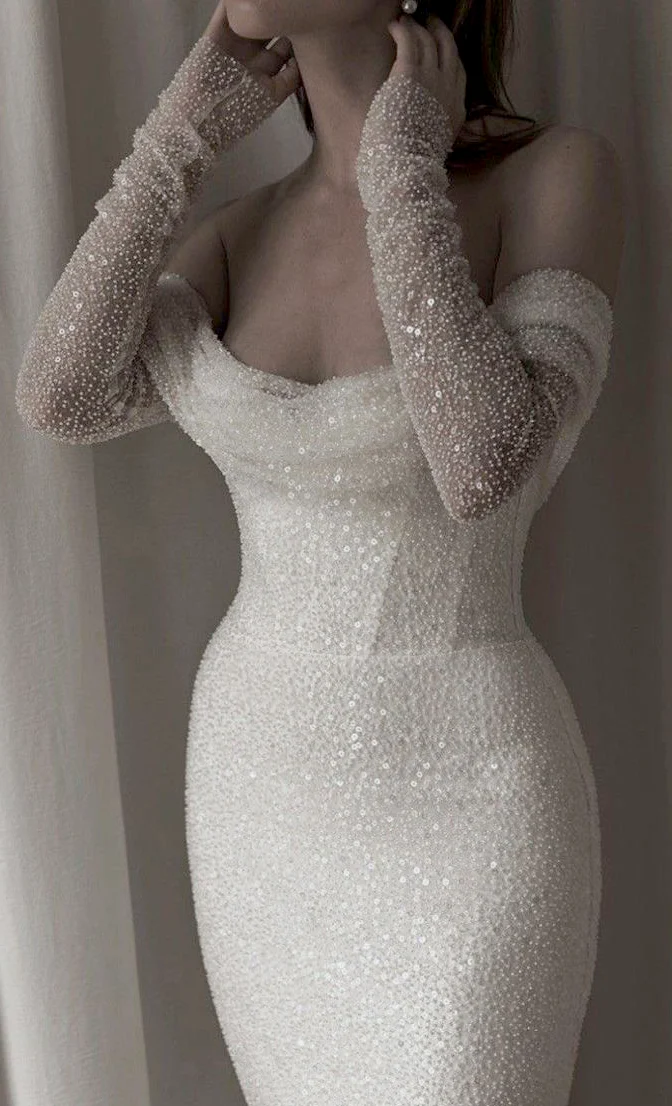
Try normal arm movements on the actual dress. Hold the proposed bouquet, rest your hands in your lap and move an outer layer as you would use it. Observe which areas touch. Ask about the real construction at those particular points. The photograph establishes neither a narrow strap’s supporting function nor guaranteed freedom from rubbing. Your assessment should concern the complete real combination and its actual contact areas.
Compare density and size at close range
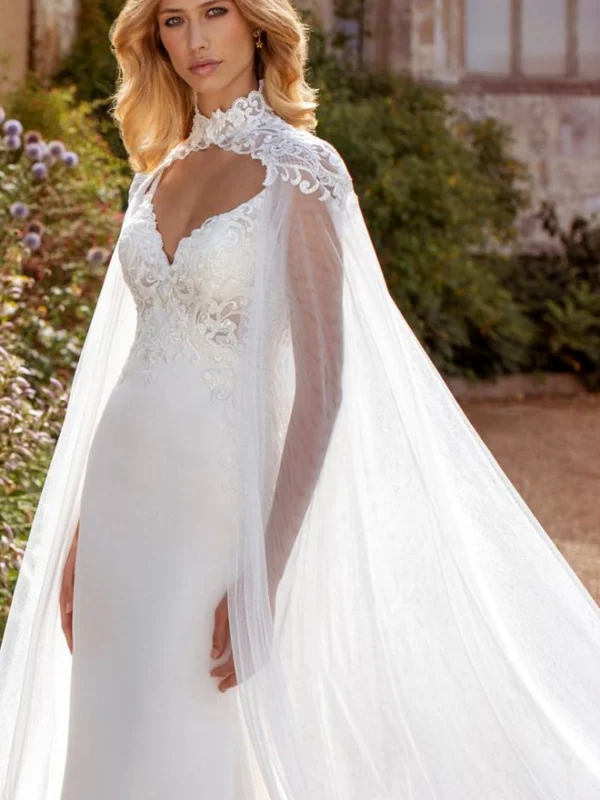
The closer pale example with long sleeves distributes many small rounded dots across body and sleeves. The floral view instead places larger flowers beside individual more prominent points. Dense small drawing and isolated larger accents are separate choices. Look from a normal distance first, then inspect the specific contact areas. This separates the overall effect you want from the component you need explained more closely.
The beaded-look wedding dress guide addresses the overall pattern effect. This inspection is narrower, focusing on the actual trim and handling. Ask to see straps, sleeve ends and the body side individually. A close photograph can prepare the discussion but cannot replace an explanation of the real attachment. Do not confuse a particularly clear photographed reflection with a confirmed material property.
Try jewellery beside the existing trim
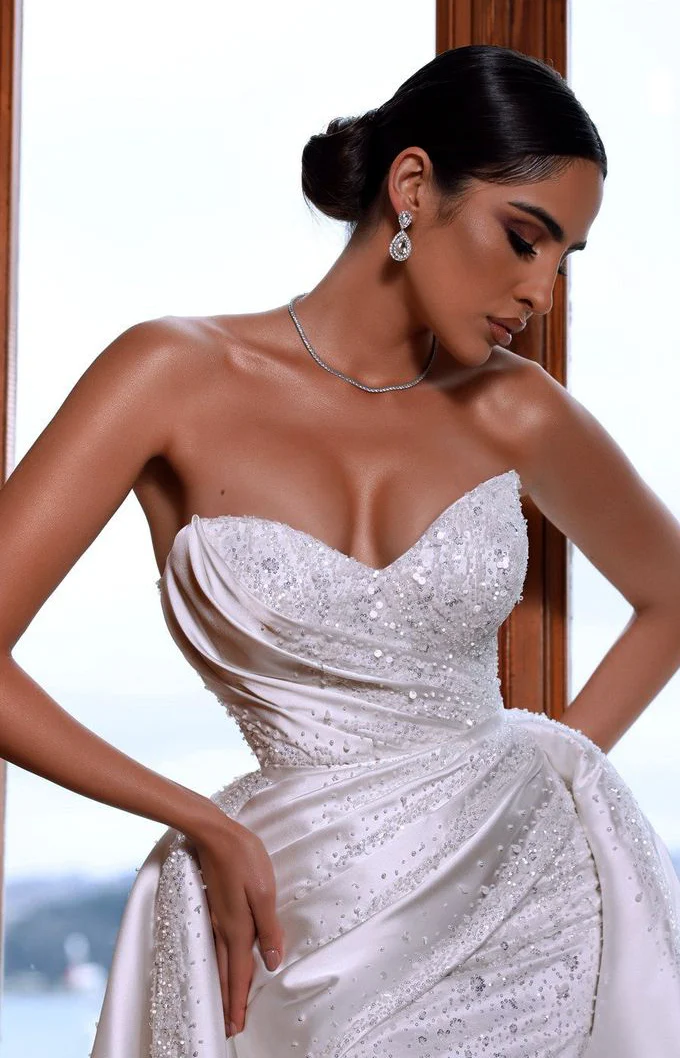
The closely photographed draped bodice places small reflective elements beside a fine necklace and larger earrings. Use that to ask about proximity, rather than adopting a compulsory jewellery rule. Add one piece at a time during your fitting. Move your head and arms as you would when talking or eating. Then decide which lines you want together and which surfaces you would prefer to keep clear.
The bridal accessories guide supports the overall coordination of headpiece, necklace and earrings. Here the additional question is actual proximity to the trim. Point out a location where jewellery or an outer layer rests and ask about intended handling. There is no need to presume a problem. The aim is to see the real pieces together and connect your choice with a careful personal trial.
Discuss alterations on the actual version
If you want a strap length, sleeve or side outline changed, ask for the relevant section to be marked directly on the garment. Ask which existing elements would be affected and what the result should look like. A shorter-length instruction alone does not explain how the decorated surface will continue afterwards. Request a clear description of the intended finish before commissioning the alteration.
Also establish whether replacement components or later support are offered for the particular version. That is information to ask the supplier, rather than a property visible in the photograph. Recheck the area after any professional adjustment. Look especially at transitions between decorated and quieter surfaces. Those locations help show whether the agreed pattern has been preserved or intentionally ends somewhere different. Compare the same area instead of relying only on a general impression.
Use quieter surfaces to complete the decision
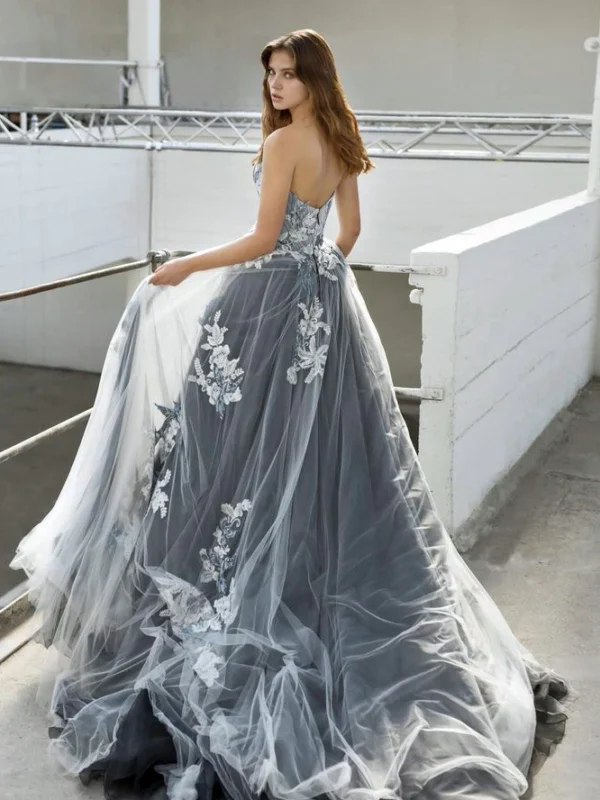
The pale V dress with a narrow decoration below the bust concentrates the accent in a limited area. The navy example sets a densely decorated bodice against a quieter draped skirt. Both help you consider limiting the decorated contact surface. Neither establishes real pearls or documented versions of one product. Use them as different distributions through which you can describe your preference more precisely.
Finish with confirmed component information, inspected contact areas and the proposed alteration. Ask for the actual dress’s care instructions instead of choosing a treatment from its colour or an assumed material name. Name any remaining uncertainty specifically. The result is trim whose actual use you understand and have checked beside your own accessories, rather than a similar-looking surface treated as reliable product information.
Bring one specific strap decision to the fitting
Suppose you like the rounded details along the narrow strap but would prefer quieter arms. Show only that area of the floral close view first. Ask for two actually available candidates that let you test the intended shoulder effect. Compare them with your planned necklace, first with arms lowered and then as though holding the bouquet. Request the exact component description for both garments.
Record what you see separately from what has been confirmed: a narrow pale shoulder row, for example, alongside the actual name of its trim. If one candidate is offered only with densely decorated sleeves, decide whether you really want that additional surface. Treat it as another choice rather than an inevitable consequence of liking the strap. Your selection then remains traceable to the specific original intention.
Check the actual trim description and its contact points. Photographs show rounded or reflective elements, but do not establish real pearls or a fastening method.
Frequently asked questions
Do pale round dots establish real pearls?
No. Shape alone does not distinguish a pearl from an imitation of different composition or another trim element.
Are cultured pearls merely imitations?
GIA distinguishes real cultured pearls from imitations made of other materials. Which component a particular dress uses needs separate confirmation.
Can the trim simply be moved during alterations?
There is no universal answer. Have the actual connection and proposed alteration assessed on the particular garment.