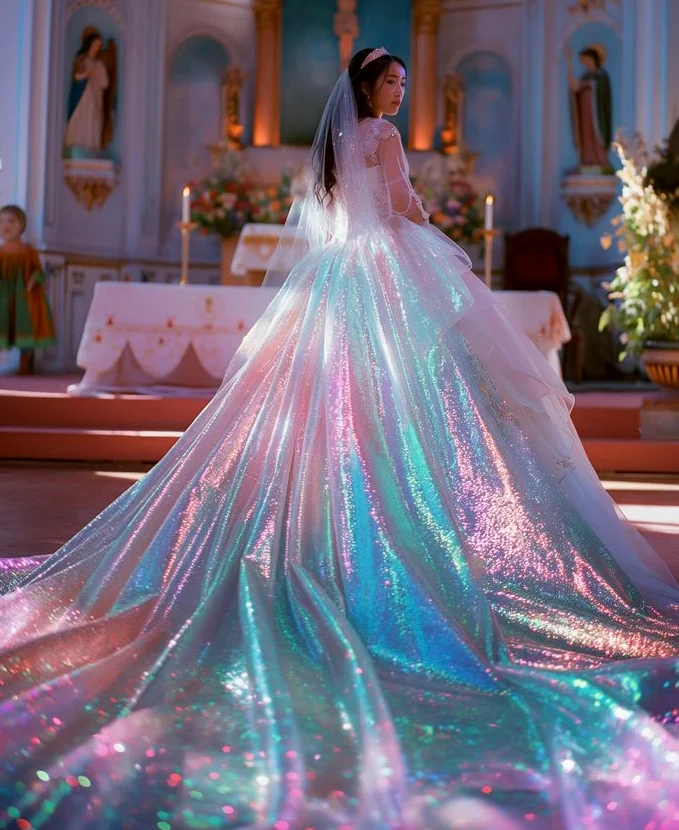
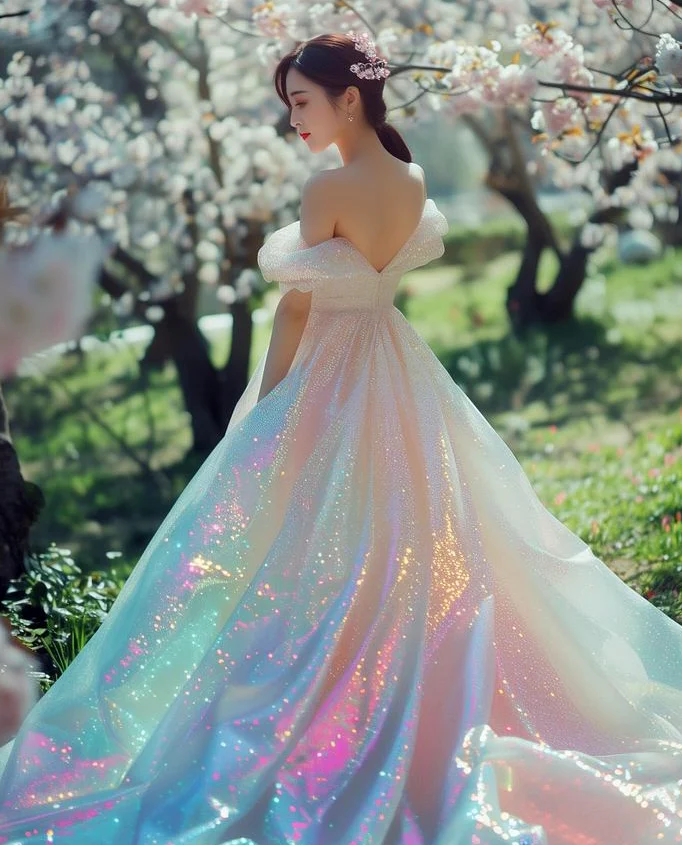
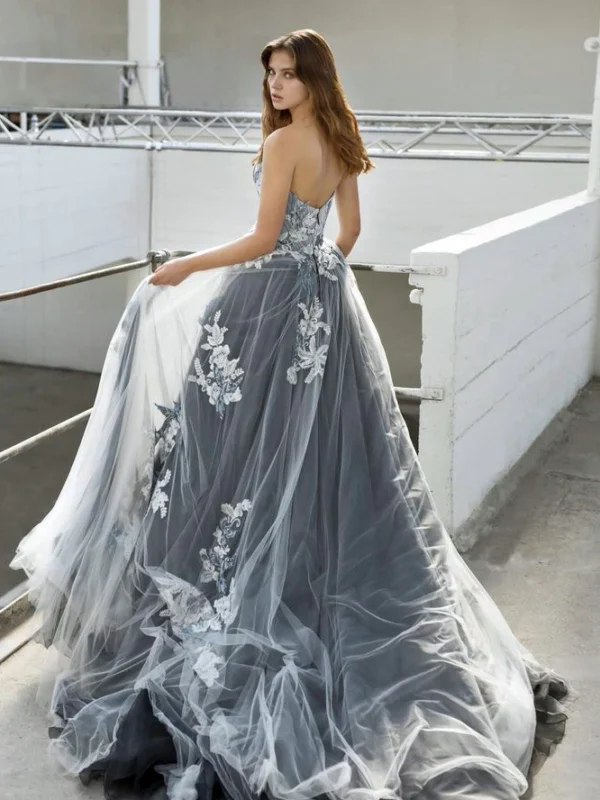
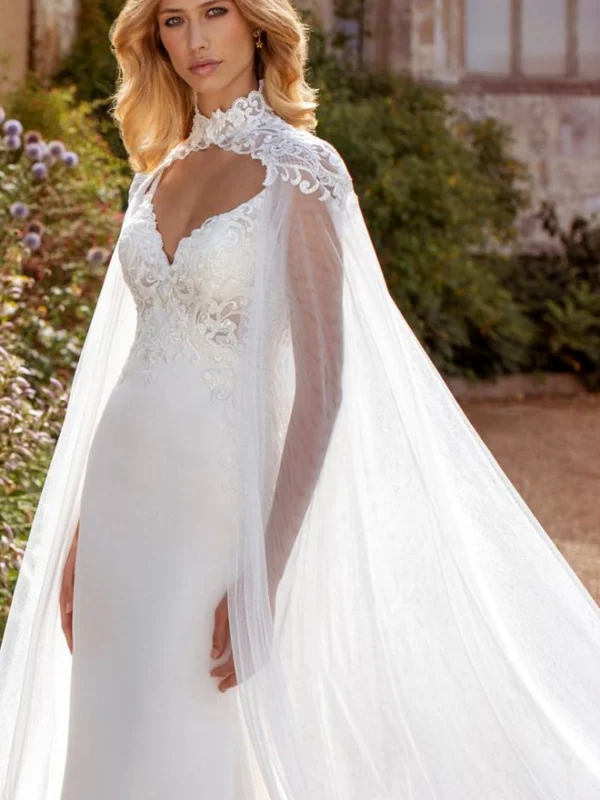
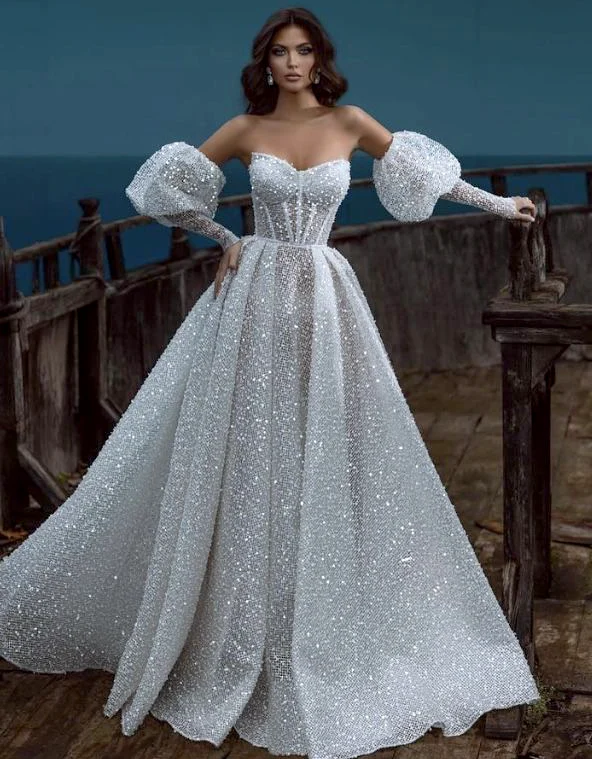
Wedding veil styling changes which parts of hair, back and skirt remain visible together. The two pale views with a veil and coloured light points particularly show how fine edges overlap a stronger lower look. An off-shoulder rear view without a visible veil and a high-neck purple dress provide other upper comparisons. The reflections establish no particular material technique. Begin by comparing visible overlap, edge direction and the areas you want clear on the actual dress, keeping product construction a separate question.
Begin wedding veil styling with the actual end points
Start with two locations: the intended position in the hair and the actual veil’s lower end. Between them lies the area that may overlap neckline, back and skirt. Do not select through a length name alone. Pronovias separates different veil lengths from subsequent design choices in its guide. That is a useful distinction, while the actual end points need seeing on your own combination. The named examples neither identify our pictures nor establish the right length for every wearer.
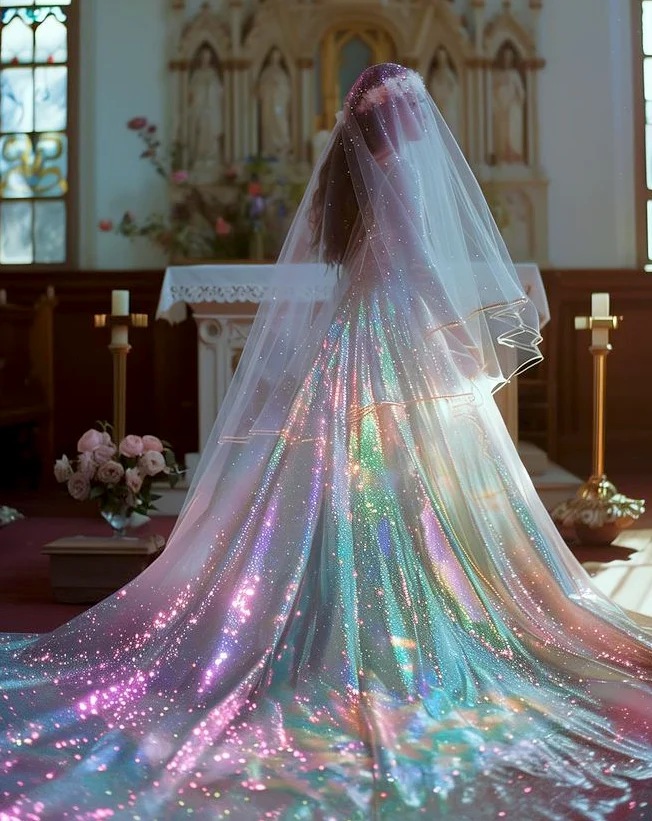
Ask for the real veil to fall fully behind the dress first. Have its lower edge identified and follow where it sits against the skirt hem. Then assess the complete rear view. Should the veil end before the train, accompany it or extend beyond it? None needs automatic selection. Choose through your preferred overall line and actual plans. A close picture with several crossing edges does not replace that full view, particularly when the train’s outside boundary is an important part of what you want visible.
Compare a quiet edge beside stronger reflections
In the pale front view, individual pale-outlined edges can be distinguished around waist and side. Many coloured light points appear across the broader skirt and floor-level fabric beneath them. This creates a definite question: do you want another noticeable border beside those reflections or a quieter veil edge? Compare two actual versions on the real dress under the same light. You can judge the border without changing the entire colour and skirt shape, looking for the relationship you prefer rather than recreating the photograph’s particular lighting.
Assess the edge closely and from the distance at which you want to see the complete outfit. A fine line can look pronounced in detail but become less important overall. A broader border might divide the back more strongly than expected. Ask about actual width and construction on the offered veil if they affect your choice. The pictures do not establish dependable layer counts, fibre information or a process behind the shimmering effect. Visible appearance can guide a request without supplying unconfirmed technical details for the product.
Coordinate the veil with the back line you want
The off-shoulder view without a visible veil has a V-shaped back and folded upper edge. The pale skirt remains broader and reflective beneath it. Use this as a counter-comparison: which areas would you want left clearly visible with a veil? The upper back opening or complete rear skirt may matter more to you. Our backless wedding dress guide adds the choice of coverage and visible back shapes. Here the particular question concerns where another layer should overlap those lines.
Continue the wedding veil styling by placing the actual veil as it will genuinely be worn, then compare that same back again. Retain hair, dress and light initially. Decide deliberately whether overlap should soften the pattern or leave a particular area clear. The back need not remain entirely visible just because it is decorated. Your chosen combination matters. Have a different desired position demonstrated on the real veil rather than assuming unseen fastening options, so the request concerns something the specific product can actually provide.
Try hair and decoration at the intended attachment
A small flower-like hair ornament sits beside gathered hair in the veil-free rear view. The pale rear veil picture instead includes a narrow headband. These supply different ideas for the attachment area without requiring every item together. Begin with your planned hairstyle and request a specific demonstration of fastening on the actual product. Choose afterwards how much hair decoration should remain beside or beneath the veil. Another hair position may change the appearance considerably, which is why the real arrangement belongs in the same fitting.
Look from front, side and back. Turn your head as if speaking to someone and observe the visible edge. Introduce a separate hair ornament only after the first comparison. Our bridal accessories guide helps select hair decoration and earrings together. The aim is to coordinate the intended attachment with those pieces rather than place the greatest possible number of details around the head. Keeping hair unchanged while one addition is tried makes that addition’s actual effect easier to recognise.
Use a high neckline as another comparison
The purple dress has a reflective-looking high neck edge, fine translucent-looking long sleeves and eye-shaped motifs around the lower bodice area. It shows neither a veil nor the complete hem. It is explicitly an upper-design comparison here rather than a confirmed white bridal product. If you want a high neckline like that for your own outfit, assess its relationship with hair and earrings before placing another veil over it. The visible upper boundary can inform a choice without assigning culture, fibre or bridal use to the photographed wearer.
The other three views have different upper edges. A veil therefore need not cover the same area or begin identically on every combination. Select the actual neckline and back first, then compare two intended veil positions on that model where available. Have practical fastening explained. A visually appealing overlap does not establish that every attachment can be shifted freely. This makes the extra veil a deliberate part of wedding veil styling rather than an item automatically added to every elaborate look or copied from an unrelated photograph.
Test turning, a bag and rear length together
After choosing the veil, add ordinary steps and a small turn in the actual outfit. Hold an intended bouquet or bag as you genuinely plan to use it. Observe which edge travels over arm or back and where the longer fabric sections remain. This trial clarifies the visible arrangement. It does not replace product information about fastening or handling, which should be demonstrated on the real item. A widely spread photographic shape does not fully show the route you will later take with those objects.
Include your helper in that trial if assistance is planned. Have the intended arranging and hand movements shown. If you want to remove the veil for a later part of the day, establish that possibility on the product and check the hairstyle afterwards. Another construction or differently attached hairpiece may need different handling. Plan where the removed item will be kept too. This selects an understood sequence alongside an appealing rear view rather than treating the photographed starting position as proof of how your own model opens or behaves.
Record two complete versions for the final choice
Finally compare two actual veils with the same dress, hair and camera position. Keep front, side and complete rear views for each, showing the lower edges. Record the clear back area and border direction you prefer. You might want a definite edge beside a quieter bodice but a finer line over the reflective skirt. That is a specific description to discuss on the offered model. The decision need not rest on one photograph’s brightness when the real outfit lets you compare both boundaries under consistent conditions.
Before ordering, establish exact length, included fastening components, material and care information and agreed alterations. Colour and light points do not replace those details. Have the actual version matched clearly to the dress and veil you tried. The final wedding veil styling should show your chosen overlap and be understood through its intended handling. Your visible preferences and confirmed product information provide the basis, without somebody else prescribing one supposedly correct length. At delivery, the same notes can check the real result before the attachment is needed for the first time.
Wedding veil styling begins with actual end points and visible overlap. Compare two real versions on the same dress with your intended hairstyle.
Frequently asked questions
Must the veil extend beyond the train?
Select the visible end point deliberately on the actual dress. It can finish before, accompany or extend beyond the train; clarify your own sequence as well.
How should I choose a fine or more noticeable veil edge?
Compare two actual veils on the same dress under unchanged light. Assess the border closely and within the complete back view before choosing its effect.
Why should planned hair be included in the veil fitting?
It helps determine the visible attachment and clear hair and back areas. Have the actual fastening shown and try an ordinary head turn.
What should I check if I want to remove the veil later?
Have the possibility and intended handling demonstrated on the real product. Check the hair afterwards and plan who will help and where the removed item will be kept.
Thoughts on this article