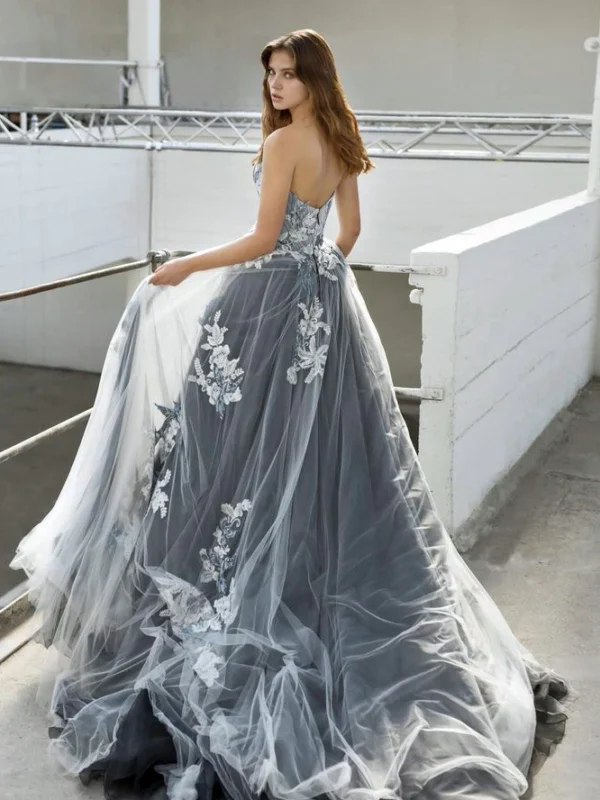
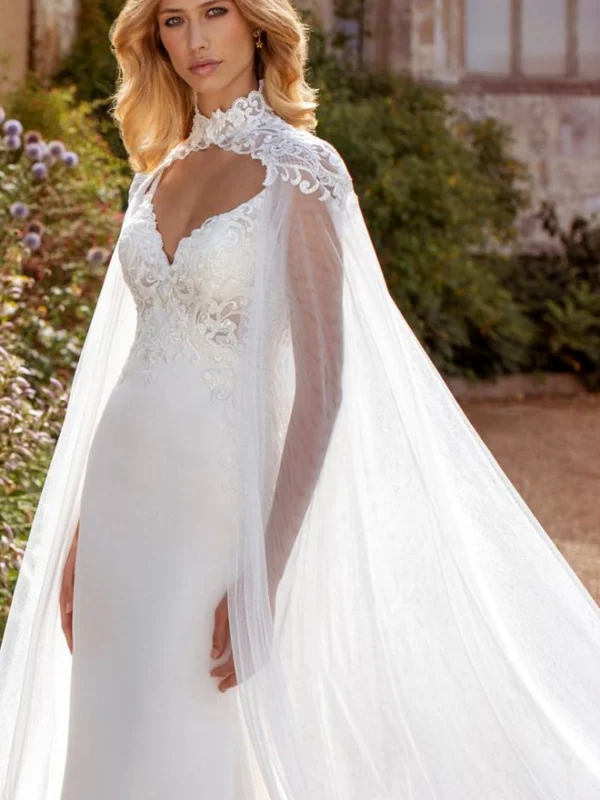
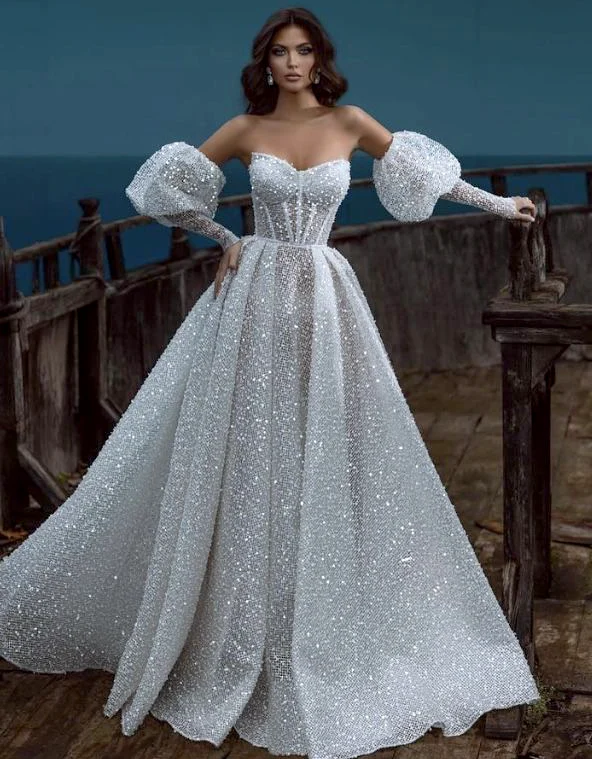
A star-pattern bridal cape can add a second patterned layer over the dress. Decide whether you want recognisable stars at a distance or smaller bright points scattered across the outfit. Two references show star shapes on translucent-looking hooded capes, with two floral alternatives for comparison. For your own look, motif size, the amount of dress left visible and the route down to the floor matter together.
Choose a star-pattern bridal cape by motif size
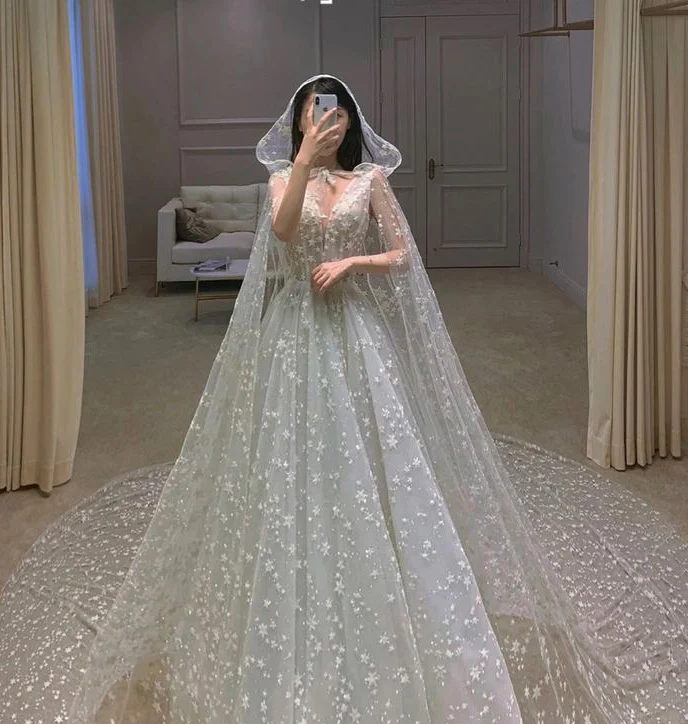
The closer front picture has recognisable stars beside crescent-like shapes and smaller points. The larger full-length view distributes numerous little stars across a broader area reaching the floor. Compare from a few steps away: do you want individual shapes to register or a more even bright scatter? Hold the real cape cloth in front of your intended dress and consider both together. A small sample shows motif scale, but the complete layer is needed to see distribution across arms and skirt rather than a close detail alone.
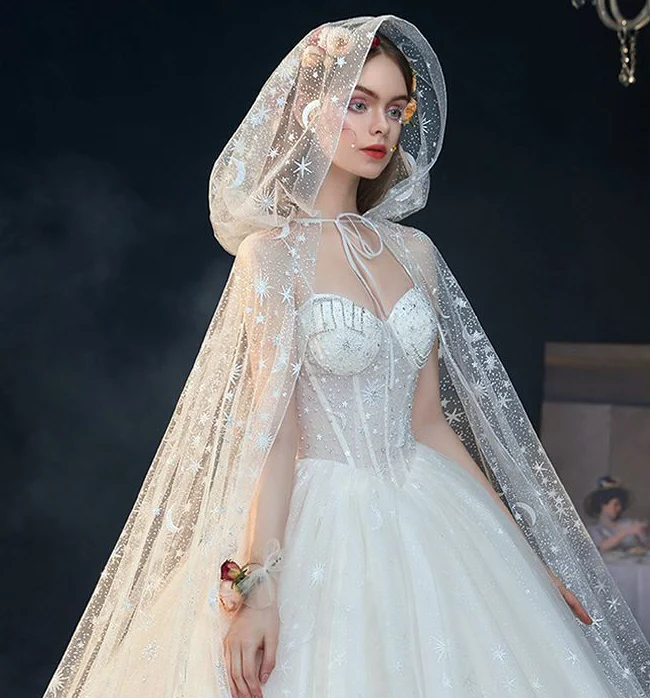
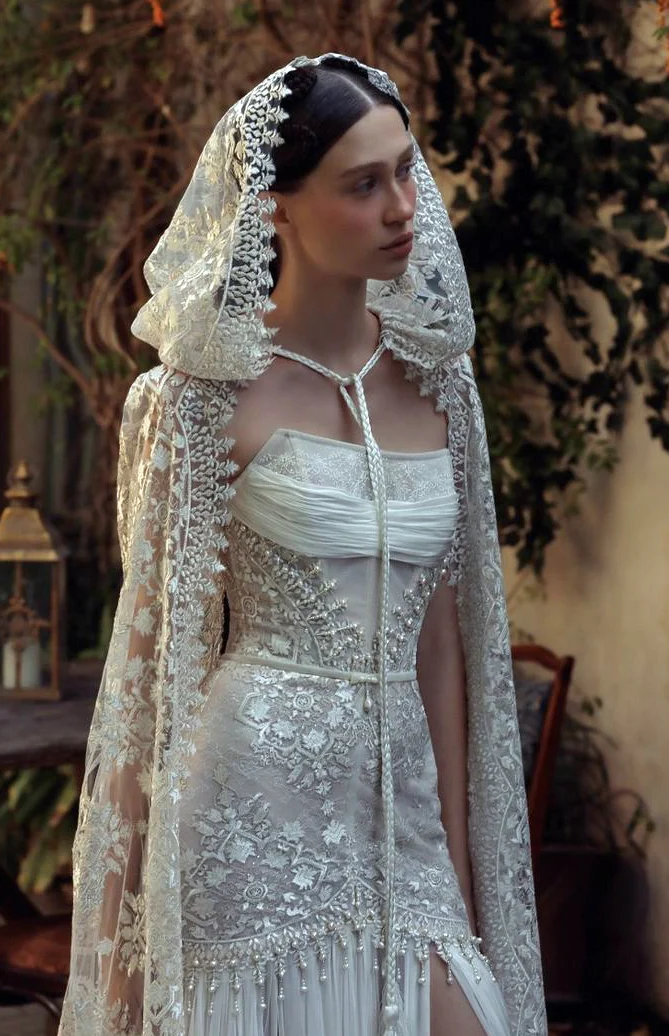
If you want stars and crescent-like shapes together, inspect the actual pattern sequence offered. You can express a purely visual preference, such as larger individual shapes with more space between them. Compare the floral references beside it: flower-and-stem forms or a broader border take priority there. This helps describe the star arrangement you want instead of treating every pale pattern as interchangeable decoration. Look at motifs nearby and the complete dress farther away before deciding how much definition you prefer.
Judge the star layer together with the dress
The closer star example lies over a clearly outlined bodice and broad pale skirt. A floral V neckline remains visible underneath in the mirror photograph. Outer motifs therefore overlap already decorated dresses. Decide what should remain legible on your own set: neckline edge, waist seam or a particular bodice motif. Try the cape resting in front of the chest and then opened towards the sides if the actual model allows that wearing arrangement. Two attractive separate product photographs cannot establish how their details combine when layered.
A quieter dress may let the stars become more prominent, while a decorated bodice can deliberately make a denser result. Compare both as real combinations before seeking added decoration. If the overlapping area feels too busy, try a different distribution of the actual cape or smaller stars. The sheer wedding dress guide adds questions about the visible coverage you want. A translucent photographic impression does not establish how another cloth layer will behave over your dress; compare the actual pale colours together rather than relying only on both being named white.
Distinguish the long outer edge from the dress hem
The full-length star layer spreads broadly across the floor. In the floral rear comparison, a broad curved border defines the outside edge. Choose an edge idea for your star-pattern bridal cape too: a quieter transition, individual stars near the end or a stronger frame. Request complete front and rear views of the real cape. The floral rear belongs to another garment and cannot supply a missing back view of your star model. Consider the pattern when the cloth is gathered more narrowly as well as spread out.
Check where dress and cape end separately. Have both shown on the actual set and walk in the intended shoes. If you want a longer outer layer, rehearse your real route through a doorway or between chairs. Decide where it should lie when seated rather than assuming a broad floor arrangement works in every situation. The picture proves neither a removable train nor unrestricted shortening. Changes and alternative wearing states need explanation on the specific model, including any point you intend to hold when managing the longer cloth.
Compare arms, hands and flowers with the star pattern
Hands remain visible beside the outer layer in the closer star image, with a small floral decoration at one wrist. In the mirror picture, a phone-holding hand obscures part of the face while the other arm bends. Both show particular poses. Hold the planned flowers or small bag during your own fitting. Check how much star pattern remains in front and whether you want to move the outer layer behind you. Compare empty hands too; a large bouquet may cover front motifs, making its actual position part of the styling decision.
Choose deliberately between exposed arms and a cape area resting over them. There is no need to assume an arm opening from the photograph: ask how the actual piece is directed and worn. Rehearse changing hands or greeting someone if that is relevant to your sequence. Holding a cape in front for a still picture is not the same as testing it through those actions. Check where the edge stays after raising and relaxing your arms, and describe any repeated adjustment rather than inventing a construction solution from the front view.
Try jewellery individually beside the stars
The floral close view has a distinct hood edge and two long neck cords. The closer star model has a different pattern arrangement and a small tie. Use these differences to consider how much room you want for neck jewellery. Fit your actual cape without an added necklace first. If motifs already register around face and neck, a small earring can differ from a second large necklace. Compare pieces individually rather than an entire jewellery set, using the intended hairstyle to see where a longer earring meets the cape edge.
A floral wrist decoration need not repeat the star motif. You can deliberately combine different shapes, but inspect their spacing on the actual outfit. Add the bouquet to see whether you enjoy flowers in several positions. The bridal accessories guide helps with other jewellery positions. The photographs establish neither real precious stones nor a specific motif technique. Check product materials and care separately from visible accessory size and position. Even where bouquet and wrist flowers share a design, assess the amount worn instead of assuming an exact match settles their places.
Plan the star-pattern bridal cape for actual use
Finish with a standing front view, rear view and seated comparison in your real dress. Decide whether to wear the cape throughout the celebration or only at selected moments. If you intend to change, ask how the actual model is put on and removed and try it with your hair and chosen jewellery. The four hooded references prove no shared fastening. Ask about a suitable place for the removed layer too, so its size enters the plan rather than being left as an unexplained practical task.
Before cleaning or pressing, use the individual garment information. GINETEX explains care symbols; check the actual dress and cape labels. Your star-pattern bridal cape is then selected through specific features: desired motif scale, an appealing overlap with the dress, suitable edging and tested handling of the longer layer. If information is missing, ask about the unresolved part rather than letting a preferred motif stand in for knowledge of the whole garment.
Choose a star-pattern bridal cape by motif scale first. Compare its overlap with the dress and the long edge, then try flowers, jewellery and the hand movements you actually need.
Frequently asked questions
How do I choose large or small stars?
View the real cape near and at conversation distance over the dress. Compare recognisable individual shapes with a more even bright scatter.
Can I combine a star cape with a floral dress?
Try the actual pieces layered together. Decide which neckline edge or motif should remain visible and whether you want the denser pattern effect.
How do I test a long cape for sitting?
Wear dress, cape and shoes together and rehearse your seat and a narrower passage. Ask how the actual long piece should be handled or removed.