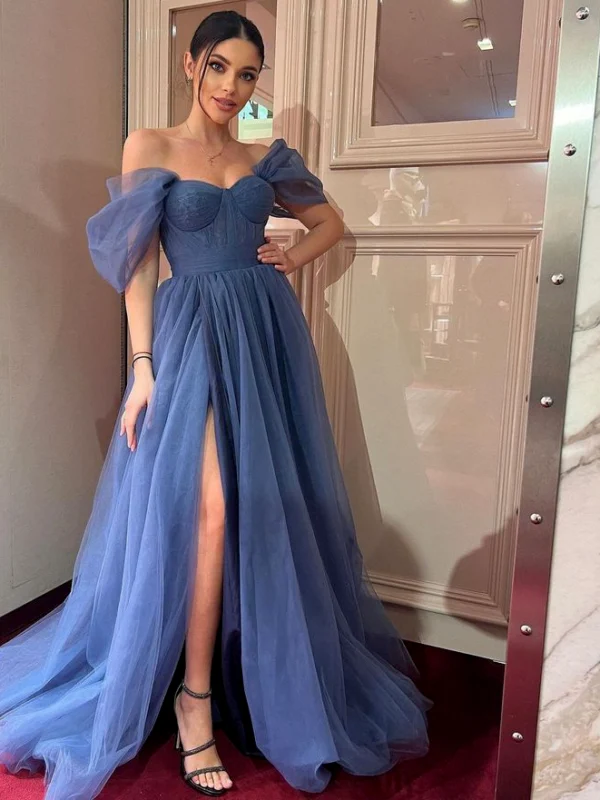
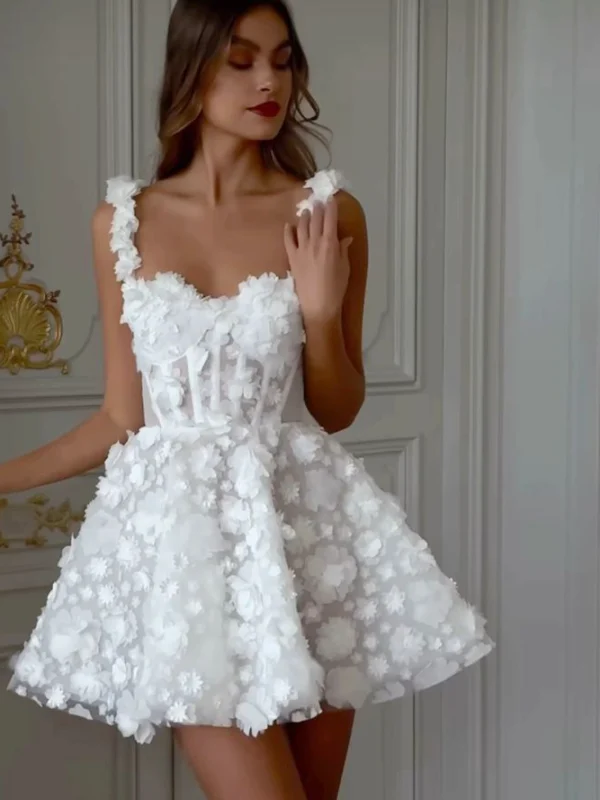
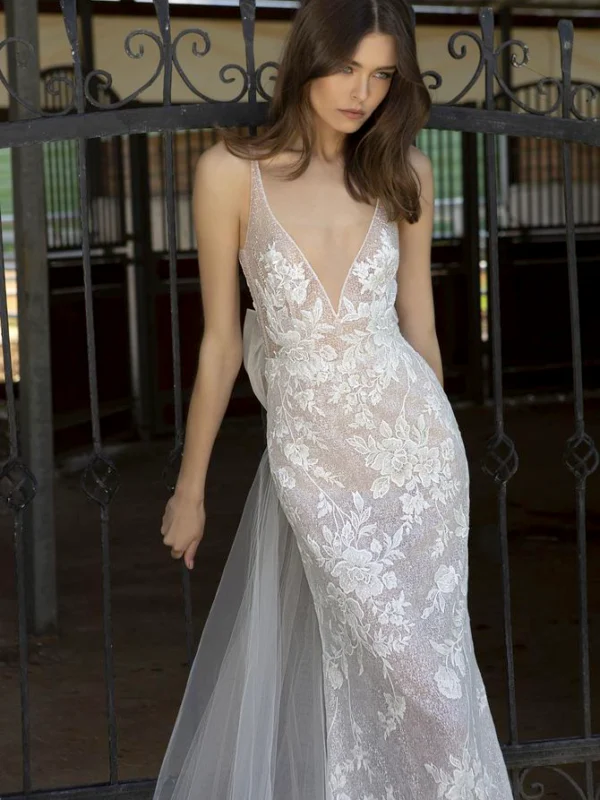
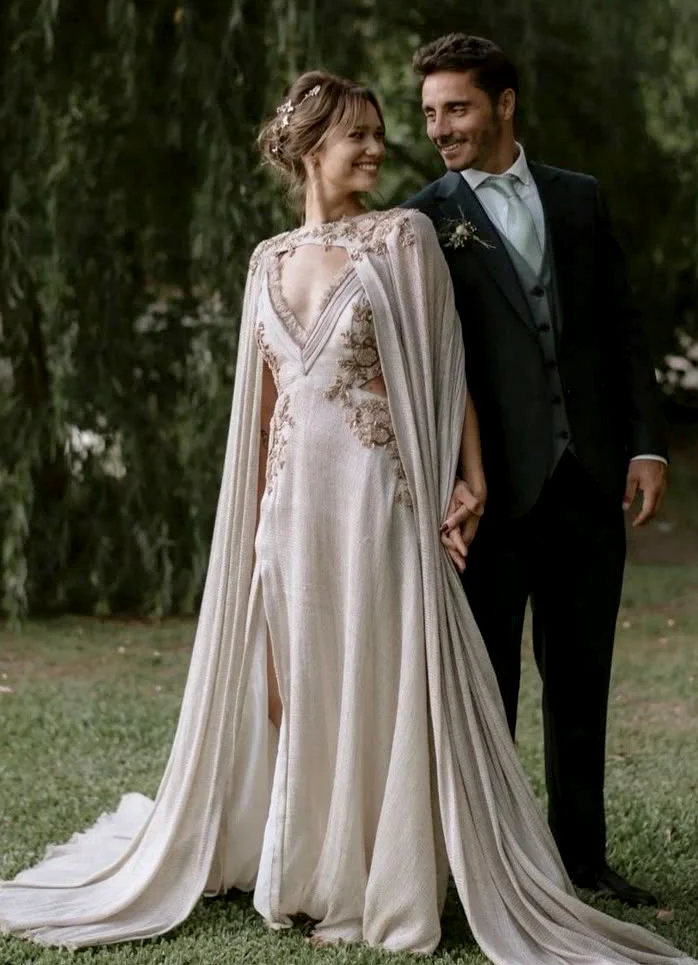
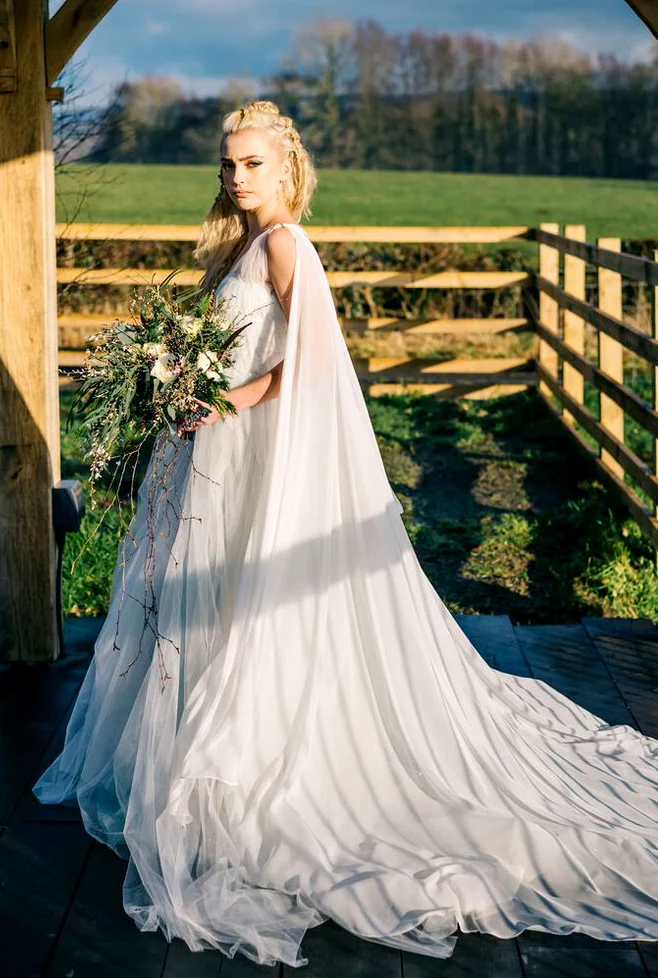
A rune wedding dress can be approached as a personal design project: which readable inscription do you want, where should it sit and how will it work with the garment? The three references show a belted pale outfit with a central patterned panel, a long shape with falling shoulder sections and a broad rear area with a train. They offer shape ideas rather than an identified runic inscription. Begin with one clearly described addition instead of a complete supposedly historical costume. That keeps your preference visible and workable for the wedding. Meaning and spelling are resolved separately from silhouette and accessories before any permanent work is agreed.
Describe the rune wedding dress as a specific lettering brief
First decide whether you want a name, a short personal phrase or simply a geometric pattern. These are different commissions. For an actual inscription, establish the intended text, writing system and checked spelling before discussing execution. Denmark’s National Museum describes runes as a Germanic writing method. This does not assign a particular protective or romantic spell to a modern garment. If historical accuracy matters, use traceable museum information or specialist advice. If the attraction is the lines themselves, describe a personal modern pattern without giving it an unverified translation or provenance. That is a useful design choice in its own right.
Choose one lettering area for a rune wedding dress
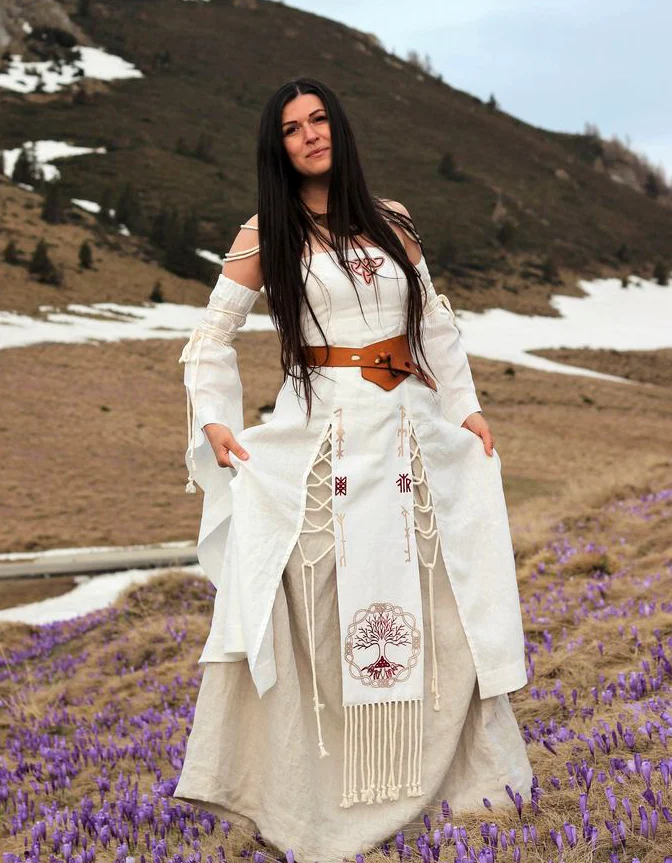
The central panel in the first reference shows how a longer continuous area can work between upper section and skirt. Its visible motifs are not being read as lettering here. Use the area distribution instead: an accent might sit at the front, run along one side or appear only at the back. For a rune wedding dress, begin with a paper sketch at approximately the intended size. Hold it at the proposed place on the actual garment and look from an ordinary distance. More signs are not automatically clearer; seams, existing pattern and neckline all affect the relationship between the addition and the outfit.
Test the belt and waist as another design layer
The coloured belt in the first picture clearly separates the upper area and longer lower panel. If you are considering lettering there, first try a plain belt without decoration. Sit and stand to assess its position, then ask how an addition could be made and attached to the actual piece. The panel and belt need not both lead. Compare a waist-focused arrangement with a quieter middle. This reveals whether you want a strong division or prefer the longer continuous line. The result helps you define a brief before choosing an execution method that the reference photograph itself cannot establish.
Move the shoulder sections and outer layer
The second reference combines a long pale fall with additional areas at the shoulders. These lines might frame a small planned inscription or cover it. Try a greeting, reaching for a bouquet and sitting in the real garment, then leave the longer pieces hanging without rearranging them for a photograph. Put on and remove the outer layer if you plan to use one. A rune wedding dress does not need a particular cape simply because the theme feels older. Decide using the silhouette you want and the route between your venues. Ask about attachment and alterations on the actual offer rather than assuming a detachable arrangement.
Assess a rear detail with the veil
The rear reference has a broad pale area and fabric spreading along the ground. If your personal addition is intended for the back, place the planned veil or wrap over it during the comparison. Does the area remain visible, and do you want it visible throughout the day? A small hidden detail can fulfil your intention as well as a prominent inscription. Also inspect the actual dress’s front before allowing the back idea to settle the decision alone. For a rune wedding dress, deliberate placement is more useful than assuming each sign must be recognisable from every direction. Decide who should see it and when.
Weigh lettering, bouquet and jewellery together
Hold an object close to the planned bouquet size in its carrying position. An addition at the front may disappear behind it while a side detail remains clear. Choose jewellery afterwards. A longer necklace can occupy the same central line as a lettering band; smaller earrings create another emphasis. Try the arrangement with your actual hairstyle and intended underlayers. Keep one version unchanged while adjusting the other. This makes the new detail’s effect easier to see than deciding about bouquet, belt, lettering and headwear simultaneously. Your story can remain personal while the visible arrangement is tested concretely through the same practical fitting.
Agree execution and alterations before ordering
Bring an approved drawing or text sample to the provider and ask to see size, orientation and placement on the real garment. Request a small sample or execution trial before permanent work begins. Existing surfaces may call for different solutions; a photograph cannot establish material or method. Clarify who will do the work and what result is agreed. For a rune wedding dress, spelling and design approval belong in the record alongside timing. Leave space for a final fitting with shoes, outer pieces and the bouquet comparison. A decision before execution is more useful than assuming later correction will be simple or restore an earlier surface unchanged.
Also inspect the sample in the reading direction it will have on the garment. A sketch viewed in a mirror and a detail arranged on the fabric can appear differently. Ask another person to compare the approved design from an ordinary distance with you. This is not an occasion to guess a new translation; check size, orientation and visibility of the already established text. Record the final position with a complete outfit view so the commission does not rely only on an isolated close drawing.
Finish with care and a complete wearing plan
Ask about care for the finished garment, including the addition. GINETEX explains textile-care symbols; lettering supplies no separate washing or steaming instruction. Our crochet-look wedding dress guide and boho wedding dress comparison offer further area ideas. The National Museum of Denmark supplies writing context, and GINETEX helps explain care markings. Finish with an understandable personal idea, deliberately selected placement and a complete outfit you have tested. None of that requires turning a photograph into a historical source after the fact or assigning a symbolic meaning that its visible detail cannot support.
For a rune wedding dress, start with checked lettering and one main placement area. Coordinate its size and execution with dress shape, movement and care.
Frequently asked questions
Do the pictures show an authenticated runic inscription?
No. Visible motifs are not read as an identified text here; the images compare areas and shapes.
Is a geometric pattern the same as a lettering commission?
No. An inscription needs an agreed text, writing system and checked spelling before execution.
Where can a personal detail sit?
Compare centre, side and back with a paper sample and test visibility with bouquet and veil.
Does the look require a particular cape?
No. Choose outer pieces through silhouette, travel and movement, and check their actual attachment.