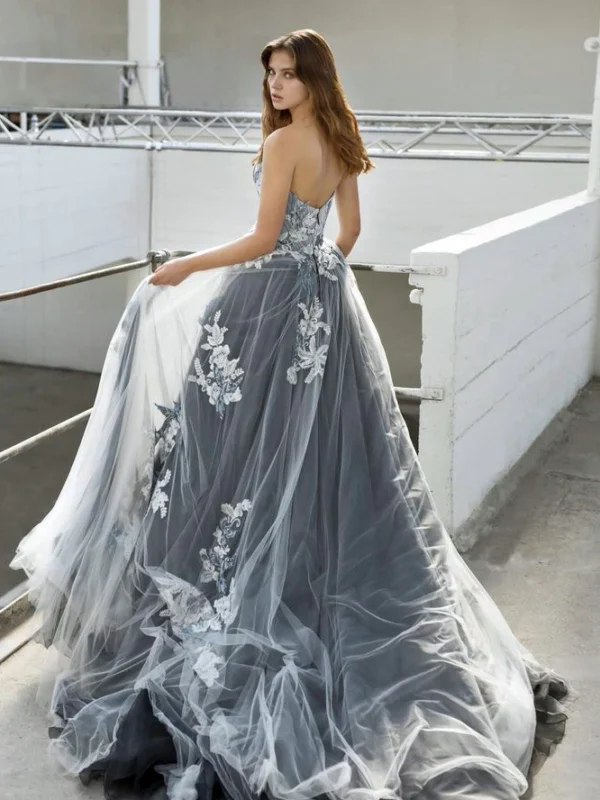
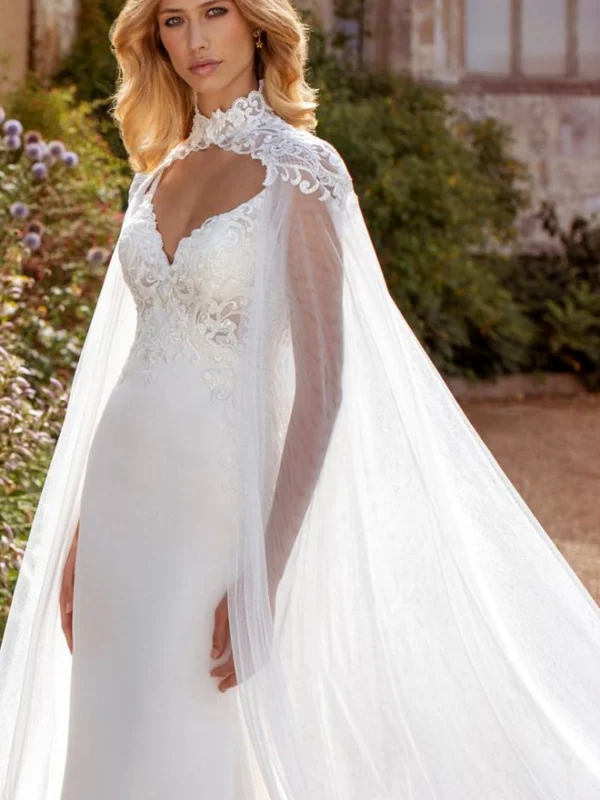
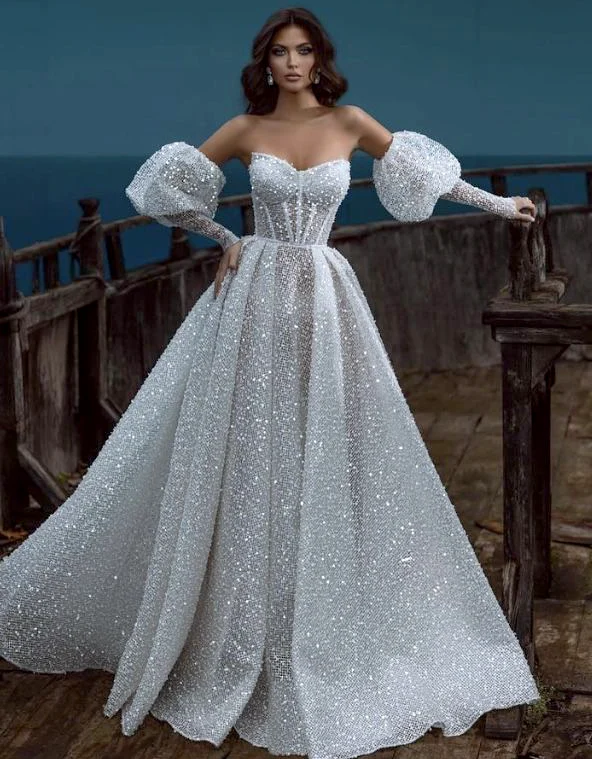
Choose a button-placket wedding dress by clarifying the intended line and the opening that actually works. Should the row begin at the back neck, stop at the waist or continue over the skirt? A long visible row does not establish that every element opens. The five archive pictures here show front views of differently decorated bodices. None confirms a continuous button placket. Use them to compare the front line, shoulder finish and skirt, then request the intended button arrangement on the actual offered dress. This keeps a specific design preference separate from an unknown back that a beautiful front cannot supply.
1. Name the beginning and end of your intended row
“All the way down” can mean different things during a consultation. Point to the intended beginning and end on a suitable back view. Do you mean the area between neck and waist, the whole centre back of the skirt or the fabric continuing on the floor as well? Have the line shown on the same model. An open back can begin differently from a high closed back. The deep V-back wedding dress comparison helps name that visible boundary separately. These front pictures do not answer the matching back question.
Use the same terms when comparing more than one offer. Record the beginning, end and section actually opened for dressing. A drawing can explain your preference but cannot confirm the construction of the offered dress. If the bodice and skirt need different treatment, have both sections named explicitly. You can then compare the delivered arrangement with specific agreed details instead of relying on the broad phrase “like the photograph”. A missing rear view does not invalidate your preference; it means that preference needs checking on the relevant real model.
2. Ask for a demonstration of the opening
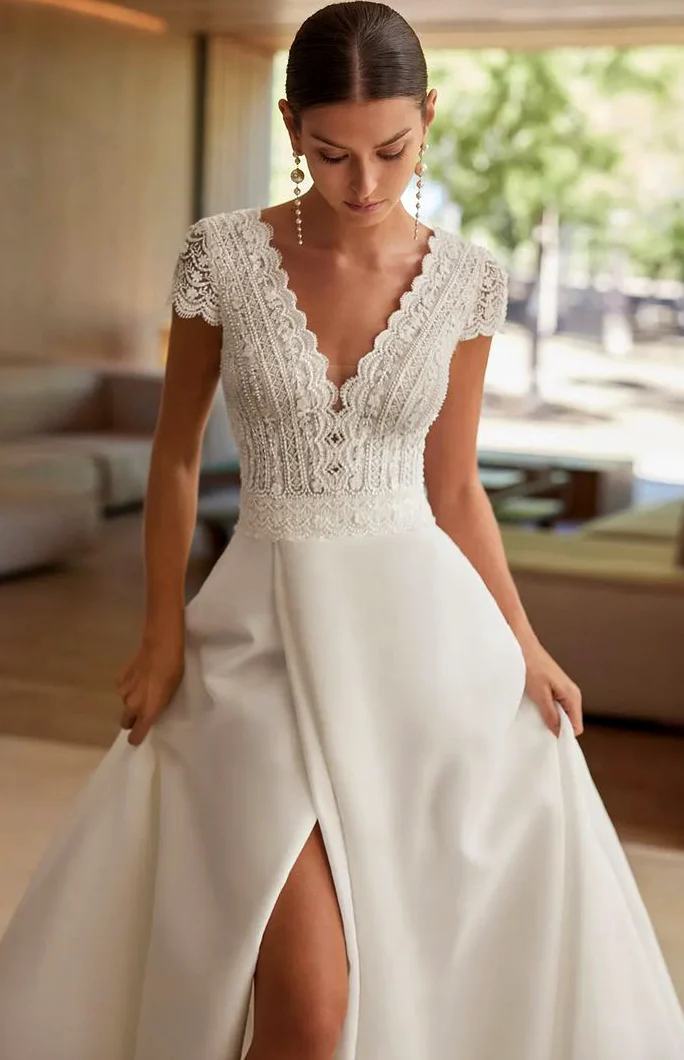
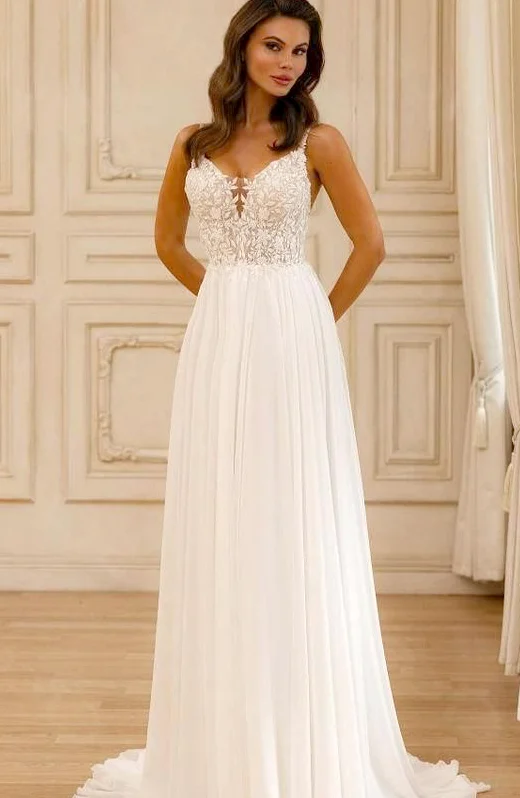
Ask which buttons operate an opening and which only form the visible line. Request a demonstration on the complete dress: what opens first, where does the opening stop and is there another fastening? The button-back wedding dress guide adds detail to this particular back question. A long row establishes neither a specific attachment nor an easy dressing process. Even the small diamond-like shapes in our main front reference are not confirmed as buttons. Their repeated placement does not turn them into an identified fastening.
A named manufacturer example shows why precise wording matters: Justin Alexander describes covered buttons continuing to the end of the chapel-length train on Estelle 88261. That confirms the described line on that model. It identifies none of the archive pictures and does not establish that every button opens. Do not transfer its stated material to another pale front either. Keep asking how your own offered model operates; another product description cannot demonstrate that operation for it.
3. Compare the front independently from the back
Our main view combines a deep V with narrow vertical decoration, small central shapes and a quieter broad skirt. Two further fronts put flowers on narrow straps or short shoulder finishes. A high-neck alternative carries vine-like drawing over a longer closer shape. These differences can clarify whether you prefer a quieter or more strongly patterned front. They do not determine how the other side of any of those dresses closes. An attractive front cannot complete an absent construction view.
Choose the front line you want to compare on the real model first. Then request its own sides and back. A button back from a second dress does not automatically complete the first front. Similar pale colouring does not make separate bodices, backs and skirts interchangeable components. Record your preferred details as questions rather than assembling independent photographs into an already available dress. What can be combined must be explained for the actual offer. That also lets you locate the same detail on the garment instead of making the decision through photographs alone.
4. Try the closed dress through a complete sequence
Have the chosen dress closed fully. Take a few steps, sit down and bring your arms forwards. Observe the confirmed row and the adjoining surface, then see the same view again in a quiet standing position. You are comparing the actual garment before and after your movements. A narrow picture of a row or a decorative back cannot establish support or movement room for your own fitting. Complete the explanation through the dress you are wearing rather than treating another person’s pose as that test.
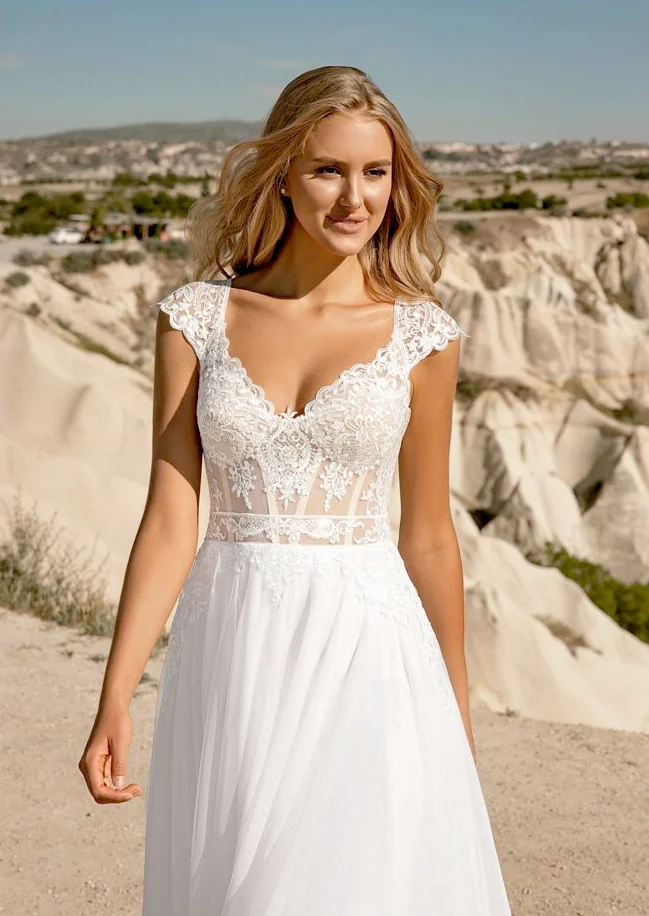
If someone will help close it, ask for the discussed process to be demonstrated together. Try the actual intended pieces instead of leaving the order to guesswork while dressing. Ask how the long rear section is meant to be handled while sitting and walking. The complete hem and your shoes belong in this comparison. The cropped lower borders in some front pictures provide no length measurement, while the held skirt here does not establish the same width when the fabric is released. Request those missing views on the same model in comparable positions.
5. Add hair and accessories to the confirmed dress
If you want the back row to remain visible, compare your planned hair and any veil against that particular back. See the dress alone first, then add one item at a time. The bridal accessories guide supports this sequence. Long earrings or loose hair from a front reference are ideas, not required parts of the offer. Their visible colour establishes neither jewellery material nor weight. Assess their relationship with the back through your own complete arrangement rather than using the front photograph as a substitute.
6. Record the confirmed arrangement
Write down the model, agreed button line, working opening and included pieces. Ask whether matching spare buttons are supplied or how a later replacement would be identified for that model. A similar pale decorative element may have a different size or attachment. If changes are discussed, request the revised rear view with the confirmed beginning and end of the row. Ask which adjoining areas would be affected and how the complete result will be tried again. For cleaning and preparation, the finished garment’s label controls: GINETEX explains care symbols. Pale buttons or a fine surface supply no general washing rule. Your button-placket wedding dress can then be chosen through a confirmed line, an explained opening and your own complete fitting.
The intended button row needs a matching rear view and an explained opening. Five fronts add comparisons of the visible design.
Frequently asked questions
Do the front photographs confirm a continuous button placket?
No. The front photographs show different decorated bodices, but no confirmed continuous button placket or complete rear view.
Does every button in a long row open?
The working section of a button row must be explained and demonstrated on the offered wedding dress. Visible length alone does not confirm its function.
Does the manufacturer example Estelle 88261 identify an archive picture?
No. The manufacturer description of Estelle 88261 concerns its own model. It identifies none of the five independent archive pictures.
What should a button-placket wedding dress order record?
For a button-placket wedding dress, record the model, beginning and end of the row, working opening and included pieces.