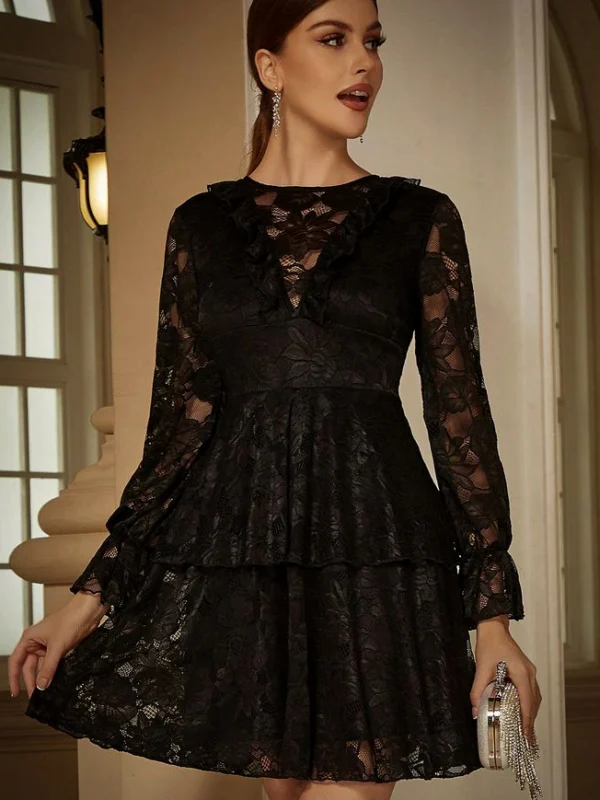
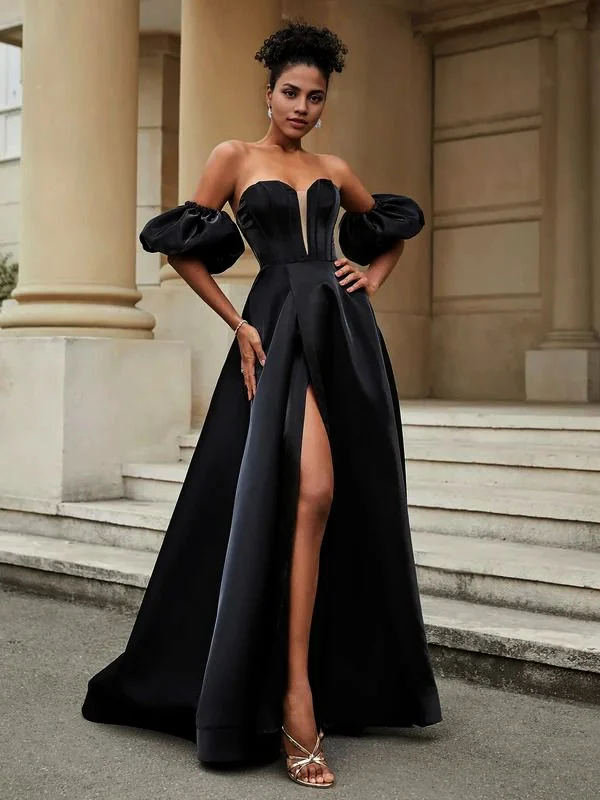
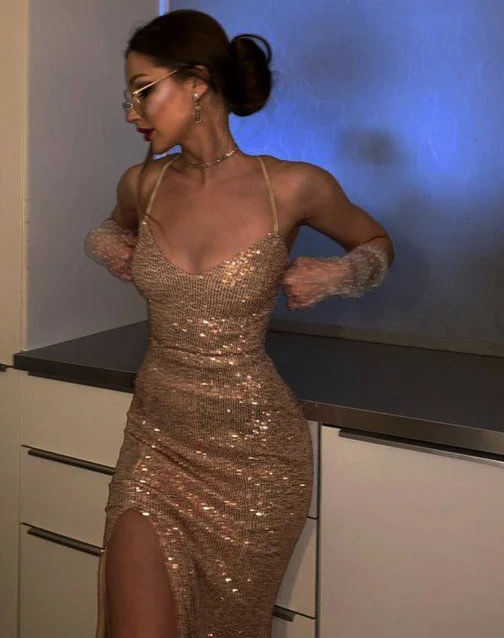
Party dresses are easier to choose when you first establish the occasion, preferred hem height and one visible focus. These six short references show different necklines, reflective surfaces and fringe arrangements. They are not a complete selection for every dress code. Use the photographs to describe your preferences, then assess an actual garment with the additions you intend to wear. Liking a colour in one image does not require adopting its entire cut or styling.
1. Clarify the invitation before the dress
Start with the wording on the invitation and the planned parts of the evening. A seated meal, longer walks and dancing raise different questions about the same outfit. Ask the hosts about their expectations if the dress code remains unclear. A short dress in a photograph establishes neither permission for your event nor the right hem height for you. A year label or striking presentation cannot supply that information either. Clarifying the actual occasion makes the later visual comparison more useful.
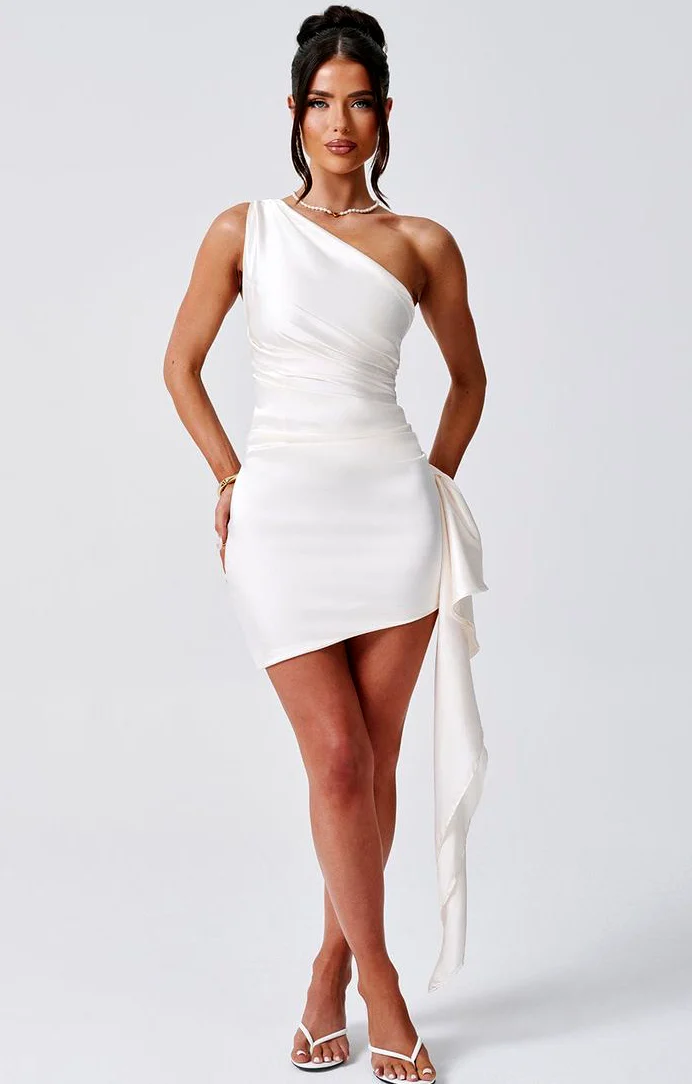
The Emily Post Institute attire guide distinguishes named dress codes. Its White Tie examples specify formal floor-length gowns; Black Tie includes formal floor-length and dressy cocktail options. Those are examples within particular codes, rather than general approval for every mini. Decide afterwards whether a short look should be your starting point at all. The short or long party dress comparison helps separate this length decision from shine.
2. Choose a quiet shape or a dense surface
The white one-shoulder dress is the quieter starting point among these six images. A diagonal neckline, gathered waist and different lower lengths create its visible shape. The green-blue reflective dress instead combines a rounded neckline, two long sleeves and a denser surface. Both are short, but they direct attention towards different areas. Choose which effect interests you before combining every striking detail. This is a way to begin comparing, rather than a rule about which colour you should wear.
View two favourites first from a distance that lets you take in the whole outfit. Move closer to patterns and individual points of light afterwards. Liking green does not settle the sleeve question; a quiet white surface does not require an asymmetric neckline. Write down colour, surface effect and cut as three separate preferences. They can be recombined in actual offers. Keep photographed accessories separate from those initial dress decisions instead of turning every visible addition into a requirement.
3. Compare fringe direction and placement
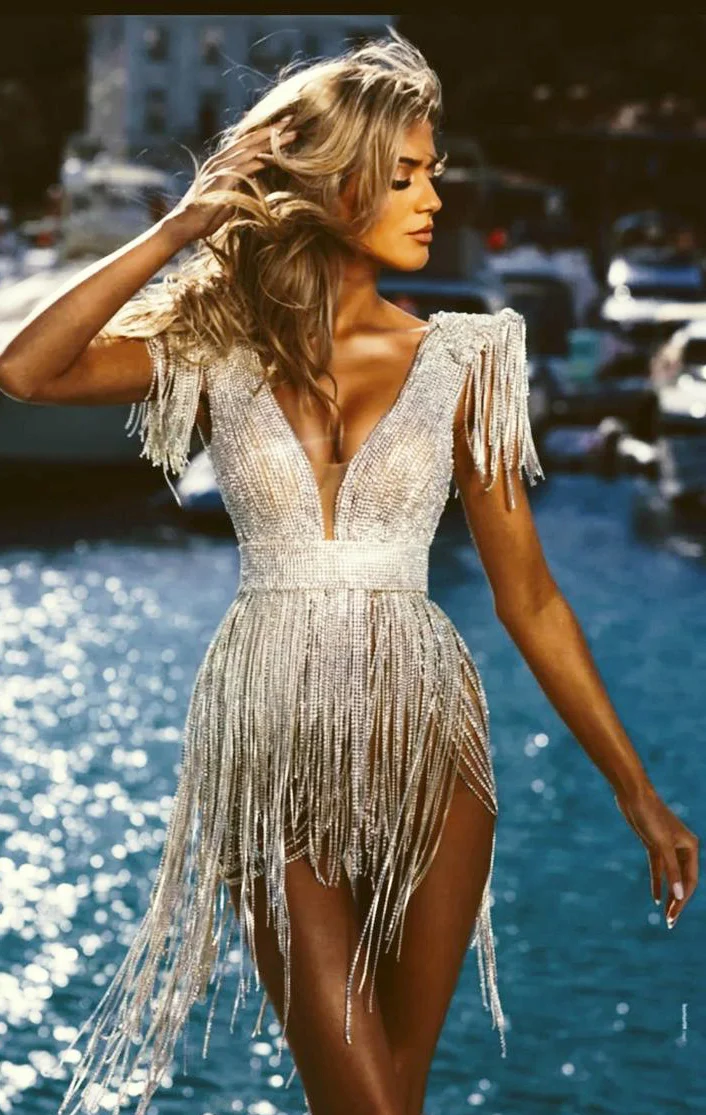
The silver-looking V reference has fringe around the shoulder areas and longer rows further down. Lower rows on the rose reflective strap dress overlap more diagonally. The red rear is a separate reference with thin straps and more horizontal-looking lower rows. It is not an established matching back for the silver front. Use it for another question about the rear line, rather than treating it as the missing half of the same garment.
On a real fringe model, ask where the free ends sit when you are seated or raise your arms. Add your own bag and try handling it as intended. A still photograph provides no movement sequence and cannot confirm that individual rows remain clear. The fringe evening dress guide develops row spacing, direction and length. Reflective colour does not identify the substance of the individual decorations. Obtain the actual product information separately from the visual comparison.
4. Select neckline and arm area independently
The photographs place a bare shoulder area, thin straps, two long sleeves and one long sleeve beside each other. The gold-looking dress also combines one-sided upper coverage with a short diagonal skirt line and a long side panel. That panel does not turn the short main area into a skirt that is long all the way around. Compare preferred upper coverage first, then the actual hem around the body. The lowest fabric point alone is insufficient to establish the overall skirt length.
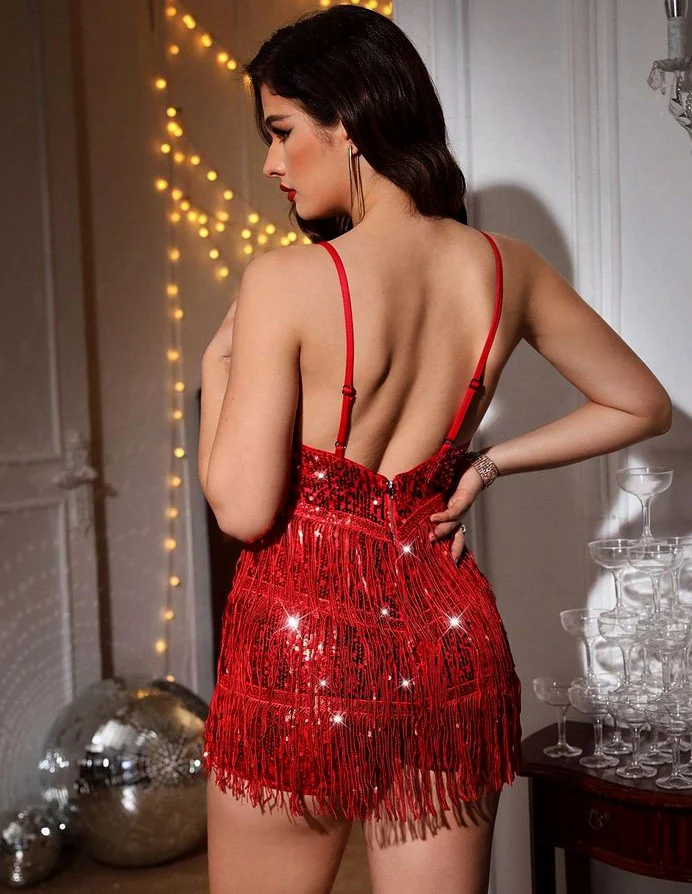
Try your selected neckline with the intended undergarments and with relaxed arms. See the same candidate from the side and rear. A hand on the hip changes the visible gap between arm and body; a hand in the hair can obscure shoulder details. Neither pose proves support or freedom of movement. The shimmering party dress comparison is useful if you still need to decide how much area should reflect light. Keep that surface question separate from the neck frame.
5. Add shoes, bag and jewellery individually
The white and gold-looking references show both open strap shoes sufficiently clearly to compare short main hem, leg and footwear directly. Other images omit the lower ending or foot area. Complete that gap with your own full view rather than mentally extending the cropped photograph. Choose shoes on the actual garment and try the combination on the intended surface. Their absence from a photograph does not make them unimportant to your finished outfit.
Begin jewellery with a single piece. The rose strap dress already has a necklace extending downwards, while the dense bodice surface supplies numerous smaller points of light. Compare the look without a necklace before choosing an additional one. Add your bag and any required outer layer afterwards. The complete party outfit guide connects these individual decisions without prescribing an accessory colour. Your own pieces beside the real dress provide a more concrete basis than an imagined combination.
6. Check the complete candidate
Walk a few steps, sit down and reach for your bag in the actual outfit. Check what happens to your preferred hem height and chosen coverage. This is a personal fitting rather than a property that can be established from a photograph. Actual composition, included pieces and care information also belong in the decision. Shine, fringe or a smooth surface cannot reliably identify fibres. Enjoying the visible shape does not mean that all product questions have been answered.
Use the particular dress’s label for care decisions. GINETEX explains washing, drying, ironing and professional textile care symbols; the appropriate treatment depends on the actual markings. Finally compare two real favourites with the same intended shoes and bag. This lets the invitation and complete combination guide the decision instead of the most striking single image. Resolve any remaining question about length, matching rear or included pieces before treating the comparison as complete.
For party dresses, establish occasion and hem height first. Compare one visible shape idea, then add shoes, bag and outer layer on the actual candidate.
Frequently asked questions
Does every short party dress suit Black Tie?
Not every short party dress is suitable for a Black Tie invitation. Clarify the actual invitation; the Emily Post guide gives formal and dressy examples within that code rather than blanket permission for minis.
Does a shiny party dress reveal its material?
Reflection from a shiny party dress cannot reliably identify fibres or the material of its decorations. Ask for the actual model composition and care label separately.
How can I compare two party dresses fairly?
Compare both party dresses with the same intended shoes and bag. Assess ordinary steps, sitting and your preferred hem height within the complete outfit.