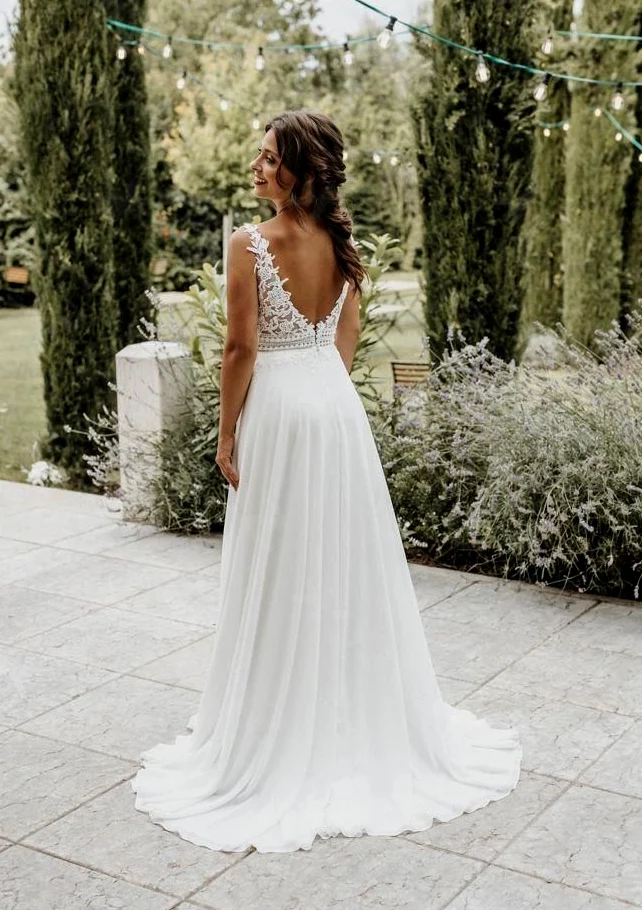
A button-back wedding dress draws attention to a narrow line that sits beside floral pattern, hair and skirt volume. In the close rear view, small pale round details run down a translucent-looking section to the waist. Another back view pairs a deep V with a much shorter central detail. Two front views deliberately provide other comparisons. Choose the back line you want first, then ask to see how the actual buttons or other fastening work on the dress you intend to order.
Choose the visible row on a button-back wedding dress
The long row creates a continuous centre within a floral area. Individual leaf motifs remain visible on either side, while the small pale points establish a different arrangement. The shorter row below the open V sits where the upper back meets the skirt. Decide whether you want a long line or just a small finish at the waist. The visible length of the row is a design choice of its own rather than a reason to request the greatest possible number of buttons.
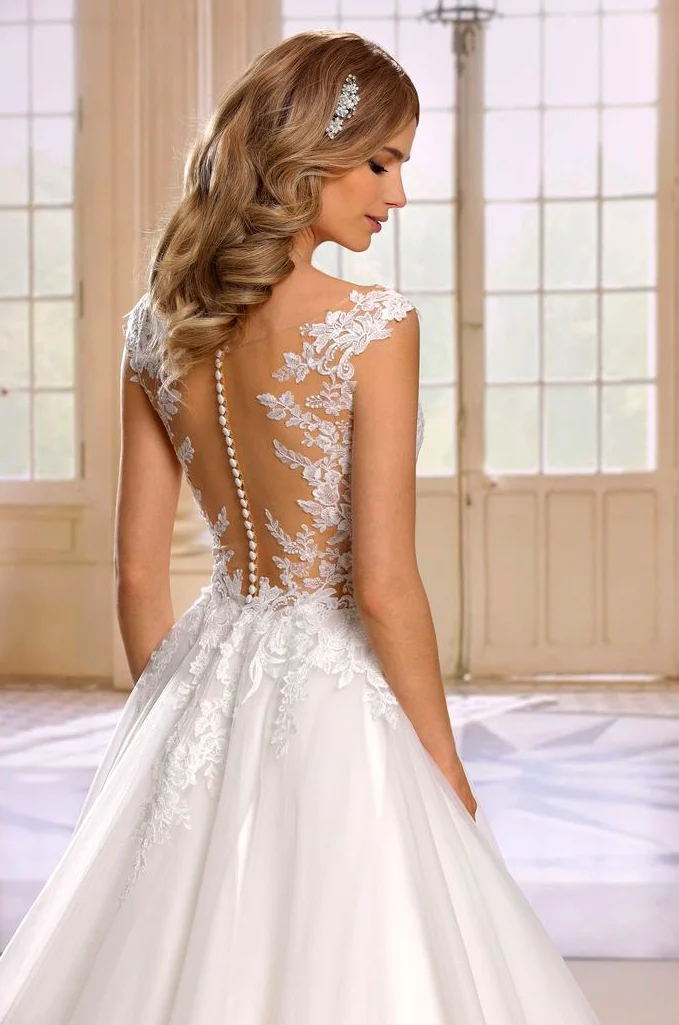
Compare rear pictures at the same scale. A strongly enlarged short row can look more prominent than a longer line in a full-length photograph. Request both a detail view and the complete back of the same model. Identify where you want the first and last visible element. If you want a different position, ask what is possible on the real dress rather than assuming the row can be extended indefinitely. Include the surrounding floral pattern in that conversation as well.
Separate the visible buttons from the actual fastening
On a button-back wedding dress, a row of round details does not explain the entire closure. On the actual product it may have a practical role or mainly decorate the back; that needs checking on the specific model. Ask for the dress to be opened and closed completely. Have the moving parts and any intended assistance demonstrated. You do not need to memorise a technical label. You need an understandable demonstration of the garment you are going to receive, with the visible row and the real dressing sequence considered together.
Rehearse the hand movements with the person who will help you dress if that is part of your plan. Ask how much time to allow for this model and whether any particular tool is expressly recommended. Do not assume hooks, loops or a hidden zip that have not been shown. If a detail can be replaced, record the appropriate replacement and contact person. A clear agreement helps more than a vague assurance that something can be sorted out later if necessary.
Compare the pattern and background behind the row
The close back shows floral forms over a skin-toned-looking translucent section. Pale motifs, the central row and visible skin stand out differently. The V-back view puts more of its pattern around the outer edges and leaves a clearer centre. Compare that distribution without immediately changing the entire skirt shape. Our backless wedding dress guide adds the choice between an open centre and more covered back areas. Here the particular question is which background you want beneath the visible row.
If you want lining or another underlayer, request a view of the actual proposed alteration. A new background may change how clearly the flowers and row stand out. Assess it across the relevant back section rather than only as a small colour sample. Ask what can be altered on the available dress and whether another fitting is included. The pictured lines establish neither internal support nor fibre content. Begin with the contrast you can see, then clarify the real construction separately when it matters to your choice.
Try hair and veil beside the central line
In the close photograph, part of the waved hair falls over one shoulder and leaves much of the back visible. The V-back view uses a loose side braid. Both arrangements show why your planned hairstyle belongs in the back comparison. Wear the hair as intended, then move it deliberately away from the centre. Decide whether you want the row completely visible or prefer it to appear when you turn. A partly covered line can also be a considered choice rather than an automatic problem.
If you plan a veil, place the actual version over the dress and assess the same rear view again. Its edge might cross the row or end beside it. Compare ordinary standing and a small turn instead of predicting contact from a still image. Our bridal accessories guide helps choose hair decoration and earrings together. Add those elements individually, beginning with the back detail you truly want to show, so the photograph does not become a demand for every decoration at once.
Request the front of the same garment
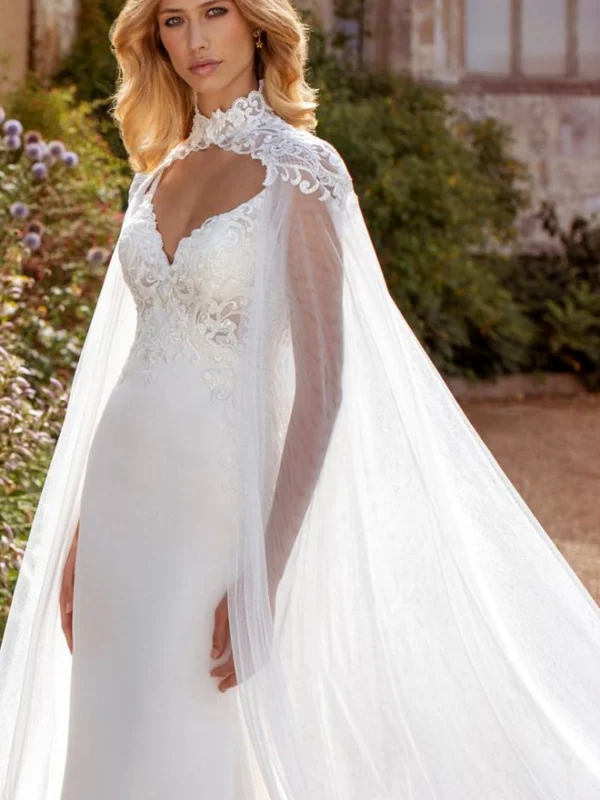
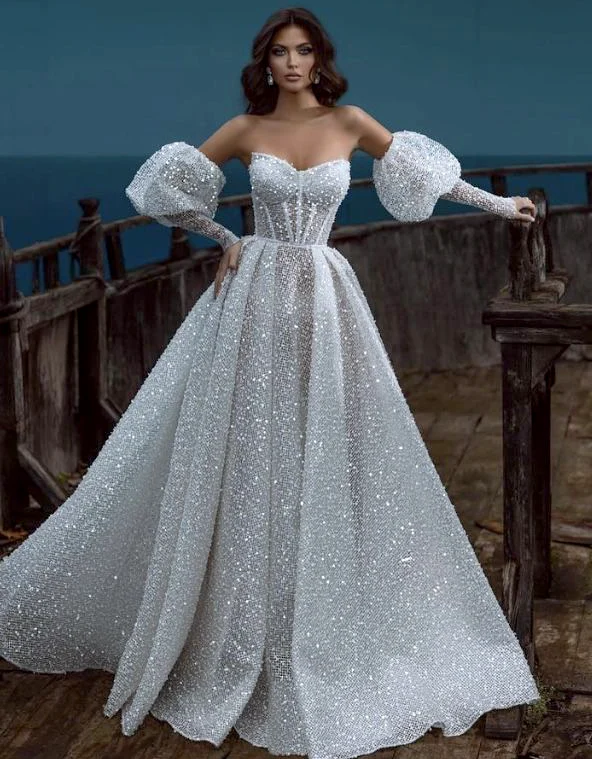
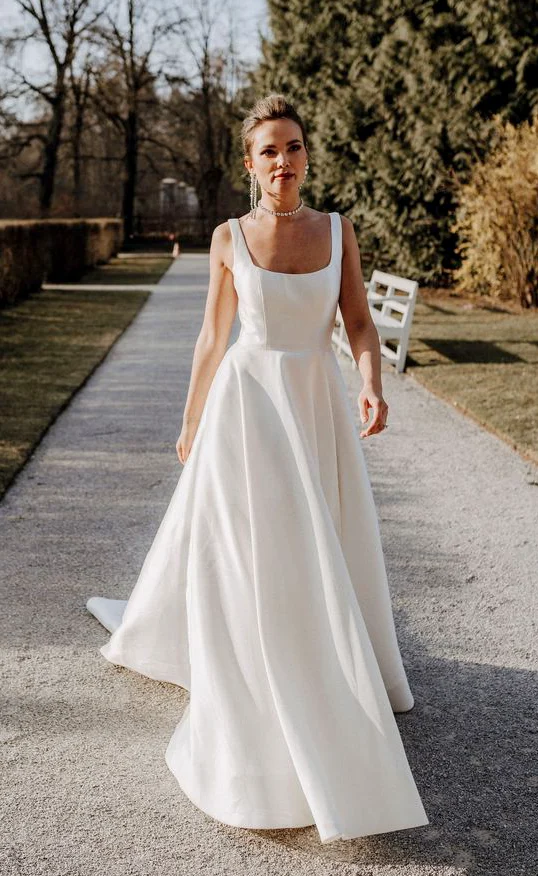
The plain front with broad straps and a rounded-square neckline supplies a quieter comparison. It shows how much of an effect can come from a definite upper shape and broad skirt folds alone. The long-sleeved front instead has a deep V and different coverage. Neither picture reveals its complete back. Use them as ideas for the front, requesting the corresponding rear view before choosing a dress with a particular button row. Features from separate photographs should not silently become one supposed product.
Compare front, side and back as related views of your preferred button-back wedding dress. You may want a quieter front so the rear decoration appears as you walk past. Alternatively, you might prefer flowers visible on both sides. Record that specific combination rather than saving one rear photograph alone. Add your actual arm position and the items you intend to wear or hold. This turns an appealing back detail into a fully considered dress and gives the shop a clearer description when another candidate is tried.
Connect the skirt and practical movements to the back
A broader, relatively quiet skirt begins below both rear arrangements. The close photograph leaves its complete finish outside the frame; the other view shows a short trailing rear section. Select length on the whole actual garment with intended shoes. Observe where the row visually ends and the skirt folds begin. A belt, different waist decoration or changed skirt join would affect that transition, so discuss it alongside the back rather than treating it as an unrelated addition after the row is chosen.
Sit on a chair in the intended combination and stand again. Have the back examined before immediately rearranging it for a photograph. If you want an adjustment, identify the area and the next opportunity to check it. The fitting should establish how you want to use the actual dress. A permanently perfect photographed stance is no substitute. Keep a short list instead: row placement, visible background, planned hair and demonstrated fastening. Those concrete points give the next fitting something specific to assess on the same garment.
Record the final model and care information
Before ordering, identify the model, included pieces and agreed alterations clearly. With a button-back wedding dress, also ask about replacement details and actual storage guidance. Establish whether decorated areas have specific instructions and which information applies to separately supplied pieces. A fabric name or glossy appearance does not replace those answers. Agree that you can check the relevant back section worn again after any alteration, comparing the actual result with the placement and coverage noted during the fitting.
Treatment follows the label on the real garment. GINETEX explains the five care-symbol groups; that does not identify a treatment for the photographed details. Keep the instructions with your alteration notes. The row should appeal to you, but you should also know how the dress is put on, how it looks with your hairstyle and which actual version will be delivered. Those answers connect the chosen back to the complete bridal outfit rather than leaving it as an isolated attractive close-up.
Choose a button-back wedding dress through the row, background and planned hairstyle. Establish its actual fastening function on the real model.
Frequently asked questions
Must every visible back button form part of the closure?
Check this on the actual model. Have the dress opened and fastened completely, asking which visible parts are used during that process.
How should I choose hair beside a long back row?
Try the intended hairstyle and then move it away from the centre. Decide whether the entire row should remain visible or appear as you turn.
How can I compare a veil beside the button row?
Place the actual veil over the closed dress and assess standing and a small turn. Choose where its edge should cross the row or end beside it.
What should I discuss before altering the row?
Identify the start and finish you want. Establish which details can be moved or replaced on this model and arrange another check of the back worn after alteration.