Choose a sparkly party dress with the lighting of your own plans in mind. A photograph may show separate bright dots, broad reflective patches or long luminous lines. These create different pictures even when the dresses initially seem similarly striking. The useful question is not simply how much of the garment shines. Look at where the brightest areas fall, whether the outline remains easy to read, and how a bag or jewellery looks alongside it. You can make a useful comparison with the actual dress and an ordinary camera.
The references include green-blue reflective mini dresses, warm gold-looking surfaces, and red or rose-coloured fringe. A long silver-looking dress provides a comparison for continuous vertical lines. None measures the lighting at your venue. Use the visible details to decide what to try, without treating an appearance as proof of a fibre or a particular method of making the dress.
A different named product illustrates precise placement language: the maker describes fringe from neckline to hem on the Oscar de la Renta Ombré Fringe Gown. That description belongs to that garment rather than the archive references. Use it to request the actual beginning and extent of fringe on your candidate instead of treating every bright line as the same decoration.
Check a sparkly party dress in your planned light
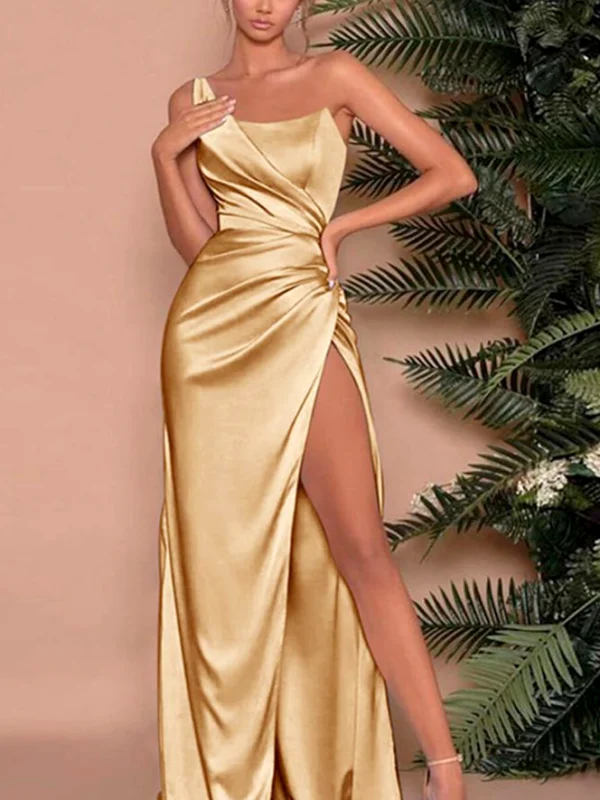
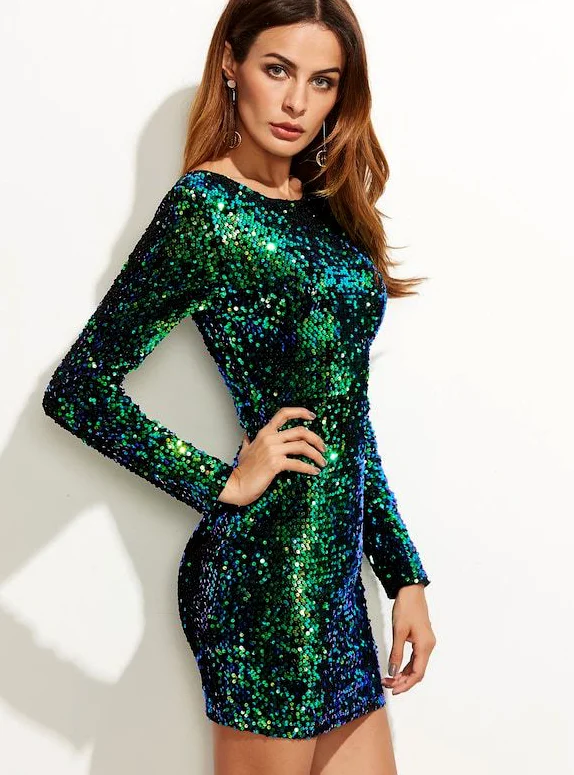
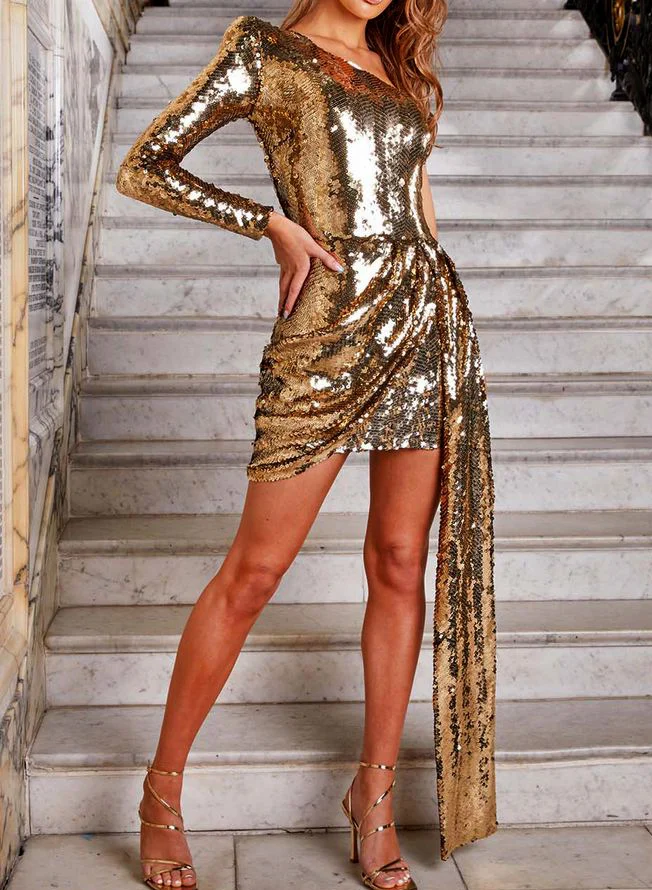
Start with an ordinary view in the room. Stand against a fairly quiet background and look at the complete outfit without a camera first. Can you still see the neckline and hem clearly? Does a particularly bright patch sit on the sleeve, shoulder or waist? The gold-looking mini has large pale islands of reflection in its picture. The green-blue dress shows many more separate round highlights. Those are observations about these photographs, rather than promises about every lighting condition. Decide which result you prefer and keep it as a reference.
Then take a picture using the kind of settings you expect during the evening. If flash photographs are part of the plan, compare a flash and a non-flash picture from a similar distance. An unsuccessful picture is not a judgement about the dress or your body. It records that particular combination of camera, position and light. Ask the photographer to change position if useful. Comparing a heavily edited product photograph with one accidental phone picture is less helpful than keeping the conditions reasonably consistent.
Separate dots, dense patches and long lines
The short green dress has clearly visible round elements with different levels of brightness. Dark spaces remain part of its appearance. If that broken pattern appeals to you, look at the actual dress from a little farther away as well. Small details may become a more continuous-looking area at that distance. A bag without another dense reflective pattern is one possible styling choice. It does not have to be black or match the dress: decide whether you want another bright area in the picture.
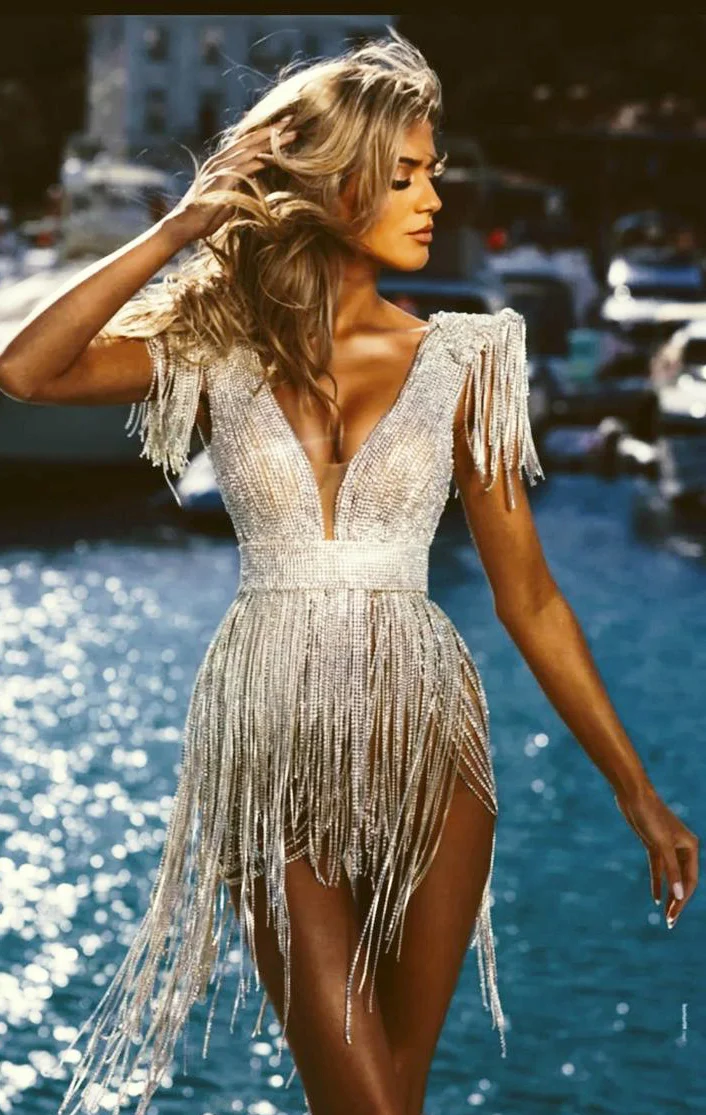
The short silver-looking dress uses long hanging lines on the shoulders and skirt instead. Try an ordinary arms-down position before making an everyday arm movement. Notice whether the lines sit across the waist, beside the leg or over the hand. The red dress adds a different viewpoint: its fringe rows and low back are visible from behind, while the front is missing. Keep it as a rear-view reference rather than imagining a complete front design from it.
Compare an ordinary pause with movement
A brief video can distinguish a chosen pose from the movement you actually want to see. Walk a few steps, turn slowly and pause again. This is a visual decision: do you prefer a clear still outline, or are the moving lines part of the appeal? Leave space around the whole dress so that a side tail or the ends of the skirt remain in frame. The long side section on the gold-looking mini shows why a tight crop can remove important information about a short garment.
Add an everyday action, such as holding your bag or greeting someone. A deliberate photograph can look different from the rest of the evening. You do not have to organise every movement around an ideal pattern of reflections. If one bright detail competes with another in a way you dislike, changing the bag, choosing a quieter jewellery surface or moving your hand may be enough to create the arrangement you prefer. Make that decision from the whole outfit rather than a detached accessory photograph.
Photograph jewellery and the bag in the same setup
Add the accessories one at a time. In the rose-looking reference, a bright necklace, fine straps and diagonal fringe rows meet around the upper part of the outfit. It is a useful reason to make a necklace decision deliberately. Take one picture without it and another with it. You may enjoy several bright lines around the neckline, or prefer to leave that area open. A universal rule about minimal jewellery would tell you less than this direct comparison of your own choices.
Look at the bag position too. A bag tucked beneath the arm sits beside a different area from a bag held down at your side. With long shoulder fringe, check the actual outfit for contact between the handle and the hanging lines. The image does not establish their fastening or a specific level of fragility. It identifies a place worth checking during your fitting. Decide which way of carrying the bag you genuinely expect to use through the evening.
Use the long dress as a line comparison
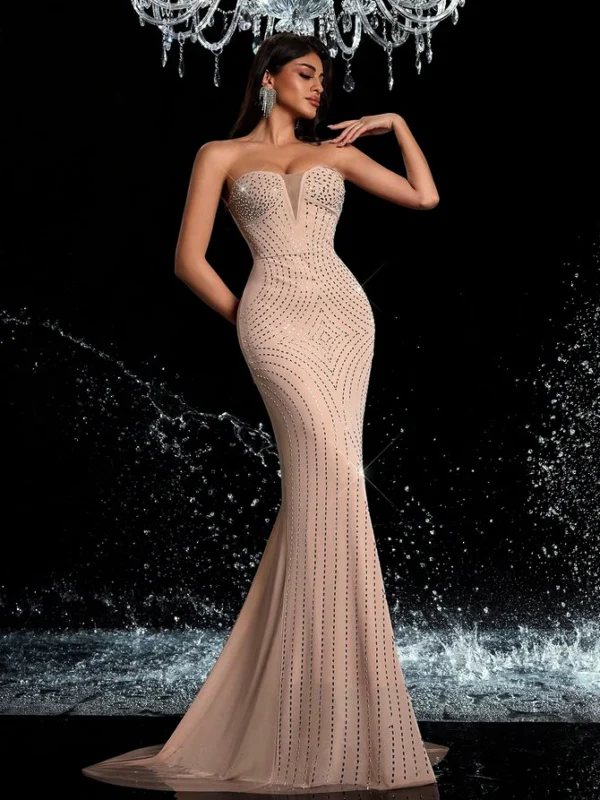
The floor-length silver-looking reference draws many lines from the top towards the hem, producing a continuous overall shape. The short fringe dresses distribute their lines into separate zones, with different areas clearly visible between them. Use that difference when thinking about the picture you want. If you have already decided on a short dress, the long example is a visual comparison rather than an automatic substitute. Its useful contribution is showing how continuous and interrupted lines can differ.
The guide to a shimmering party dress offers broader surface comparisons. The glitter evening dress guide discusses the general distribution of statement and quieter areas. Keep the narrower decision here attached to your room and your photographs: which arrangement gives you a result that you like under the conditions you actually expect?
The fringe evening dress guide compares rows, direction and the length of free ends. Assess that distribution without changing light first, then try its appearance under your intended conditions.
Finish with the actual garment
A lighting comparison does not replace the rest of a fitting. Wear the planned shoes and check standing, sitting and walking. If the design has a long side section, look separately at where that section rests during those actions. Read the label on the actual item afterwards. The GINETEX care symbols distinguish washing, drying, ironing and professional care among other processes. A shiny photograph cannot supply the right washing instructions for a garment.
Keep two or three comparison pictures made under reasonably similar conditions. Record what you liked about each: separate points, a warm bright focal area, or long moving lines. This turns a vague wish for sparkle into a usable selection. Choose the overall outfit and its photographed appearance according to your own plans; the dress does not need to win a contest for the largest or brightest reflective area.
Compare separate highlights, bright areas and fringe on the real outfit under similar conditions. Choose accessories according to the photographed effect you prefer.
Frequently asked questions
Will the brightest area always look the same?
The brightest area on a sparkly party dress can appear differently with light and camera angle. Compare the real outfit under your intended conditions rather than treating one product image as a universal result.
How do I compare a necklace with dense fringe?
For a necklace comparison beside dense fringe, keep camera and outfit unchanged. Photograph without a necklace first, then with your intended neck jewellery.
Can the rear photograph establish the front neckline?
No. The red reference shows the back line and rear fringe. You need an additional view to assess the actual front neckline.