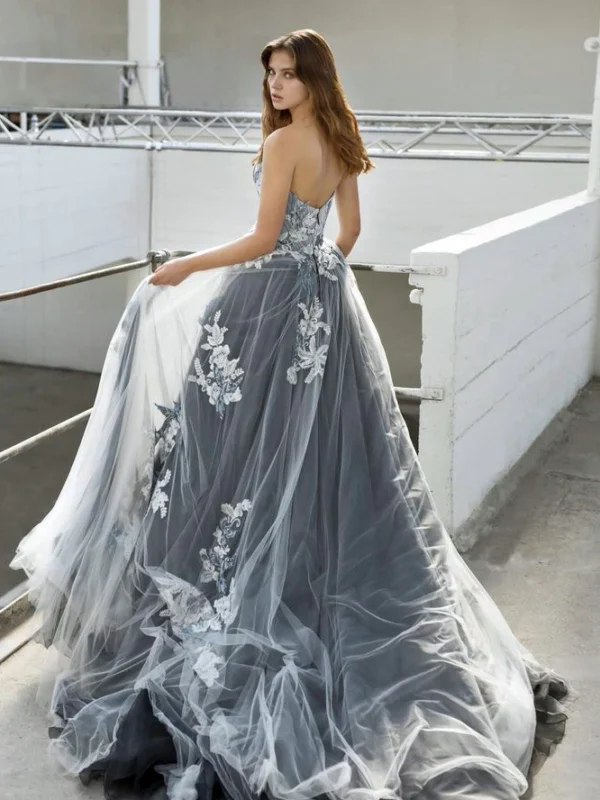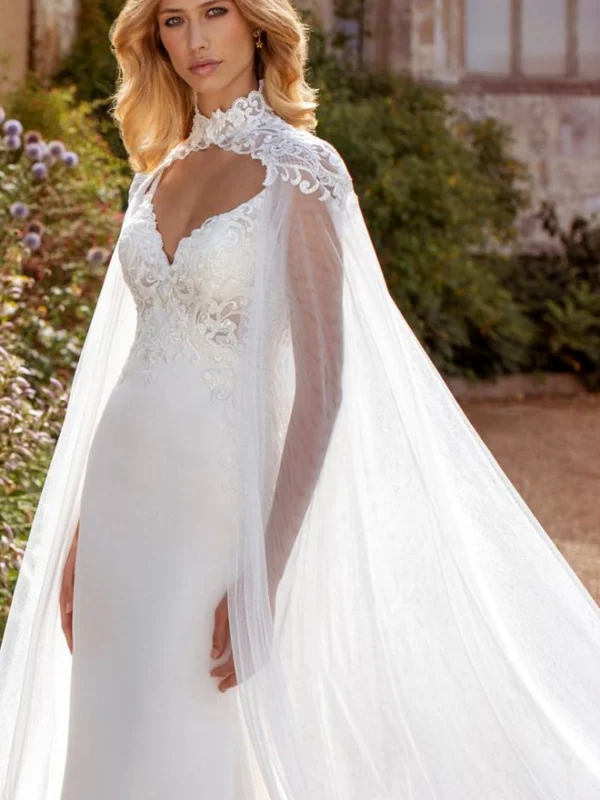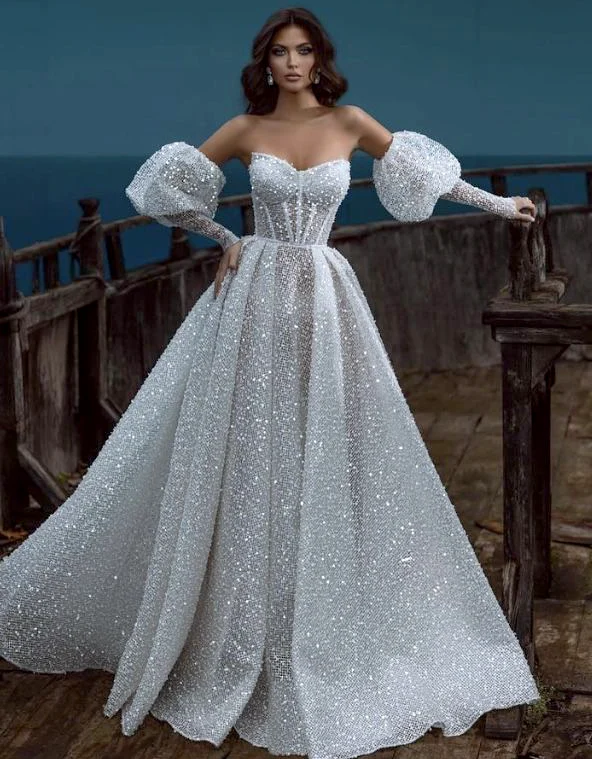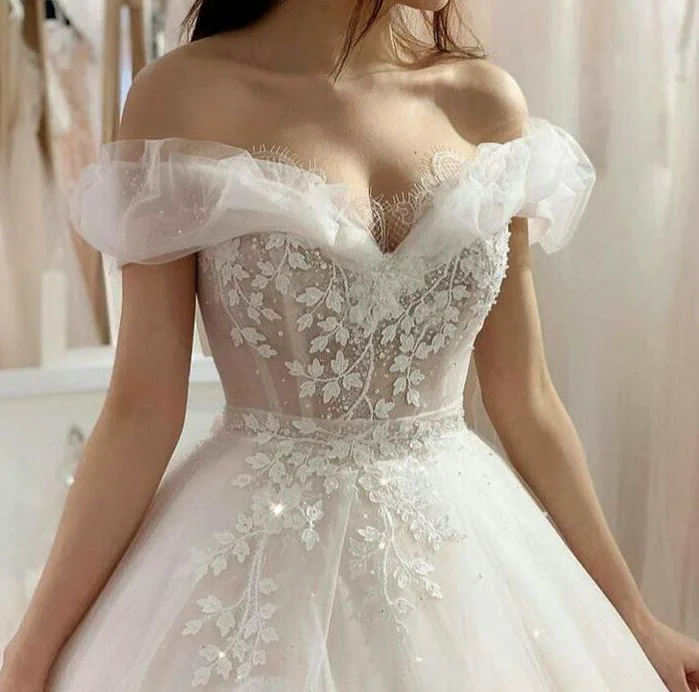
A strapless wedding dress fitting begins with the actual garment and the version being offered. An appealing upper edge in a picture cannot explain where your candidate rests after sitting or reaching. These references show clear shoulder tops beside short arm areas, longer sleeves and, as a contrast, fine shoulder straps. They provide questions for a trial rather than observed test results. Establish which components actually exist and assess your own sequence. Neckline-shape preference and decorative sleeve placement remain different decisions from the practical fitting process described here. The visible idea can then be investigated on a real gown.
Begin a strapless wedding dress fitting by identifying the trial state
Request an explanation on the particular worn model first. Which size and version are you trying, how does it close and which inner pieces are intended? Ask whether its present position has only been arranged temporarily for the trial. A temporarily held or adjusted sample cannot answer every question about the later version. Record what already exists and what is still being discussed. You do not need to invent technical construction that cannot be seen beneath the bodice. Understanding the actual connection gives the following movements a specific candidate to assess.
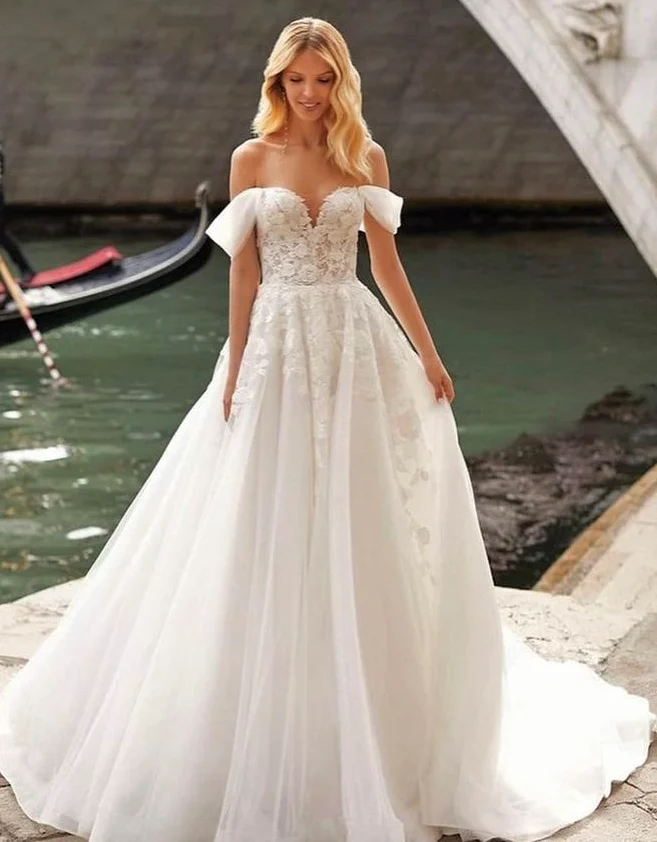
The pictures show different visible connections. Broad side bands sit below the shoulders while the fine lines in the contrast reference cross them. This cannot reveal the full inner construction. Justin Alexander presents different strapless versions; the label does not specify just one neckline shape. Your fitting concerns the offer’s real construction. The Buy a wedding dress guide covers earlier selection and buying preparation. Here you assess a particular candidate afterwards rather than comparing only an appointment or inspiration photograph. Those stages need not answer the same question.
Establish an ordinary starting position at the mirror
Wear the inner pieces actually intended for the combination and the planned shoes. Maggie Sottero recommends shoes, underwear and movement trials for fittings. Begin with arms resting naturally in an ordinary stance. Move hands away from skirt and waist initially. The front with broader short arm areas holds the skirt sides slightly outward, while the close view omits part of the lower garment. Your baseline needs an unposed view of the actual dress so you can return to a comparable starting point afterwards.
Inspect the upper edge from front and side without continually rearranging it. Describe its position through a specific place on the garment rather than a general judgement about your body. Do you want to pull it into place after small movements? Is there an area to show the alterations specialist? Record the observation briefly. A photograph series with permission may help where the views remain comparable. The question is not which curve looks more attractive; it is how the offered construction sits in your ordinary stance before the following sitting and reaching trial.
Sit and stand before rearranging the edge
Sit on a suitable chair and leave hands in the position you would use while seated. Stand again before repositioning the upper boundary. Notice which area has changed and whether you want to wear that state. Your preferred position may remain, or you may wish to discuss a particular adjustment. Describe only what you actually observed on yourself. The standing references cannot show this sequence or predict its result for your candidate. The useful trial adds movement missing from the photograph rather than treating that picture as a completed fitting.
Repeat the test on another genuinely offered version under the same conditions. Keep shoes and inner pieces consistent where the actual construction permits. A broad quieter skirt can draw attention away from the bodice, so inspect the edge once specifically and then the entire dress. Avoid deciding only through a deliberately upright mirror pose. Ordinary sitting belongs to your trial where it matches the day you plan. Any required alteration needs an explanation on the real piece rather than an unverified accessory promise. Know which step is answering each unresolved question.
Test reaching, greeting and bouquet holding as a sequence
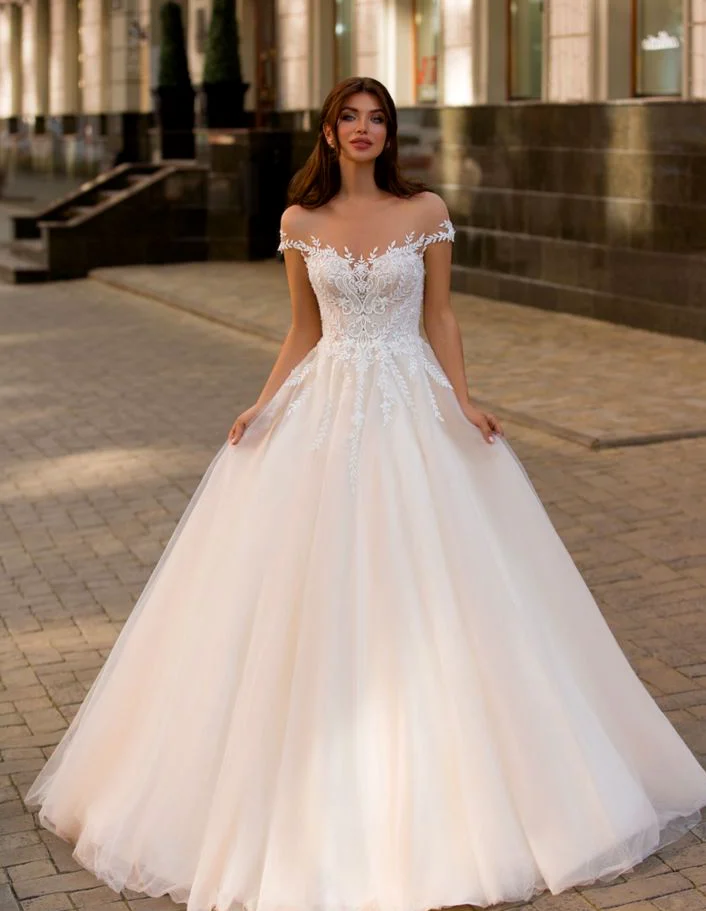
Reach for an object, return the hands and hold a bouquet at a comfortable height. Add a greeting if that is genuinely planned. Inspect the upper edge after each sequence before arranging it again. On a dress with side arm areas, notice which connection moves with the action. The monochrome long-sleeve reference has another actual arm surface from the short band. Do not copy its pose as proof that every movement is possible. Assess precisely the offered version instead of assuming another visually similar garment behaves identically.
Identify a troublesome point clearly, such as an edge you want to reposition after reaching forwards. Ask which actual change is proposed there. A general request for more support can mean several things. Have the intended solution explained on the garment and establish which state can be tried afterwards. Visible vertical lines cannot prove a particular inner function. The Corset-look wedding dress guide separates corset appearance from actual product questions. Here the repeated action sequence remains the assessment method, bringing you back to the discussed point without confusing visual style with confirmed construction.
Try a real strapped candidate as another option
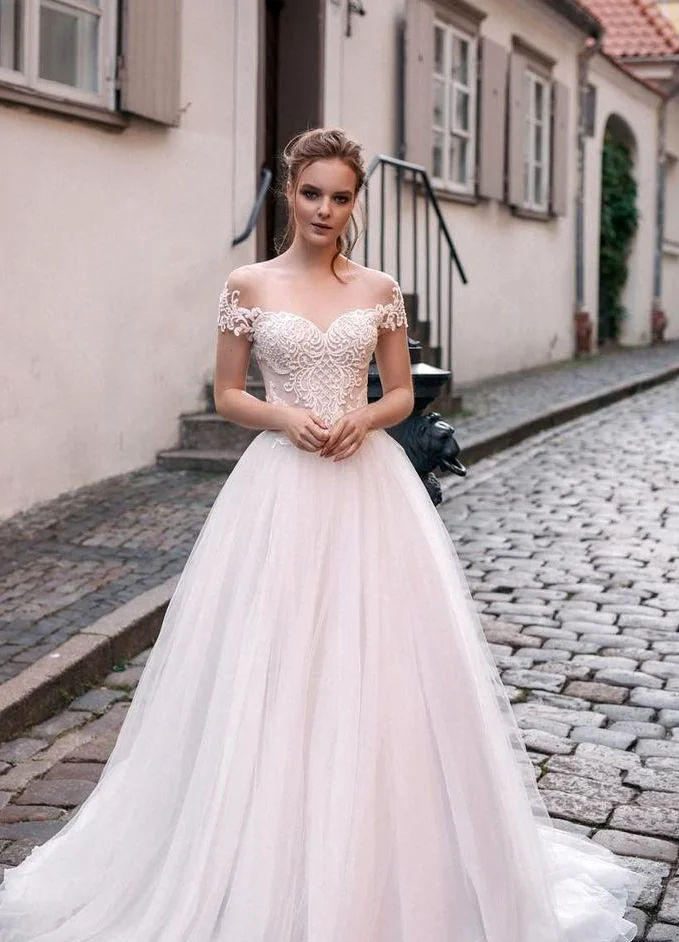
The fine-shoulder-line photograph provides another construction from views without visible bands crossing the shoulders. If that alternative interests you, try an actual offered dress with straps. Compare the same standing, sitting and reaching sequence. Choose the particular combination you prefer afterwards. This differs from inferring that straps can simply be added to every photographed gown. Such a change requires a separate explanation for the real model followed by a wearing trial. Wanting the visual idea alone cannot establish that the existing construction will provide it.
Record the trial state as well as the new visible line. Was size comparable, were the same intended inner pieces present and was one version only held temporarily? If the bases differ, keep that information unresolved rather than hiding it. You do not need a universal rule for or against straps to simplify the choice. Seek the actual version connecting your preferred construction with your own movement sequence. Fine lines on the contrast image cannot answer questions about another dress’s unseen support. Each candidate needs its own information and trial.
Recheck an explained alteration through the same sequence
Summarise three things before another trial: actual candidate, particular observation and proposed alteration. Ask for the affected place to be shown on the dress. Establish which components stay and which would change. When the adjusted version is available, begin again with normal standing. Repeat sitting, standing and the hand sequence with intended shoes and inner pieces. This lets you inspect the discussed difference rather than accepting only a general promise of improved fit. The earlier short note provides a clear point to revisit at the next fitting.
Inspect complete length and intended additions afterwards. A new bag or another veil may complement the previous trial, but keep it identifiable as a new choice. Before treatment, read the actual label; GINETEX explains care symbols. Decide through the real worn dress and understandable construction answers. This fitting process turns the references into useful questions without assigning test outcomes, particular brands, hidden support or removable pieces to them. Unresolved areas remain specific questions for the person handling the alterations rather than gaps filled through photographic assumptions.
The bridal accessories guide extends later bouquet and bag choices. Assess them after the same baseline sequence so a new hand position or covered edge remains identifiable as an additional change.
Test the actual dress with intended inner pieces and ordinary movements. Record a specific observation and repeat the trial after a genuinely offered alteration.
Frequently asked questions
Can a well-held photographic pose replace a fitting?
A photographic pose cannot replace a strapless wedding dress fitting. Assess the upper edge during your own sitting, standing and reaching on the actual garment.
Do visible vertical lines prove particular support?
Vertical lines on a strapless wedding dress do not prove particular support. Ask about its real inner construction and intended attachment; visible divisions alone cannot explain their function.
Is standing at the mirror enough after an alteration?
After an alteration to a strapless wedding dress, repeat the earlier movements with the same intended pieces too. This reveals the discussed area during your actual sequence.
Can I recreate the strapped example simply by adding bands?
The fine-strap reference cannot establish that bands can simply be added to other wedding dresses. Try a genuinely offered strapped candidate; any alteration needs its own explanation.