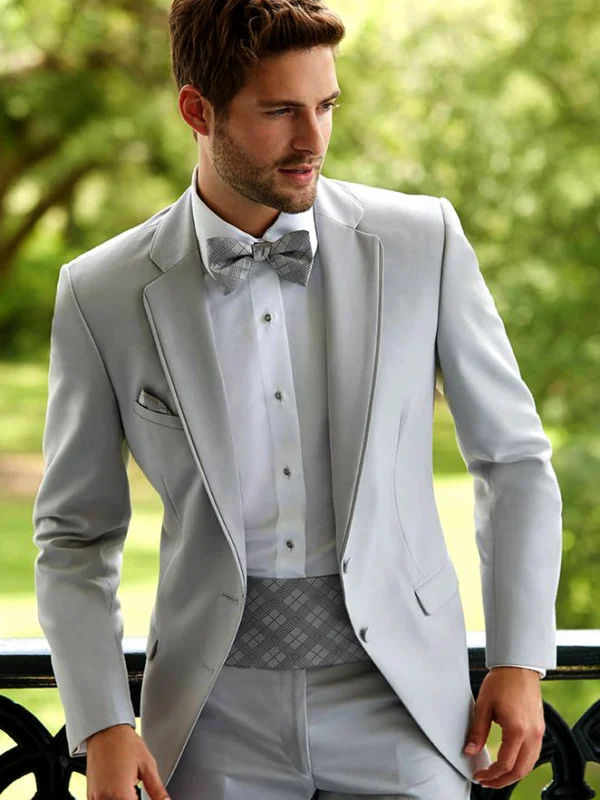
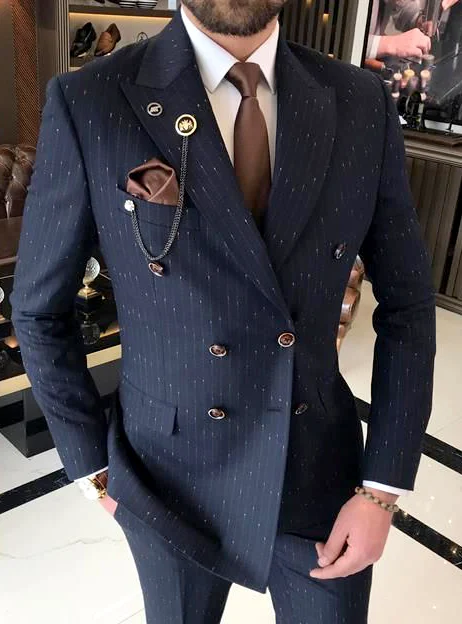
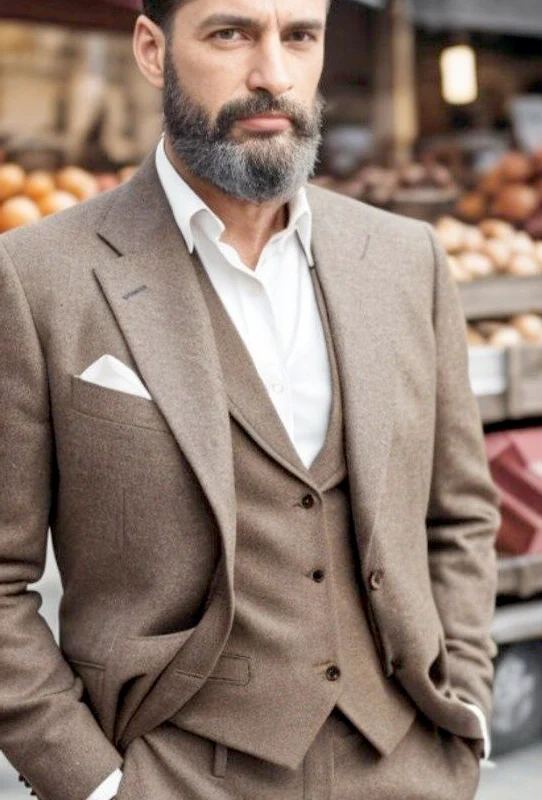
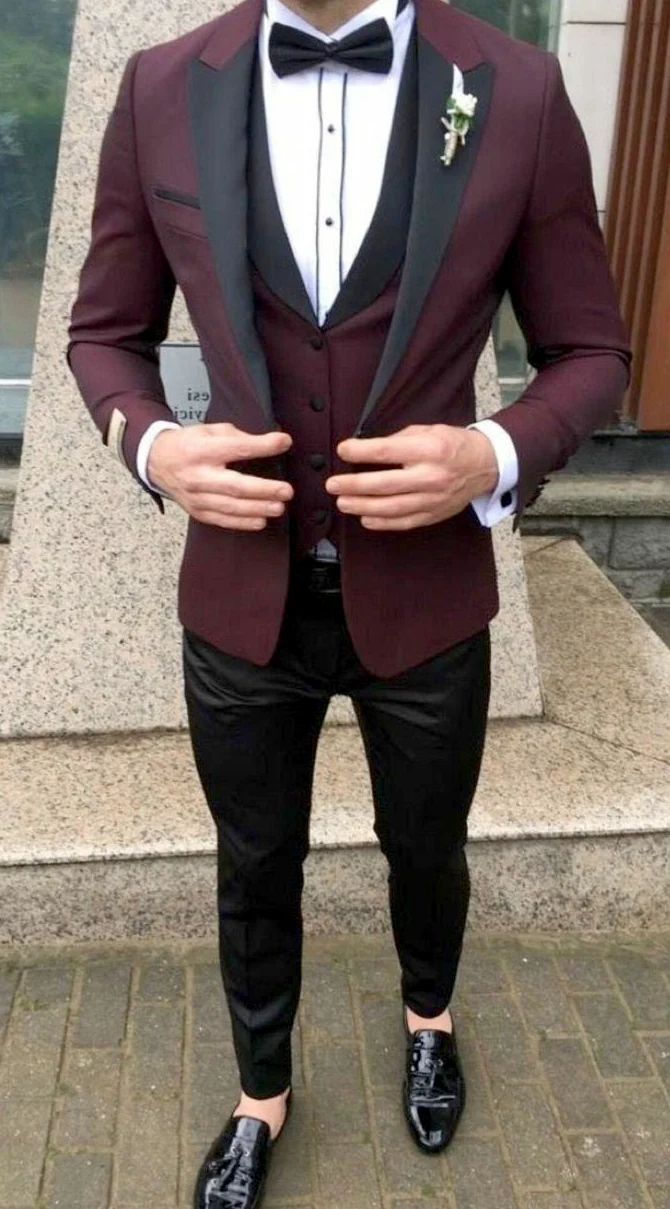
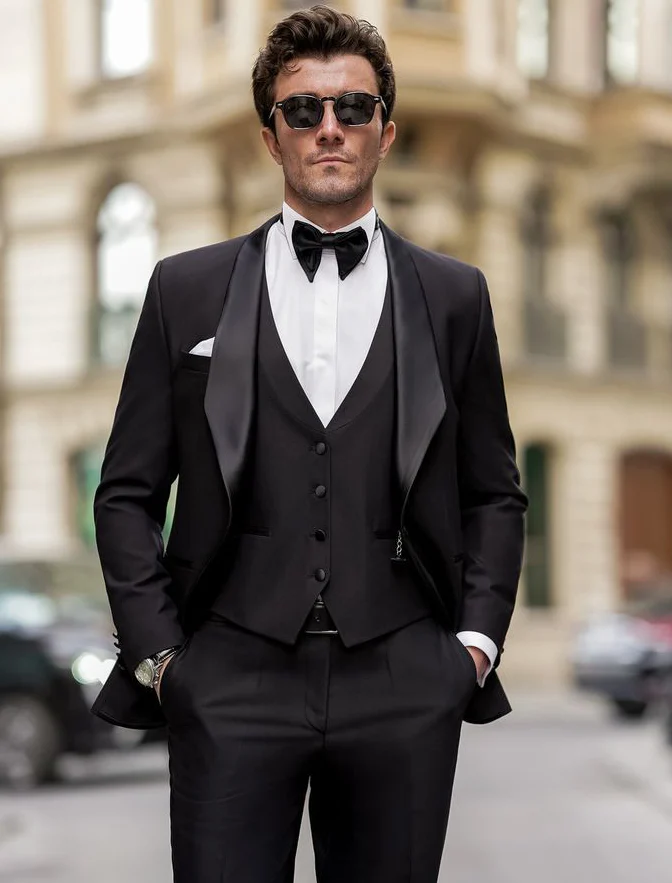
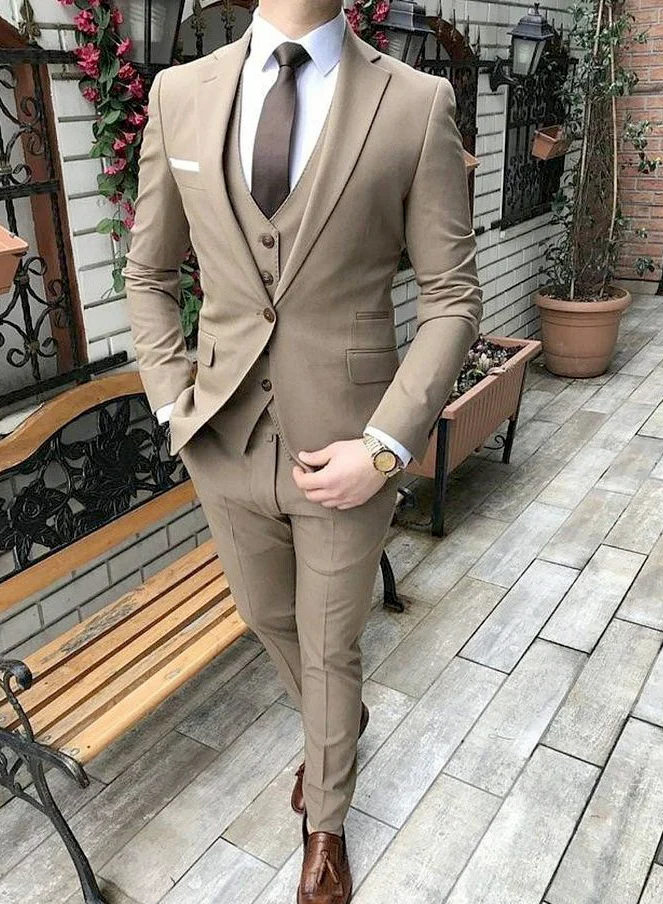
A slim-fit suit is a choice for a particular fitted outline, rather than a judgement of the body or a request to leave as little space as possible. The four references show fitted formal outlines with waistcoats, but no verified shared fit collection. Burgundy and black have bow ties, beige has a tie and the grey-green view has a buttoned shirt without a tie. Use the pictures to prepare a fitting: which line do you want visible, and how should the real combination behave during the movements you plan? Those requirements need to work together.
View the slim-fit suit without the photographic pose first
Begin in the intended shirt with arms relaxed beside your body. Do not hold the jacket at its front edges or put both hands in the pockets. Several references use exactly these hand positions to show a particular front. Request unchanged views from front, side and back as well. Your starting record should show the actual worn outline before a pose changes it. Note where you prefer a slimmer or less defined outline rather than asking for every area to become narrower at once.
Compare two real jackets or two genuinely available settings under the same conditions. Keep shirt, waistcoat and camera position unchanged initially. You can distinguish whether the chest area, middle or only a front edge changes. A size label does not replace that comparison. When a view appeals to you, ask for the precise combination of size, cut and agreed alteration. That description is more useful at the next fitting than slim fit alone, since the short label has not yet explained your particular preferred outline completely.
Assess chest and waist together rather than against each other
Look first at the lapels and the area around the intended jacket button. Proper Cloth’s chest-width guide describes noticeably bent lapels and tension lines among possible signs of restricted width. This is the manufacturer’s own fit guidance rather than identification of the pictured suits. Use it to frame a concrete question about the real garment. You do not need to derive either a definite cause or a finished alteration measurement from one photographed fold, especially when hand positions differ between pictures.
The middle should not be treated in isolation either. Proper Cloth’s midsection guide explains that pulling at the button can involve chest and middle together. Have both areas assessed in relation to each other if a line concerns you. Your preference for a fitted style can remain; the aim is an arrangement you want to wear. Request another fitting after an adjustment is discussed rather than relying only on a promise that one alteration will automatically resolve the entire front without another check.
Include the waistcoat as an actual additional layer
All four references show a waistcoat in the front arrangement. Do not therefore test the jacket only over a shirt if you intend the same extra layer later. Put on the actual waistcoat and compare the front again. Consider its lower edge, visible shirt field and jacket boundary separately. The pictures offer different upper combinations but no evidence of particular movement space or identical inner construction. The important arrangement is the one you genuinely try on and plan to use for your occasion.
Open and close the intended components as their use is explained by the shop. Ask which edge you want visible when seated and what remains on show with the jacket removed. Our two-piece suit guide helps with the earlier decision about whether a waistcoat belongs in your plan at all. The next question here is its actual place within the fitting. An extra layer added later should not enter an already closely selected jacket arrangement without being tried in that combination first.
Test sleeves with your shirt and your own movements
The views show pale shirt cuffs beside different jacket sleeves. Choose the shirt you actually intend to combine first and compare both arms in a relaxed position. Then hold a small bag or reach for an object at an ordinary height. Observe the places you want changed and describe them precisely. A posed picture should neither prove movement space nor turn every natural movement fold into a fault. You are looking for handling that suits your intended use and the appearance you personally selected.
After bringing your arms forward, compare the returned front as well. If you want to rearrange something, ask for its handling to be demonstrated. A slim-fit suit needs a real movement test because the standing view alone does not answer that question. Avoid requesting a standard shortening guessed from a photograph. Record the visible shirt finish you want and the specific sleeve area to assess. Then establish which alteration is possible on the offered garment and when you can try the result again rather than treating an unconfirmed measurement as settled.
Separate trouser width, seat and hem length
Burgundy shows narrow dark trousers with a short finish and dark glossy-looking shoes. Beige supplies another longer lower view, while black and grey-green are not shown completely below. Do not assign one assumed hem length to all four. Check the actual trousers with feet ordinarily alongside each other first. Then walk a few steps and sit. Observe waistband, seat and leg line separately instead of reducing the whole question to the narrowest visible point around the lower leg. Each is part of how you want to use the garment.
Put on the intended shoes before agreeing the final hem length. Compare the lower edge standing and after sitting. A close leg line and a short finish are separate choices that need not be selected together. You can want a fitted upper outline and still prefer another length or more room below. Record that request explicitly. Comfortable use of your own garment belongs among its requirements. It does not need to be treated as inconsistent with your selected style or replaced by copying another person’s stance exactly.
Compare two combinations with specific open questions
Keep two candidates for the final round. Describe chest and waist line, intended waistcoat and tested trousers for each. Keep colour and accessories as similar as possible while the fit question remains open. Our modern men’s suits guide adds different front arrangements. For the slim-fit suit here, the concrete choice remains between two genuinely tested outlines. You do not need to redesign tie, lapel width and the whole occasion plan simultaneously to compare one particular width usefully and understand why it appeals to you.
Write one reason you want to wear each candidate and one unresolved check. Perhaps you like one jacket’s quieter front while the other trousers better match your seated preferences. Ask whether another combination is possible and actually try it. A concrete alternative helps more than comparison with an unreachable ideal in a single photograph. Alterations become part of the decision once the shop has confirmed them understandably on the real garment. The next fitting can then check a specific result rather than beginning the same broad conversation again without a clear target.
Record alteration requests and care information together
A useful conclusion names the individual garments and discussed areas. Record what needs alteration, what requires another size and which result will be assessed at the next fitting. Avoid a general instruction to make everything tighter. The pictures reveal neither internal seam allowances nor a dependable alteration limit. A slim-fit suit is selected because its particular line suits your actual use, rather than because every field has been reduced as far as possible without regard for the other components. Keep each requested change understandable in the context of the whole outfit.
Care follows the label on every supplied piece. GINETEX explains the five care-symbol groups: washing, bleaching, drying, ironing and professional textile care. A dark lapel, pale colour or smooth surface does not establish treatment by itself. Have jacket, waistcoat and trouser information clearly matched, and document agreed alterations. You can then select a tested ensemble with understandable details, whose fitted outline was chosen deliberately and whose handling you tried yourself both standing and seated, rather than relying on a commercial fit name alone.
A slim-fit suit is selected here through a real fitting: assess chest and waist together, then compare trousers standing and seated. The photographs do not establish a branded fit collection.
Frequently asked questions
Should a slim-fit suit be as tight as possible?
No. Choose the fitted outline you want, then test it standing, seated and moving. Chest, waist and trousers need to work together; minimising every bit of space is not the aim.
Should I check the jacket only with hands in pockets?
No. Add a relaxed stance without hands in pockets, since that pose changes the visible front.
Can waist pulling be solved only by widening the waist?
That is not a reliable remote diagnosis. Chest and middle can be connected. Have the actual jacket assessed together before agreeing an alteration.
Is a short hem part of every close trouser fit?
No. Visible hem length is a separate choice. Test it with the intended shoes and an ordinary stance independently from leg width.