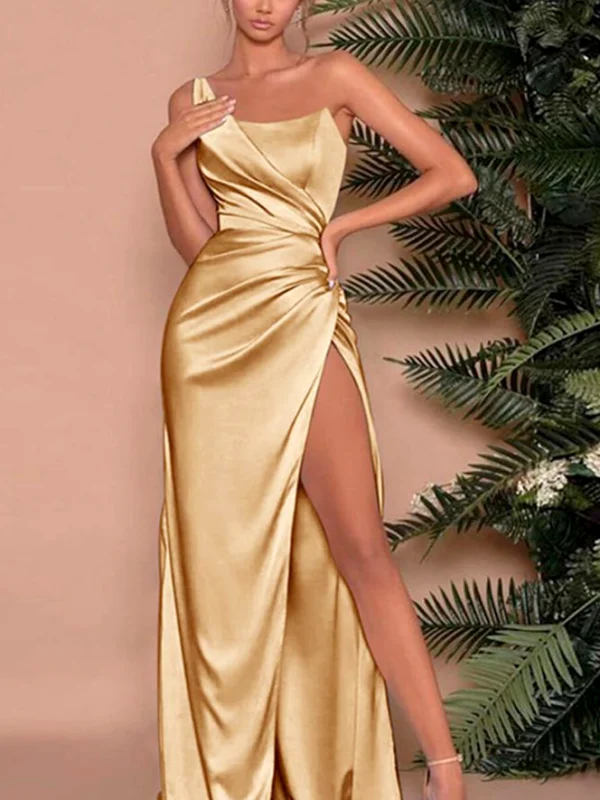
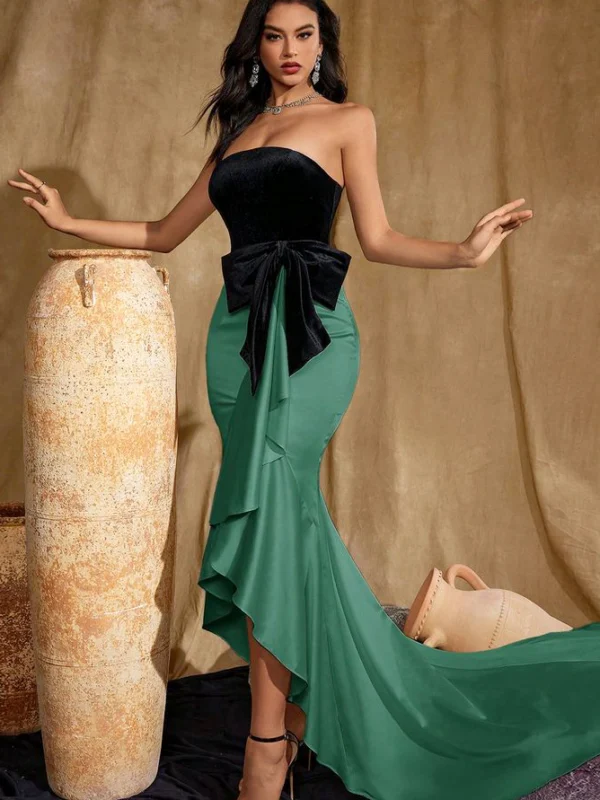
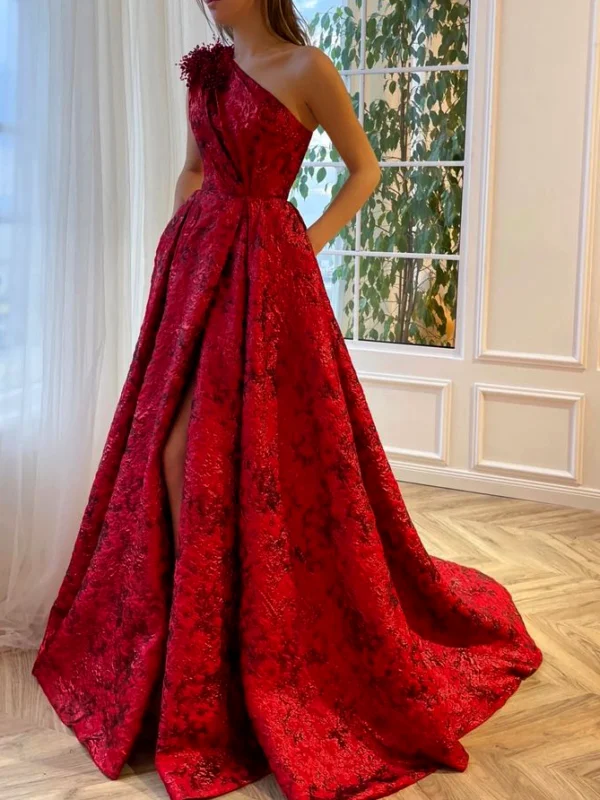
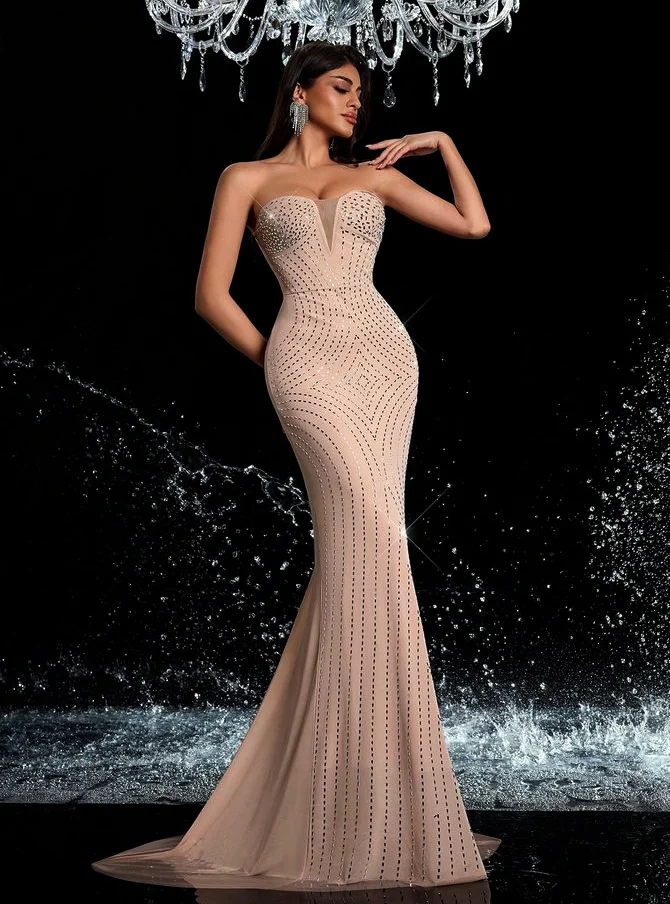
A red carpet evening dress is best chosen for the actual invitation and complete sequence rather than a striking front photograph alone. What does the invitation say, which route is planned and which pieces will you wear yourself? Three independent references show a pale closer long form, a blue asymmetric arm arrangement and a broader red skirt. No photograph establishes an actual red carpet appearance, awards ceremony or particular brand. Use visible lines to explain your preferences and assess the complete combination on the offered candidate. Photographic effect and confirmed requirements remain separate questions. Another person’s posture, height or footwear cannot replace your own complete fitting.
1. Establish the occasion before the silhouette
“Red carpet” cannot independently define one uniform dress code. Ask about the actual event and your invitation’s information. An entrance photograph may belong to a different sequence from a longer seated section afterwards. Record the requirements genuinely stated instead of inferring a shared rule from a chandelier or shiny backdrop. None of our pictures reliably identifies an event. Their design suggestions therefore cannot confirm that every pictured dress is requested or acceptable for your occasion. Liking a whole appearance need not prevent questions about the real organisation; obtain the explanation for that particular invitation.
Debrett’s distinguishes named dress codes within its guide and recommends asking the host when uncertain. It connects White Tie to a full-length evening form, while its Black Tie section also discusses knee-length cocktail options. That explains those named codes rather than every red carpet. Apply the terms to your selection after clarifying your own invitation. A long skirt alone answers neither the required degree of coverage nor the actual sequence. Similar general occasion labels can carry different instructions; another event photograph cannot determine your particular requirements.
2. Choose the upper frame independently of skirt width
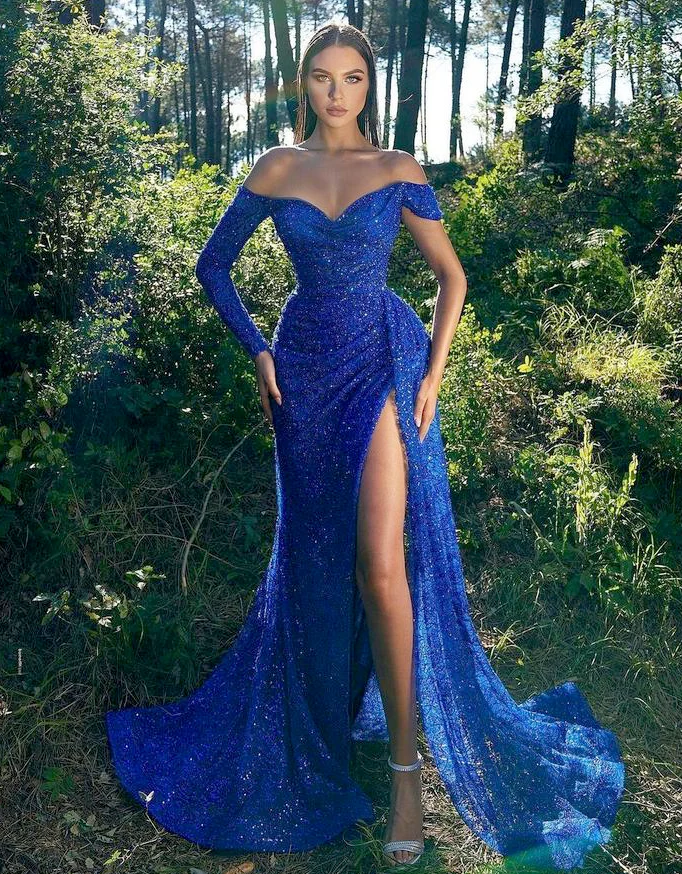
The pale main front has a shaped strapless upper boundary with a deeper finer central V. Dense curving point routes surround chest and hip, with longer vertical lines accompanying the lower region. The blue counter-front instead places one long sleeve beside a low band on the opposite upper arm. Red combines a shaped strapless edge with a broader long skirt. Decide whether exposed shoulders, different arm surfaces or quieter distribution beside the face is your leading upper question. The same colour or shine is unnecessary for that decision. Choosing an upper line does not automatically select its entire lower form.
Request your genuine favourite version with normally lowered arms. The pale reference’s raised hand frames the neck differently from lower hands in the blue front. It establishes no unchanged fit after your movements. Inspect the upper boundary without extra neck jewellery, then move your arms and inspect it again. A closer middle confirms neither particular inner supports nor a size suitable for you. Ask about actual execution instead of deriving a wearing guarantee from a drawn front line. Assess your own inner pieces on that same model as well; another photographed combination is not a confirmed solution for your outfit.
3. Compare the complete lower route
The pale shape sits closer at the hips and widens farther down. A longer pale cloth region lies behind one side on the floor. The blue form takes diagonal waist folds towards a front leg opening and longer rear cloth. The red skirt becomes distinctly broader and gathered beneath the closer waist. Those three lines can clarify different preferences. Keep one question consistent initially: how much surface do you want to assess around legs and feet? A broad pictured skirt establishes neither weight nor inner construction. Its own freely standing shape still needs inspection on you; another photograph’s spread is no product measurement.
The party dress with a train guide develops questions about cloth lying behind. Request your candidate’s complete length with intended shoes, from front and rear, adding both corresponding sides. Another person’s shoe cannot complete a cropped foot view. Record the actual lower boundary before discussing shortening or another alteration. That keeps the preference identifiable across the complete garment rather than recording only a vague “less cloth”. Show where work is proposed on that same candidate and establish which neighbouring areas would be affected. Inspect the finished result at complete length again.
4. Try the planned route yourself
Begin with a normal standing view and no lifted skirt. Walk a few steps, turn and sit in the precise pieces you want to use together. Ask about an appropriate way to assess that sequence during the fitting if your actual route includes a step or another transition. The purpose is assessment of your real candidate rather than a general claim about comfortable dresses. Your posture and footwear belong to the check; an archive photograph’s pose cannot perform it. Inspect the garment after moving before immediately rearranging cloth for another picture. Record which footwear you used to make later comparisons clearer.
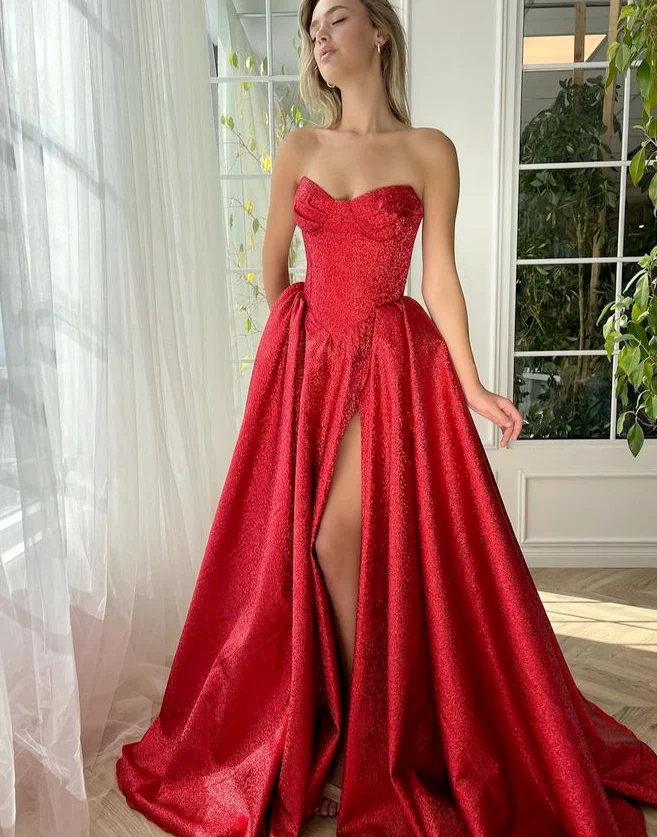
Both cloth edges around a front leg opening form a separate comparison. The party dress with a slit comparisons help separate a visible gap from a guaranteed opening width. Inspect that location before and after your movements on the same dress. Show the preferred boundary while wearing it and have possible work professionally assessed if you want a change. Another seam or pale reflection promises no simple alteration. Request your own version’s whole view again afterwards. A single detail photograph cannot complete the full-length assessment; the correct model’s sides and rear also matter.
5. Add the accessories you will actually use
The pale main front shows longer hanging ear shapes beside loose hair. Neck and shoulders remain largely free from large extra neck accents in the blue front. You need not adopt these differences as fixed jewellery rules. Begin with your planned hairstyle and add one piece at a time. The comparisons of jewellery with a statement evening dress help keep a leading surface visible. Hold a bag in your genuine carrying position and see which region it obscures. Establish separately which pictured pieces are supplied; being photographed together confirms no joint offer. Keep your own additions distinct from the product’s contents.
6. Record the confirmed combination
Keep model, actual colour version, discussed length and included pieces together in your notes. Fine light points establish no particular sequins, a backdrop no awards ceremony and a closer middle no personal fit. GINETEX explains care symbols; treatment follows the finished garment’s label. Your red carpet evening dress should finally suit clarified requirements and a sequence you have assessed yourself. Preserve corresponding whole views and fitting notes. They help more than an unsupported story about a brand, celebrity identity or future trends. Complete unresolved information through that same genuine product’s own explanation.
Establish the occasion and assess the complete combination. Three independent long forms help choose upper frame and lower cloth route separately.
Frequently asked questions
Do the references prove an actual red carpet appearance?
No. These photographs are design references for a red carpet evening dress. Actual attendance, an awards ceremony or personal identity is unconfirmed.
Must every red carpet evening dress be floor-length?
The phrase red carpet creates no shared length requirement. Establish your actual invitation’s code; Debrett’s explains different named codes with different requirements.
Are the pictured dresses assigned to particular designer brands?
No. The references have no confirmed brand attribution. Similar shine or a striking backdrop cannot replace specific product information.
Is one front photograph sufficient to choose the evening dress?
No. A red carpet evening dress needs its own sides, corresponding rear and complete length with your shoes. Add the genuinely planned sequence to your fitting.