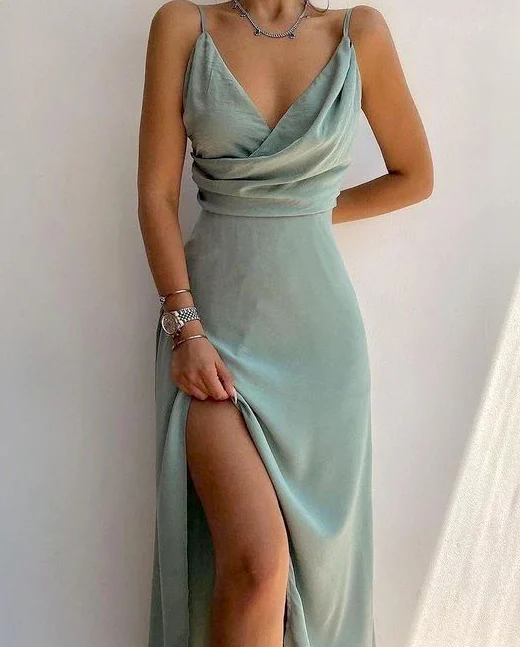
A club outfit starts with the actual evening: which event are you attending, what does its organiser specify, and what complete combination do you want to wear? Five dress references help compare visible shapes. They show fine straps, a one-sided shoulder area, short gathered forms and longer sections with leg openings. The mint main image is a styling idea, not evidence of a club visit. Select individual preferences and test them on the real outfit. A calendar year or reflective surface establishes neither a current trend nor admission to a particular place.
1. Read the rules for your specific event
Start with official information for the booked event and actual venue. If the details conflict, ask there before buying something for that evening. A label such as clubwear does not replace a specific dress requirement. Note whether a rule concerns a garment, an object brought along or the overall appearance. Do not transfer another venue’s rules to your destination. A photograph featuring a long dress does not confirm that the form is accepted at your own event either.
A named example makes the distinction clear: fabric London’s official FAQ lists business suits, flags and glowwear as not permitted. Those are that venue’s statements, not a general rule for all clubs. They identify none of our images and do not guarantee admission with another outfit. Check the responsible organiser’s current information for your own date. You can then compare forms you can actually consider, rather than confusing a pictured idea with a universal dress code. Have an unclear requirement explained instead of treating your interpretation as confirmation.
2. Compare the upper line without fabric promises
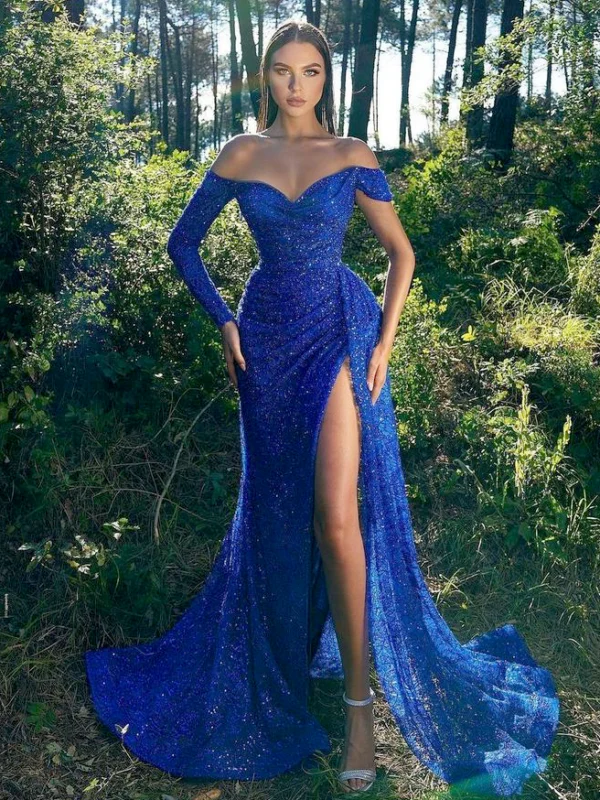
The mint main image has fine straps and deeper folded upper areas. The short dark teal reference also has fine straps, but a differently gathered V-shaped centre. The ochre view adds a broader one-sided shoulder area with a cape-like falling section. Name the upper line you want first. Fine straps, a bare shoulder and a broad outer area are different visible choices. Their appearance does not establish the offered model’s inner attachment, support or composition. Two similarly shining areas do not necessarily share a construction.
Try your candidate with the intended underwear and move your arms as you plan to during the evening. Have an upper edge explained if its function is unclear. A shining surface is not a fibre declaration, and a close shape does not confirm stretch. The fitted party dress comparison adds questions about actual fit and existing lines. Assess the real dress rather than inferring a property for your size from its close appearance in a photograph. Another person’s pictured fit is not your fitting result.
3. Decide about the complete lower form
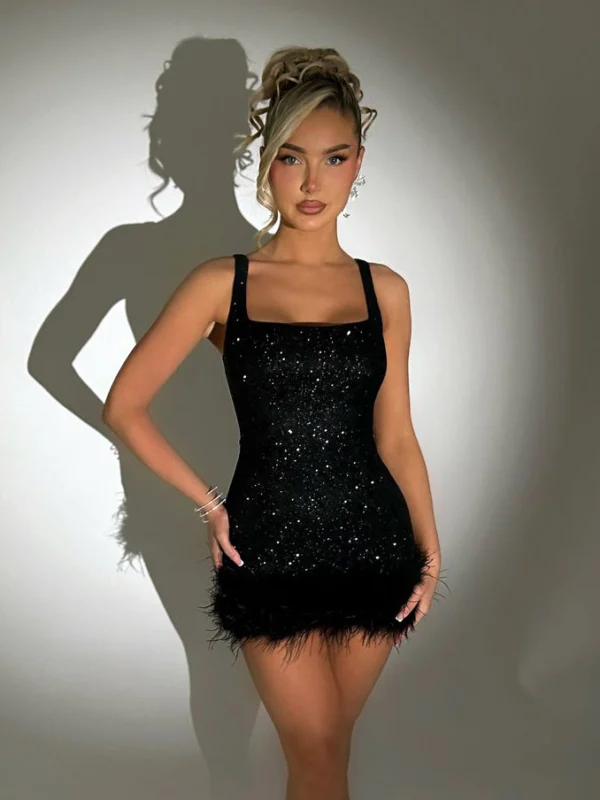
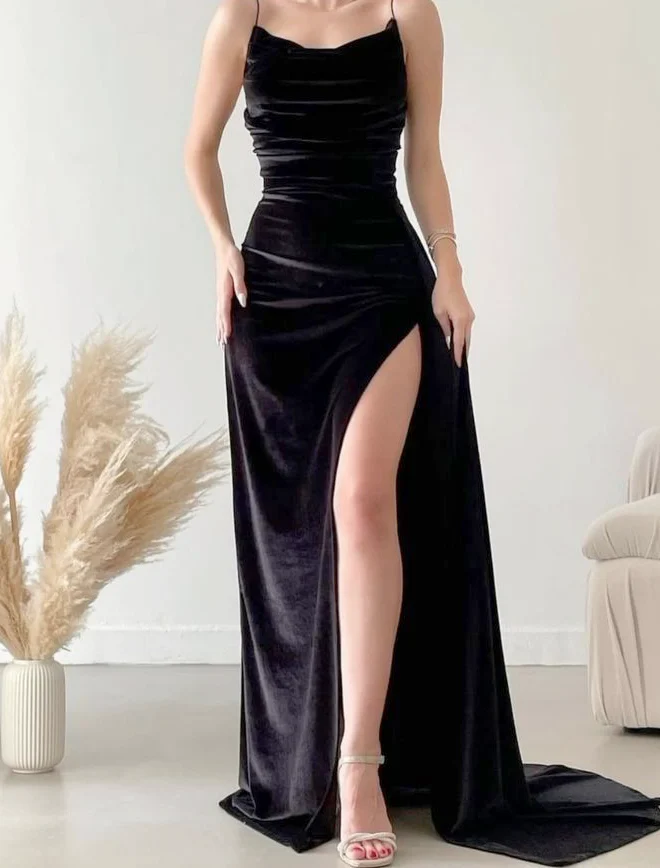
The rose-toned reference shows a short gathered lower section, with head and shoes outside the crop. The long black dress adds a high front opening and fabric continuing further to the side and rear. The main image also has a pronounced leg opening, but one hand lifts side fabric. Those positions do not provide a shared length measurement. The short or long party dress comparison helps separate actual endpoints from a photographed pose. A short lower border and a floor-trailing rear are different questions.
See your favourite completely from the front and rear with the sides released. Check the lower edge in your intended shoes while standing, walking and sitting. If you do not want trailing fabric, ask about an actually offered shorter version rather than planning any alteration from another picture. An opening and the entire hem need separate consideration. For an intended change, establish which area would be affected and when you can try the finished result with those same shoes. Do not decide only from how much leg a pose reveals.
4. Plan an extra layer as a separate component
If you want to bring a jacket or blazer, try it over the exact dress selected. The party outfit with a blazer guide adds the upper edge, arm area and length to the comparison. The one-sided ochre shoulder area raises a different combination question from narrow straps. Move your arms with both pieces on and look at the rear. A dress that fits alone and a blazer that fits alone are not yet a checked complete outfit. See which area the outer piece covers in a real fitting.
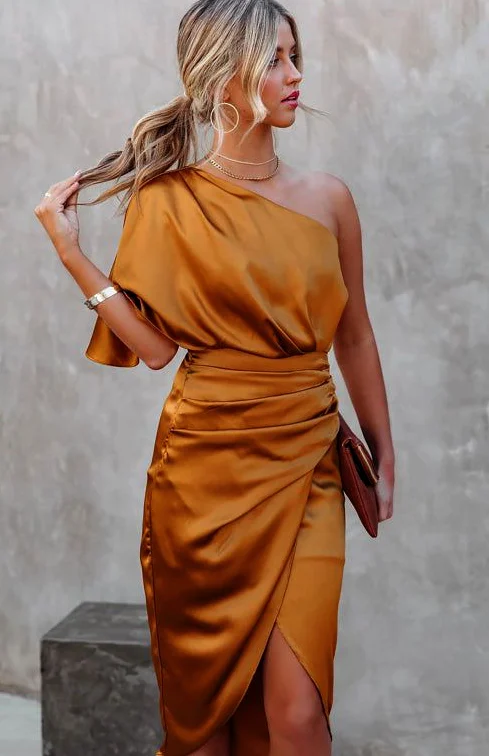
Compare the extra layer with your intended bag too. Where will it sit, and which front area remains visible? Decide which pieces you actually want to wear or remove. The image series gives no temperature for a specific night and confirms no breathable or warming property. Ask about such product features on the actual offer. A bare shoulder area is a visible shape first, not an answer about whether the complete combination suits your planned movements. Consider the clothing you have tried alongside the pieces you intend to carry.
5. Add shoes, bag and jewellery in sequence
The long black reference shows a pale open-toe shoe with fine straps. The ochre view includes a small rectangular brownish bag but no complete lower edge. Use those visible details for individual comparison questions. Try your shoes against your own hem and your bag with your arms normally lowered. A model photograph checks neither your route nor the space your belongings need. Decide through the real combination rather than automatically adopting a pictured shoe as the solution. See the actual position in which you will use the bag too.
Add jewellery afterwards. The dark teal front has necklace pendants on exposed chest above the V neckline, while the rose-toned fine-strapped form is gathered differently. Compare the placement at your own upper border. The monochrome party outfit comparison adds a quieter colour idea. Matching colour does not mean matching surface or material. Assess the real dress with your selected accessories instead of treating jewellery and clothing as one supplied combination because of their pictured colours. An accessory in another reference is not a required component of your candidate.
6. Check the finished club outfit and its information
Put on the planned combination completely and repeat your intended movements with shoes, underwear and any extra layer. Release held skirt sides. Note what still needs clarification: actual inner construction, the scope of an alteration or a missing view. Ask about the specific offer before treating a feature as promised. The chosen form can express your preference; the pictures do not establish a guaranteed comfortable, stretchy product suited to every club night. Complete the visible shape with information about the garment you have actually tried.
For treatment, use the finished piece’s label. GINETEX explains textile care symbols; shine, black colour and fine straps do not determine a washing or ironing method. Keep information for any separate layer too. Your club outfit then becomes a concrete selection based on valid event requirements, a genuinely tried form and the accessories needed. The references supply visible questions without inventing a yearly forecast, material promise or admission guarantee. Ask for a missing product detail instead of filling it in from a shiny-looking surface.
Establish your event’s requirements first. Five visible dress forms then help assess the upper line, complete length and your own combination.
Frequently asked questions
Does a club outfit photograph confirm admission to my venue?
A club outfit photograph does not confirm admission. Check the current information for your exact event and ask the responsible organiser about unclear requirements.
Does a shiny club outfit reference prove satin or stretch?
The shine of a club outfit reference confirms neither satin nor a particular fibre or stretch. Ask for the actual composition and construction of the offered model.
When should I check a club outfit’s length?
Check the club outfit with your intended shoes and fabric sides released. Compare the complete lower edge while standing, walking and sitting before discussing alterations.
Can I plan a blazer with a club outfit without trying them together?
Try the planned blazer over your exact club outfit with the intended underwear. Compare both pieces together with arm movements and your own rear view.