Plan a modular wedding dress through genuinely detachable or interchangeable pieces and at least two complete worn outfits. Begin with a base dress you would still want to wear after removing the addition. Then decide what should change: skirt fullness, sleeve coverage or another outer area. The four archive references help describe those visible preferences. They do not demonstrate a change or establish a modular connection. A similar-looking shoulder section or skirt layer only becomes a usable change component when supported by specific information about the actual product.
Choose a documented component rather than an assumed system
One verifiable example is the Lillian West detachable overskirt 66223SK. The maker describes removing it over a closer-fitting dress and names 66223 as a pairing. Justin Alexander Signature’s MYRTLE SLEEVES are explicitly described as detachable sleeves. Those details belong to those products and identify none of the archive garments. They demonstrate the kind of confirmed information to request for your candidate, rather than proving that every similar photographed layer can be removed.

Have each intended addition shown with the base garment. Request its exact model, connection and included components. A separately listed sleeve may be a different purchase from the sleeve visible in a complete outfit photograph. Note which sizes or versions are offered together and whether alterations are proposed. Check the exposed area after removal too. A bare shoulder edge, visible waistband or remaining connection points belong to the second outfit and should be known before deciding. The attractive first version is only half of the choice.
Write down two finished outfits
Describe the two states in plain sentences first. You might want more outer skirt volume initially and the narrower base shape later. Alternatively, you might remove a long sleeve while keeping neckline and skirt unchanged. Plan only the change you expect to use. Three extra components add little if you dislike the resulting combination. The bridal look change guide helps arrange veil and wrap changes; add the components actually confirmed for your own garment. Keep the intended result specific enough to compare at a fitting.
Wear both complete versions with your intended shoes. Photograph front, side and back under comparable conditions. Keep jewellery the same initially so the dress difference remains clear. Choose whether the second version needs different earrings or hair afterwards. Record hem, visible waist and upper edge in each state. If a version only appeals while you hold fabric outward, add a relaxed-arm view and request its intended wearing arrangement. A saved pose should supplement the ordinary worn outfit rather than becoming the only way you judge it.
Separate the shoulder idea from the sleeve connection
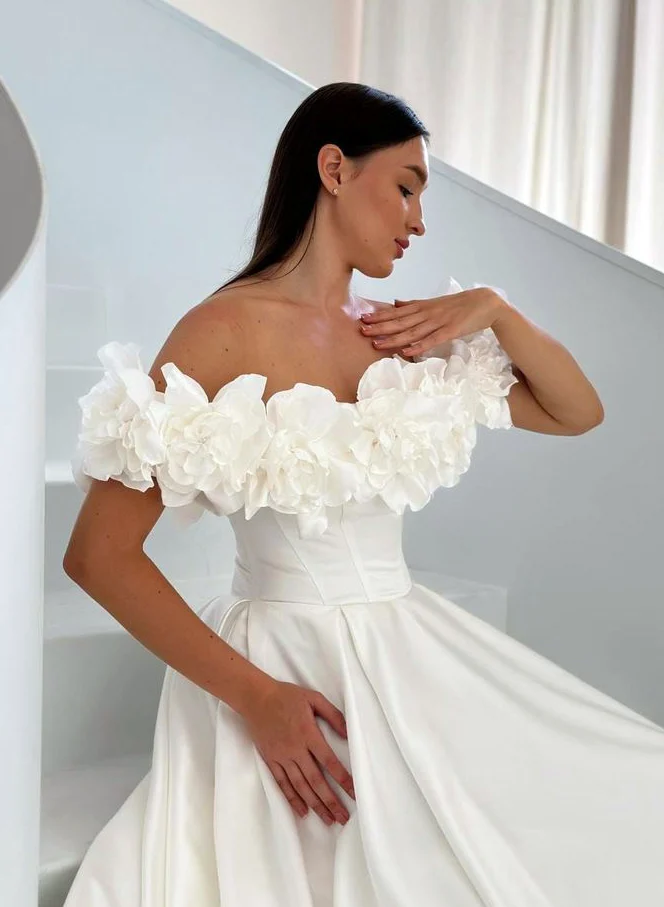
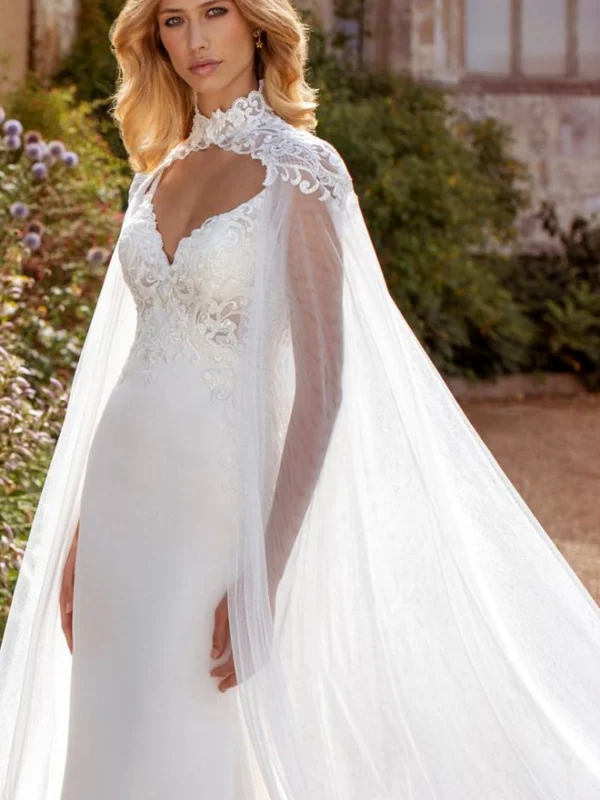
The pale floral reference shows larger flower-like forms along an off-shoulder edge. Another picture has long fine-looking sleeves beside a deep V. These are different visible choices, not documented attachments for the same base dress. Explain whether you want upper-arm volume, the long arm area or the decorated front border. Then ask which actually offered component provides that preference. Assuming detachability would leave precisely the later state unresolved. An offered alteration and a designed removable component need their own explanations rather than being treated as interchangeable solutions.
Try the real sleeve combination reaching forwards, holding your flowers and sitting. Relax your hands afterwards and reassess the edge. Repeat those movements on the base dress after removing the component. Request the intended handling before releasing or reconnecting anything. You do not need to identify construction from a photograph. What matters is that the provider demonstrates the confirmed sequence and you assess both worn states. If you want another sleeve length, have that actual version shown instead of mentally shortening a photographed section.
Assess the skirt beneath the outer layer
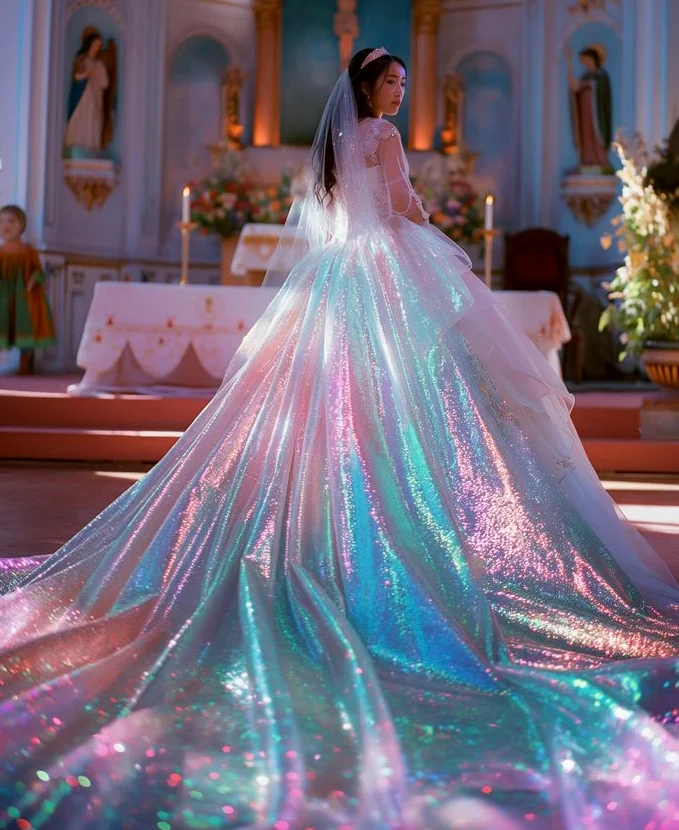
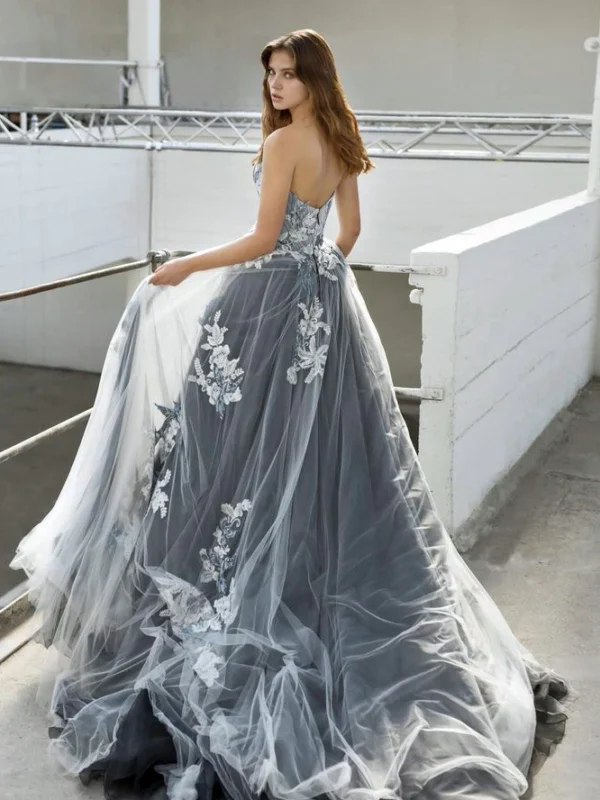
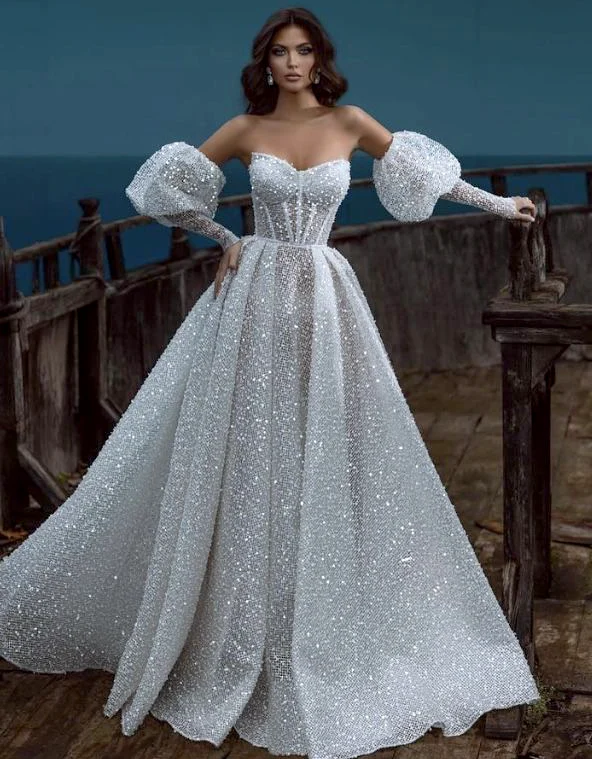
The more reflective-looking references show broad long skirts with substantial fabric spread behind. They describe a preferred silhouette without proving a detachable overskirt. Check the real base garment alone first: how does its front edge fall, what sits at the waist and how does the back look? Add the intended overskirt next. Compare the resulting waist line and lower length with the same shoes. Another layer may cover details you particularly like on the base dress. Decide deliberately which of those details should reappear after the change.
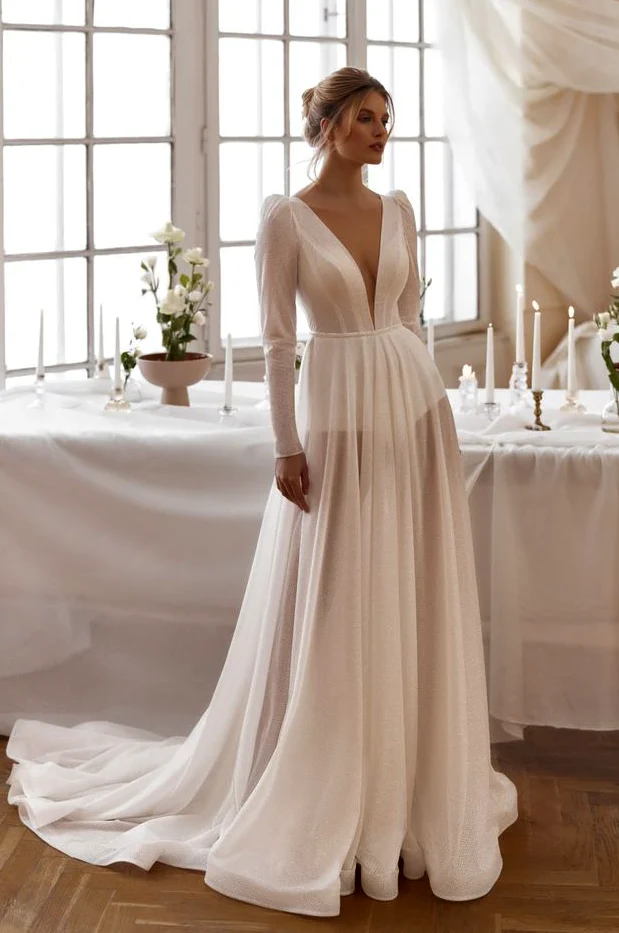
A two-piece bridal outfit adds another comparison for top ending and skirt waistband. It is not automatically equivalent to a base dress with a removable overskirt. Specify whether you want to change whole garments or only an extra layer. Walk and turn in your intended combination without permanently spreading the skirt. The second version needs the same complete length assessment. A full photograph of the first state cannot supply the hem position after changing. Test both with the shoes you actually plan to wear.
Rehearse the change as a practical sequence
Set out the real components and carry out the change in the intended order. Rehearse with your helper if you need one. Establish where you will stand or sit and which connections are reachable on the worn dress. You can assess a proposed quick change only after trying it. Use your actual shoes and intended jewellery so another substitution does not distort the trial. Allow time afterwards to reassess neckline, waistband, hair and visible connections. Record any part of the sequence you want explained again before settling it.
Removed pieces need somewhere to go too. Ask about suitable storage and transport for their actual material and decoration. Put them in the intended container during the trial instead of treating them as disappearing after removal. If the veil changes too, add the veil edge and dress-length comparison. Decide who receives the pieces and whether you want to put them on again later. This plans dressing as concretely as removal without promising a fixed duration or universal fastening method for every modular outfit.
Record included pieces and care before buying
Request a clear account of base dress, additions and any required alterations. A changeable outfit is not automatically cheaper, more sustainable or useful after the wedding; those judgements need your particular pieces and plans. Check separate products’ own information. GINETEX explains textile care symbols, while the relevant garment label determines treatment. Finish by saving both selected outfits and the rehearsed order of changes. Your modular wedding dress is then planned through real components and visible results rather than an imagined attachment behind an attractive photograph.
Choose a base dress you like on its own. Add only confirmed compatible pieces, assess both complete outfits and rehearse the actual change with the help you intend to use.
Frequently asked questions
Do all additions need to belong to the same system?
Have the explicitly offered combination and its connections demonstrated. Similar colour or apparently suitable measurements alone do not confirm compatibility between different products.
How do I decide which pieces I actually need?
Write down two desired complete outfits. Choose only the additions that create that difference and try both versions with the same shoes.
What should I assess before putting pieces back on later?
Rehearse returning to the first outfit as well as removal using the actual pieces. Establish assistance, order and storage before planning another change.
Thoughts on this article